For a Tomorrow Without Tears is an Archon Quest in Genshin Impact. Archon Quests cover the main story of the game that follows the adventure of the Traveler and Paimon as they set off on a quest to search for the Traveler's lost twin. As players progress, Archon Quests requires a certain level Adventure Rank (AR) to be unlocked in order to continue through the act.
General Info
- Act: Prologue: Act 2
- Required AR: 10
- Previous: The Outlander Who Caught the Wind
- Next: Song of the Dragon and Freedom
- Bosses: n/a
NPCs & Characters
- Paimon
- Jean
- Anastasia (Fatui Diplomat)
- Lisa
- Venti
- Gotelinde (Nun)
- Fatui Electro Cicin Mage
- Diluc
- Charles (Bartender at Angel's Share)
- Otto (Knight of Favonius)
- Miles (Knight of Favonius)
- Fatui Guard
- Greedy Guard
- Timid Guard
- Cryo Abyss Mage
Bosses
- n/a
Items
Reward/s:
- Adventure EXP: 3,700
- Primogems: 80
- Mora: 84,575
- Character EXP: 80,975
- Fine Enhancement Ore: 84
- Clear Dvalin Tear:
- Holy Lyre der Himmel
- Partially repaired Holy Lyre der Himmel
- Teardrop Crystal: 3
- Completely repaired Holy Lyre der Himmel
- Memory of Roving Gales
- Damaged Holy Lyre der Himmel
Enemies
- Eye of the Storm
- Fatui Electro Cicin Mage
- Fatui Zamenhoff
- Ruin Guard
- Hilichurl Shooter
- Pyro Hilichurl Shooter
- Electro Hilichurl Shooter
- Cryo Hilichurl Shooter
- Pyro Slime
- Large Pyro Slime
- Large Electro Slime
- Mutant Electro Slime
- Hydro Samachurl
- Abyss Mage Albrecht
For a Tomorrow Without Tears Walkthrough
This is the second main quest you will unlock in Genshin Impact, but you will have to finish the first main quest, The Outlander Who Caught the Wind as well as reach AR 10 first before you can proceed with this quest. You should consider doing daily Commisions or World Quests to quickly increase your AR.
Related Objectives and Rewards
The following rewards listed below are provided after completing each objective related to the Archon Quest: For a Tomorrow Without Tears.
Shadow over Mondstadt
- Description: Thanks to your efforts, Mondstadt's elemental flow has returned to normal. It's time to report back to Jean.
- Adventure EXP: 225
- Primogem: ??
- Mora: 4,875
- Other Rewards: Character EXP x2,550, Fine Enhancement Ore x4
Unexpected Encounter
- Description: Returning to Mondstadt, you encountered a clash between Jean and the Fatui. Afterward, you showed Jean the dragon tear that you found in the forest, and at her request, once again joined the investigation into Stormterror Dvalin
- Adventure EXP: 275
- Primogem: ??
- Mora: 5,975
- Other Rewards: Character EXP x3,125, Fine Enhancement Ore x5
That Green Fellow
- Description: As you were heading out to investigate, you happened upon the mysterious guy that you saw talking to the dragon.
- Adventure EXP: 250
- Primogem: ??
- Mora: 5,450
- Other Rewards: Character EXP x2,850, Fine Enhancement Ore x5, Clear Dvalin Tear
Let the Wind Lead
- Description: The mysterious fellow claimed to be a bard named Venti, but left on his own accord before you could get him to explain his relationship with the dragon. You follow him to the giant tree at Windrise.
- Adventure EXP: 250
- Primogem: 20
- Mora: 5,450
- Other Rewards: Character EXP x2,850, Fine Enhancement Ore x5
Venti's Plan
- Description: Stopped at last, Venti explained that he had tried and failed to cleanse Dvalin's curse during their previous meeting. Now, he has been forced to rely on the Holy Lyre der Himmel's power if he is to restore Dvalin.
- Adventure EXP: 275
- Primogem:
- Mora: 5,975
- Other Rewards: Character EXP x3,125, Fine Enhancement Ore x5
Venti's New Plan
- Description: Venti's plan to sweet talk his way into getting the Holy Lyre back backfires. He's come up with a new plan, but seems he'll need your help for it to work.
- Adventure EXP: 250
- Primogem: 0
- Mora: 5,450
- Other Rewards: Character EXP x2,850, Fine Enhancement Ore x5
Wild Escape
- Description: Venti's plan to steal the Holy Lyre went off without a hitch. Well, almost when the Lyre was almost in your hands, a stranger stole it from under your noses. Your movements alerted the guards, forcing you to flee the Cathedral.
- Adventure EXP: 250
- Primogem: 0
- Mora: 5,450
- Other Rewards: Character EXP x2,850, Fine Enhancement Ore x5
Behind the Scenes
- Description: In your haste fleeing the confusion you found yourself in Diluc's tavern, where – to your surprise – he decided to help hide you. Diluc agrees to meet back at the tavern after nightfall with his "contacts" – who could they be?
- Adventure EXP: 175
- Primogem: 0
- Mora: 4,225
- Other Rewards: Character EXP x2,200, Fine Enhancement Ore x4
Chasing Shadows
- Description: The person Diluc called in turned out to be Jean from the Knights of Favonius. After some discussions, it is discovered that it was the Fatui who stole the Holy Lyre der Himmel. You must retrieve it to rescue Dvalin.
- Adventure EXP: 175
- Primogem: 0
- Mora: 4,225
- Other Rewards: Character EXP x2,200, Fine Enhancement Ore x4, Holy Lyre der Himmel
State of the Holy Lyre der Himmel
- Description: After a fierce battle, you managed to seize the Holy Lyre der Himmel back from the hands of the Fatui. For some reason, Venti seems to express a great nostalgia for the Lyre...
- Adventure EXP: 250
- Primogem: 0
- Mora: 5,450
- Other Rewards: Character EXP x2,850, Fine Enhancement Ore x5, Partially repaired Holy Lyre der Himmel
Fallen Tears
- Description: The Holy Lyre is in poor condition, but you manage to restore some of its Anemo power by using Dvalin's tears. To restore its full power, you will need to look for more tears.
- Adventure EXP: 250
- Primogem: 20
- Mora: 6,000
- Other Rewards: Character EXP x3,125, Fine Enhancement Ore x7, Teardrop Crystal
Stolen Tears
- Description: The corrupted dragon tear has even attracted hilichurls. You must get it back from them.
- Adventure EXP: 250
- Primogem: 20
- Mora: 6,000
- Other Rewards: Character EXP x3,125, Fine Enhancement Ore x7, Teardrop Crystal
Hidden Tears
- Description: Dvalin's footprints are all over Mondstadt, and one of his tears fell upon a ruin deep within the forest.
- Adventure EXP: 250
- Primogem: 20
- Mora: 6,000
- Other Rewards: Character EXP x3,125, Fine Enhancement Ore x7, Teardrop Crystal
Crystal Tears
- Description: After completing the retrieval of the tears, you meet up with the rest of the group.
- Adventure EXP: 250
- Primogem:
- Mora: 6,000
- Other Rewards: Character EXP x3,125, Fine Enhancement Ore x7, Completely repaired Holy Lyre der Himmel
Reunion with the Dragon
- Description: Dvalin's tears restored the Holy Lyre back to its full power. Now, you are finally ready to purify Stormterror.
- Adventure EXP: 325
- Primogem:
- Mora: 8,050
- Other Rewards: Memory of Roving Gales, Character EXP x4,200, Fine Enhancement Ore x9, Damaged Holy Lyre der Himmel
Shadow Over Mondstadt
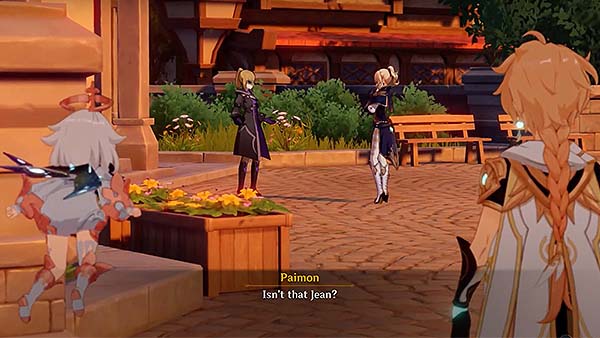
After dealing with the temples, you should now head over to Mondstadt to report to Jean. Once you're inside the city, just follow the yellow icon. A dialogue will trigger once you get close enough to Jean. You will see her talking to a masked lady.

The masked lady is known as Anastasia, a Fatui Diplomat. She then suggests to Jean that if they can't handle the threat of the Stormterror, they should leave it to the Fatui. She believes they can put an end to Mondstadt's dragon issues once they've eliminated the dragon. Jean is frustrated, and dismisses Anastasia, saying that she has no respect to one of the Four Winds of Mondstadt.
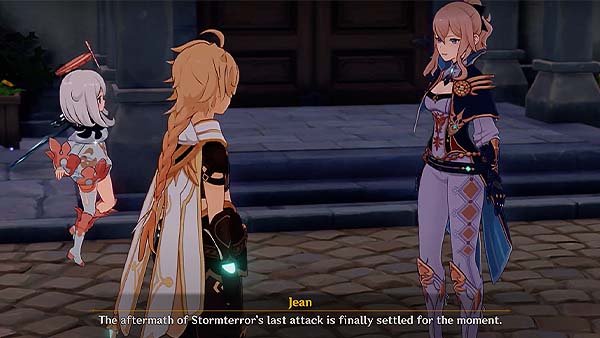
After Anastasia leaves, Jean sees you, and thanks you for your contribution in dealing with the temples, and thanks to that, the elemental flow is finally stable. You then tell Jean that you have something to show to the Knights of Favonius. Jean then says that you guys should head back to the headquarters in order to discuss this further.
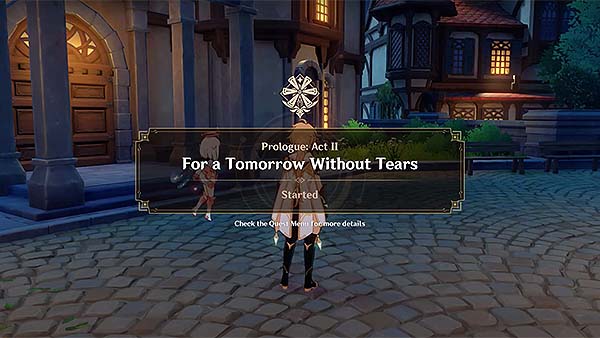
After the dialogue, a prompt will appear and show that you have officially started the quest For a Tomorrow Without Tears. Then the objective will now point you to go return to the Knights of Favonius headquarters with Jean.

Just continue following the yellow icon, you will eventually arrive at the headquarters. Once you've entered, turn left and go inside the room to talk to Jean.

Once you enter the room, Jean and Lisa will be there. You then show them the Crimson Crystal you recovered from when you first met Stormterror at the forest. Jean asks Lisa if she can make something out of the Crimson Crystal, but looks like she can't make a proper analysis at the moment. Lisa suggests that she would take a look at the library's restricted section. It also seems that when other people go near the crystal, it harms them.

But you don't seem to have that effect. Jean and Lisa suggests that the crystal should be on your hands at the moment.

Jean then asks if you would be able to help in yet another task and thanks you for your continued assistance, and with that, you have also been granted the title of Honorary Knight of Favonius.

After the dialogue, the objective is completed, and the next objective Unexpected Encounter will begin shortly after.
Unexpected Encounter
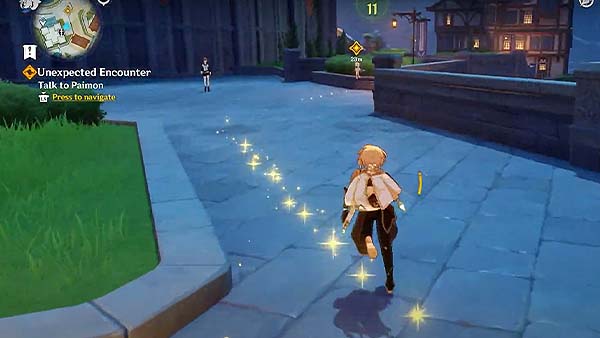
This next objective will begin once the dialogue with Jean and Lisa is over. You head out the room and exit the headquarters. Then you follow the yellow icon and talk to Paimon.
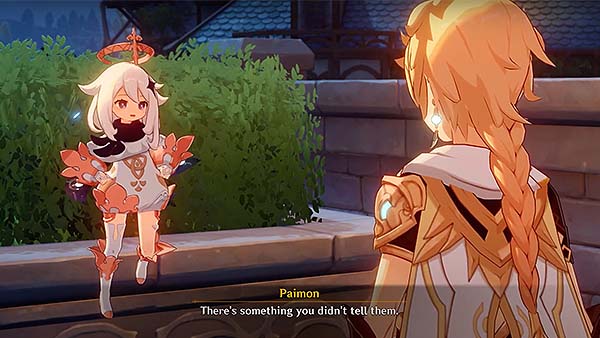
Paimon asks why you left out the information about the stranger you saw when you first encountered the Stormterror while trying to discuss about the Crimson Crystal with Jean and Lisa.
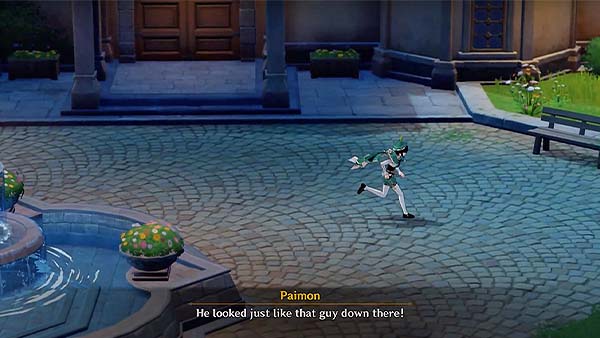
Paimon then sees the same stranger you both saw during the Stormterror encounter, running around the City of Mondstadt.
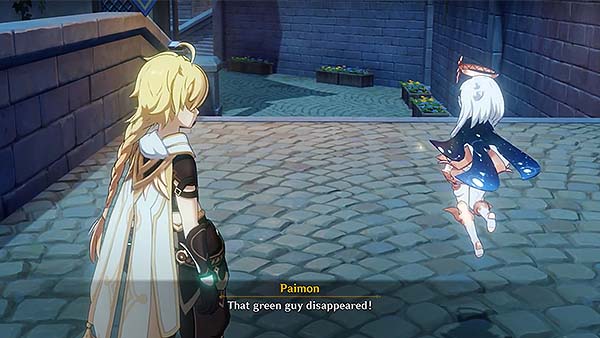
You then head down to where the yellow icon is, hoping the stranger is just below the stairs. You both come to find out that the stranger's gone.
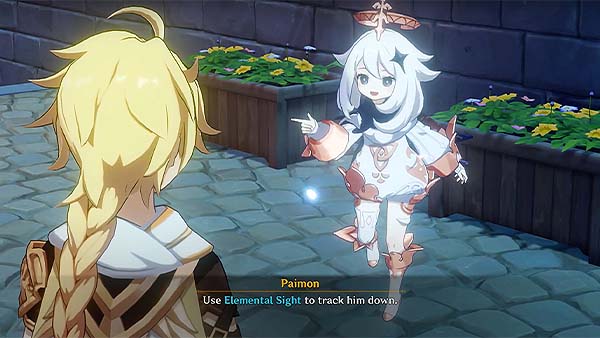
Paimon tells you to use your Elemental Sight to track the stranger down. Using the Elemental Sight helps scout out the elemental attributes of nearby entities. For this case, the stranger left Anemo footprints, you can follow the footprints and see where it leads you.
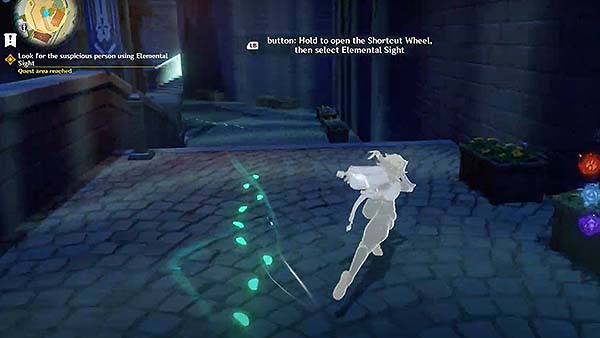
Constantly use your Elemental Sight to not lose track, if you are lost, just go back to where you came from and start from there again. Continue following the footprints until you trigger a dialogue with Paimon.
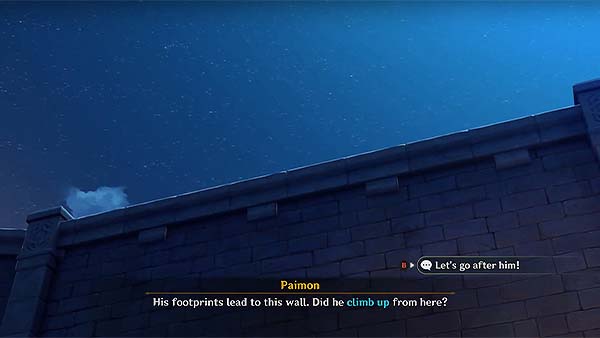
The footprints will then lead to a dead end at the wall, so it's safe to say that the stranger climbed through here. Proceed by climbing up the wall, and then continue to go up the stairs and continue following the footprints.
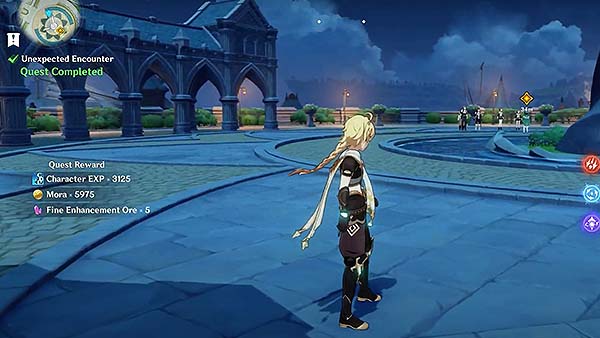
When you've reached the end of the tracks, you'll see the stranger near the fountain. The objective will conclude, and the next objective That Green Fellow will begin shortly after.
That Green Fellow
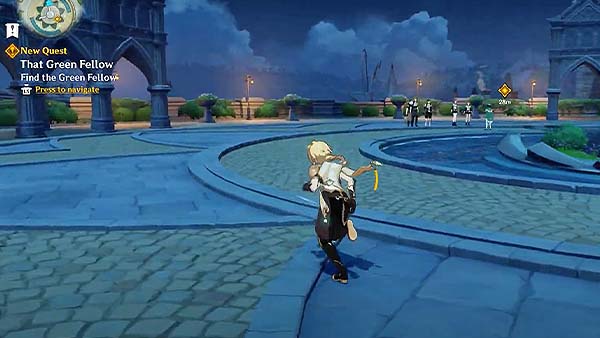
The objective will start right away after you've finished the previous one. Head on over to the stranger to trigger a cutscene.

The cutscene will start with the stranger surrounded by an audience, as you look closer, you see the stranger playing the lyre instrument.
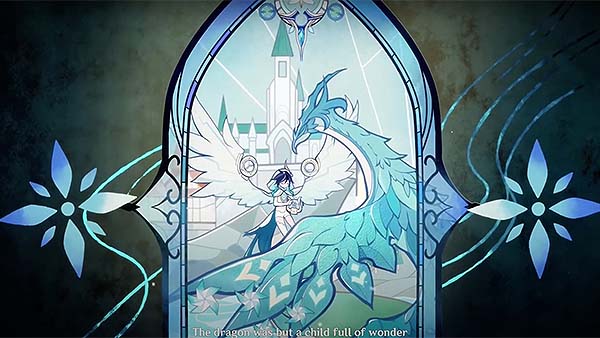
The rest of the cutscene will explain the story of the stranger, as well as the dragon, also known as Dvalin.
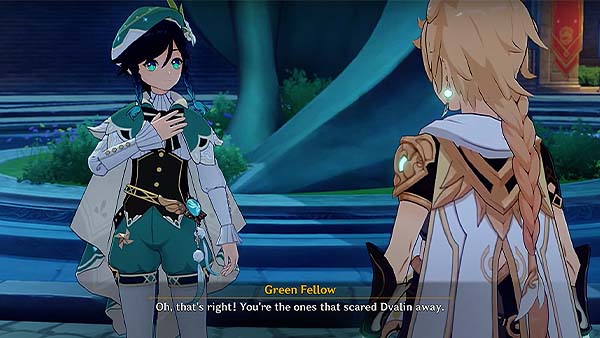
After the cutscene, most of the audience have left, and then the stranger will recognize you as the ones who scared Dvalin away.

He will then introduce himself as Venti the bard. Even tells you that he is the three-time winner of the "Most Popular Bard of Mondstadt", then asks what do you need from him.
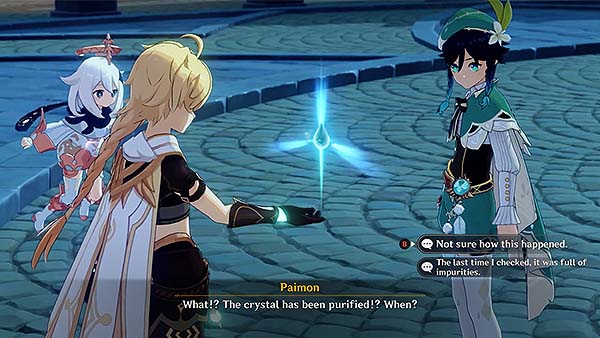
Then you show him the Crimson Crystal that you've been carrying, but it turns out, the crystal doesn't have its red glow anymore, it looks like the crystal has been purified.

Venti explains that those crystals are called Teardrop Crystals that come from Dvalin's tears, and it's because of the anguish he feels. Venti explains that Dvalin used to be a gentle child, but now he is full of rage and suffering. Venti also shows you that he came across a Teardrop Crystal and asks if you could purify it.

When you received the crystal, it slowly rises up and purifies it, removing its red glow.

After your talk with Venti, the game will prompt that the objective is completed, your next objective Let the Wind Lead will begin shortly after.
Let the Wind Lead
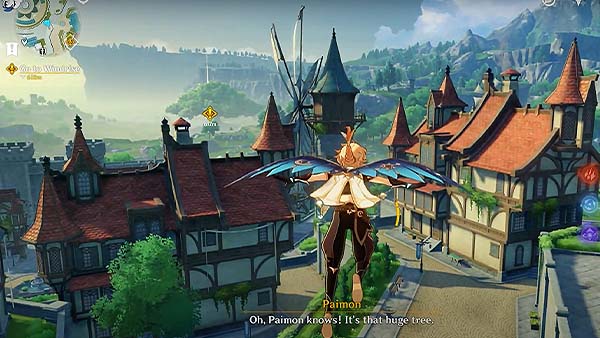
For this next objective, you will need to exit the City of Mondstadt and head on over to the gigantic tree at Windrise. You can travel on foot if you want, you would just have to follow the yellow icon. This way, you can look and pick up random items along the way.
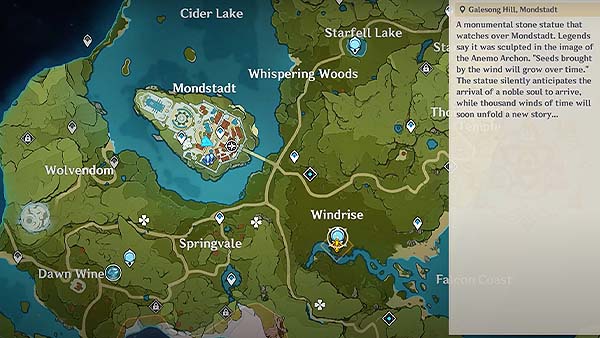
You can also go with the easy route, through fast travel. You can fast travel by opening your map, and selecting a Teleport Waypoint or one of the Statues of the Seven. In this case, you select the Statue of the Seven at Windrise near the yellow icon on your map.

Once you've reached Windrise, you'll see a giant tree in the middle, you can't miss it. You'll also see Venti near the tree, go towards him to trigger a dialogue.

Venti was surprised to see you there. You will then ask him about the God of Anemo, Barbatos. But Venti tells you that Barbatos disappeared from Mondstadt a long time ago. Venti then says that he is quite curious as to how everyone sees Stormterror. He then says that he hasn't been back in a while and that there are a few who are unhappy about his arrival.
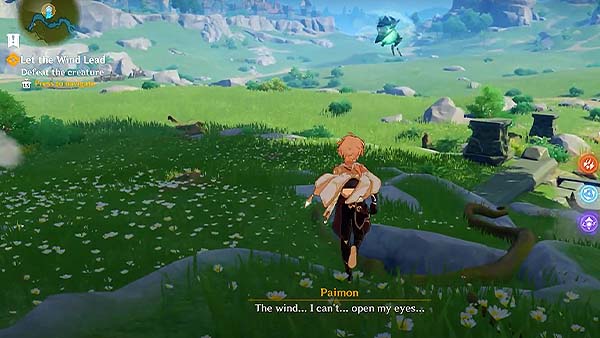
The dialogue will end, and you will see a new type of enemy you've never faced before. You will need to defeat this Wind Creature called the Eye of the Storm. This is an elite type of enemy and it requires a strategy to take this creature down. This can be a tough fight as it has multiple movesets in its arsenal that proves to be rather challenging at first, but once you pick up the pattern of its attacks, you'll get the hang of it. This Wind Creature is Immune to Anemo attacks, so refrain from using any of your character's Anemo abilities for now.
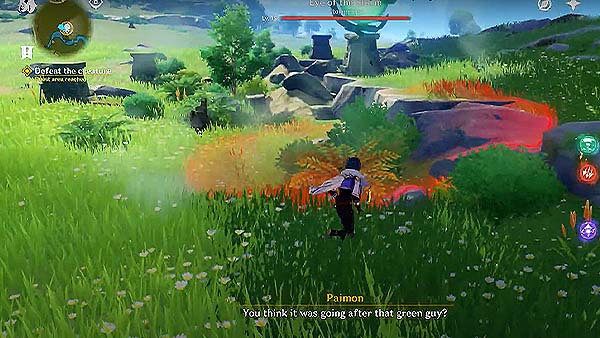
A good strategy would be to take note of its attack pattern first. It has an attack that creates a vacuum of wind that draws your character in the middle of the red circle, and then crashes down at the center.

You can dash out of the red circle to avoid being hit.

You can also try to hit them with an attack from a character that uses ranged weapons. You can choose Characters using Bows or Catalysts such as Amber and Lisa.
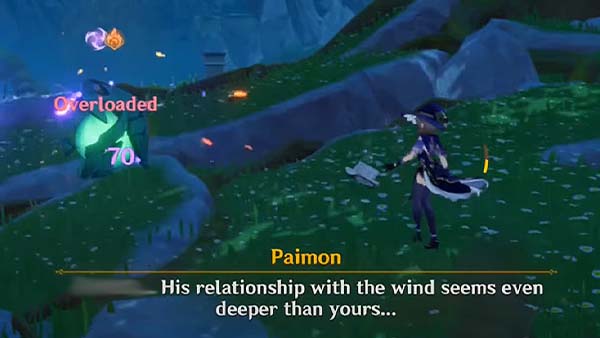
They would also be a good combo since using both of their elemental abilities causes the Overload reaction which creates a massive explosion that deals Pyro AoE damage.

Once you've interrupted it's attack, the Eye of the Storm exposes itself for a while. You can move in and use any of your main DPS character to deal damage. Also, note that the Eye of the Storm can be Frozen. You can use Characters such as Barbara to inflict Wet and then Kaeya to use Cryo abilities to keep the opponent from moving for a period of time.

It also has an attack where it stops moving for a while, and then starts forming a tornado that charges right at you. You can simply dodge this either to the left or right since the attack isn't homing.

The other attack creates a wind wall around an area, which will prevent you from moving to far away from the enemy. After a while, it will summon multiple tornadoes that will chase you and scatter rocks, dealing continuous AoE damage. While the Eye of the Storm is channeling its ability, it will also expose its core, and a single hit will make it fall to the ground.

While the enemy isn't attacking and it's just flying around idly, you can use Amber's charged attack to deal Pyro damage, and combine it with Lisa's Electro attacks to form an Overload reaction. This way you'll be able to eliminate the Eye of the Storm faster. You can also use Amber's Explosive Puppet to bait the enemy, and start dealing damage from there.

Once you've defeated the Eye of the Storm, another dialogue with Venti should trigger where he tells you about why the Stormterror has been causing havoc and why it's been filled with rage. He tells you that the Stormterror was also led astray by the lies of the Abyss Mage. The Abyss Mage are from the Abyss Order, an organization comprised of non-human beings who despise mankind. No one knows where they come from, but everyone knows that they hold a deep hatred towards the human world. Venti then proceeds to tell you that you should come with him to the Cathedral to claim a certain Holy Lyre der Himmel. The dialogue then ends, and the objective is completed.
The next objective Venti's Plan will begin shortly after.
Venti's Plan
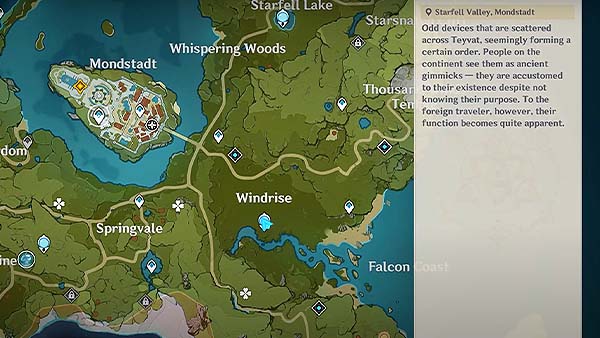
This next objective will start after the previous dialogue ends. You will have to go back to Mondstadt and go to the Cathedral. Again, you can choose to travel by foot or use a Teleport Waypoint located inside the city.

Once you've reached the city, follow the yellow icon leading towards the Cathedral to talk to Venti. A button prompt will appear, press the button to talk to Venti.
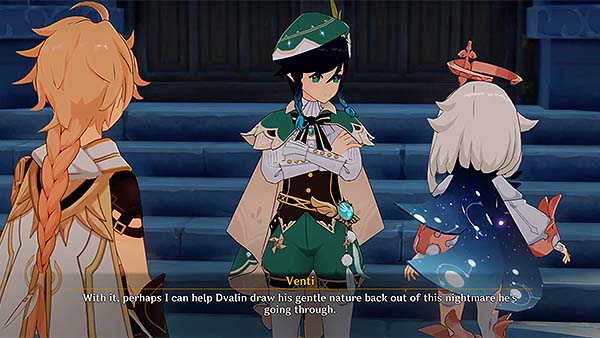
A dialogue will then trigger. Venti will tell you about the Lyre that Barbatos used to play, the Holy Lyre der Himmel. It is also one of the most treasured items in Mondstadt. Venti proceeds to explain that maybe with this item, he can help Dvalin draw his gentle nature back out of this nightmare he's going through and help stop him from causing more damage. The Lyre is enshrined deep within the Cathedral, somewhere safe. He then says that he'll take a look around the Cathedral, and you can come along if you want. The dialogue ends, you should then proceed to enter the Cathedral.

Once you're inside the Cathedral, you'll see Venti standing at the end of the hallway, go towards him. Another dialogue will occur. Venti will tell you to let him be the one to talk to one of the nuns inside the Cathedral about the said Lyre. When Venti asks the nun if he could borrow the Lyre, he was immediately turned down.
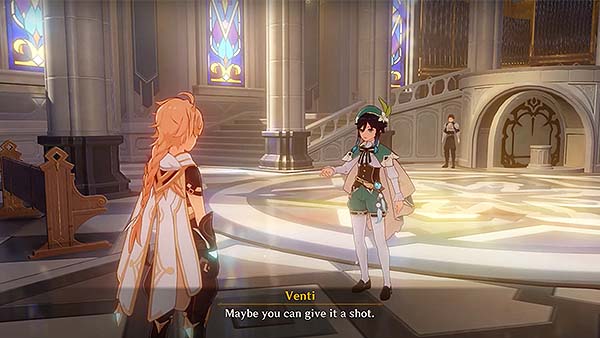
After talking to the nun, Venti discusses with you that since you're the hotshot of the Knights of Favonius, maybe you could give it a shot and try talking to the nun in order to get your hands on the Holy Lyre.
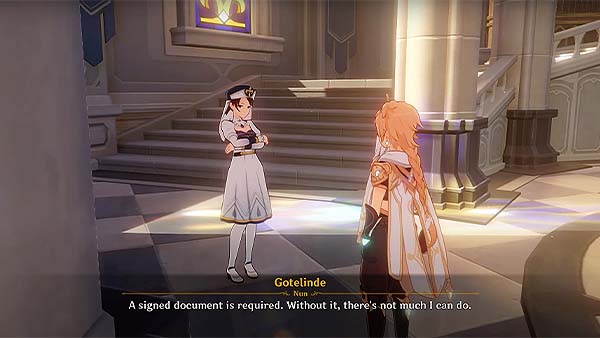
Now head towards the nun and talk to them. The nun tells you that there are certain requirements that needed to be signed in order to have access to the Holy Lyre. The dialogue ends, and the current objective is completed. The next objective Venti's New Plan will begin shortly after.
Venti's New Plan
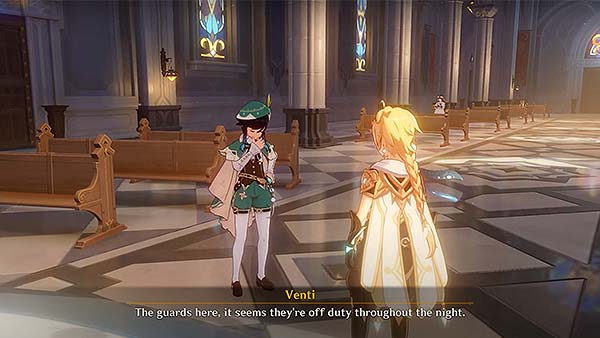
After the nun rejects you about the Holy Lyre, you then proceed to talk to Venti, he then discusses to you about the new plan. He tells you to try again and enter the Cathedral at night time.
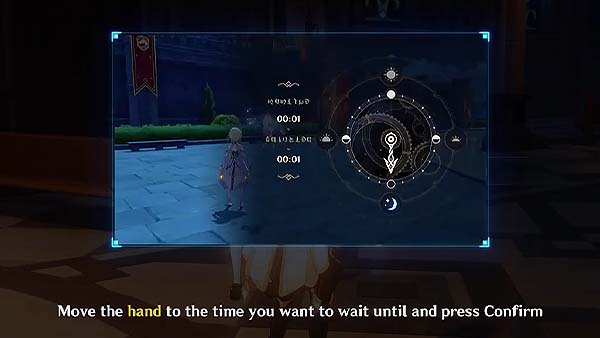
The game will then prompt on how to advance the time of the day. Simply open the Paimon Menu, then enter the Time Menu. You can then move the hand to the time you want to wait until and press Confirm.
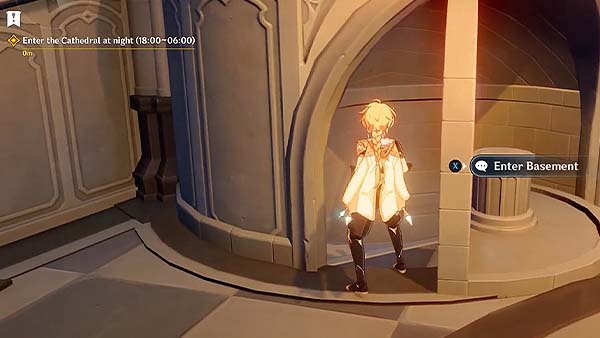
Now you should set the time between 18:00-6:00. Once you've advanced the time, go inside the Cathedral again, and head towards the end of the hallway and enter the basement.

Once you've entered the basement, you would need to infiltrate it in order to retrieve the Holy Lyre der Himmel.
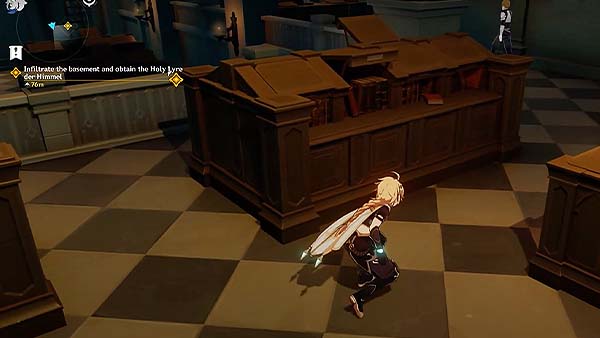
You would need to avoid the guards making rounds at the basement and stay undetected. You can hide between the aisle and bookshelves in the area.
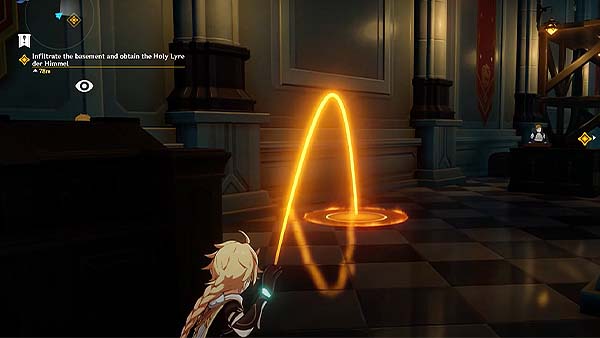
You can also throw a distraction if you want the nearby guard to be out of the way.
![]()
You will see an "eye" icon above their head, if they see you, a red meter will slowly build up. Try to observe the route they are taking. There should be a pattern. Observe properly and then proceed carefully.
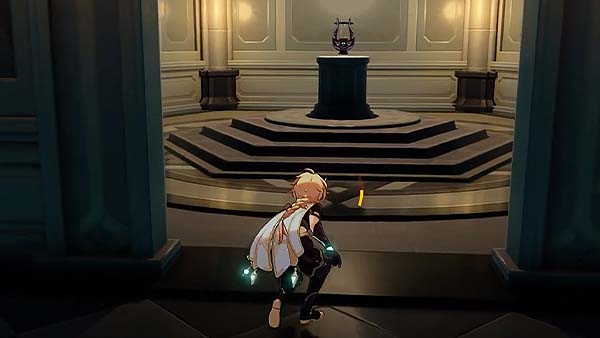
You will see the Holy Lyre placed at the end of the room, once you enter, a cutscene will occur.

And just when you are about to reach the Holy Lyre, a Fatui Electro Cicin Mage steals the item. When you start to approach her, she suddenly vanished.

You were then left to wonder how she disappeared. And then suddenly a guard shows up. Paimon will then suggest that you run for it. After the cutscene, the next objective Wild Escape will begin shortly after.
Wild Escape

This next objective will start immediately once you exit the Cathedral. You come off running towards Venti, and Paimon yelling that we got busted. Venti then tells you both to follow him.

A set timer will appear at the top of the screen, you would then need to jump off the ledge, open your Wind Glider, and follow the Wind Currents left by Venti to get as far away to the Cathedral as possible.
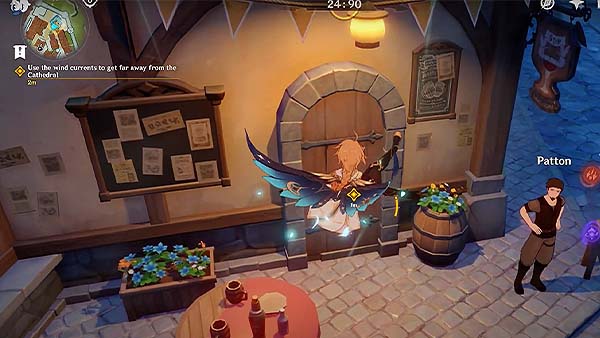
You will then have reached the end of the Wind Currents. Just proceed in follow the yellow icon, but don't forget to land safely. Once you get close enough to the yellow icon, you will automatically enter the establishment.

Once you enter the establishment, a cutscene will occur. Venti tells Diluc that you guys are looking for a seat at the least conspicuous table. Diluc then tells you that the second floor has fewer customers, and we'd be less conspicuous there.
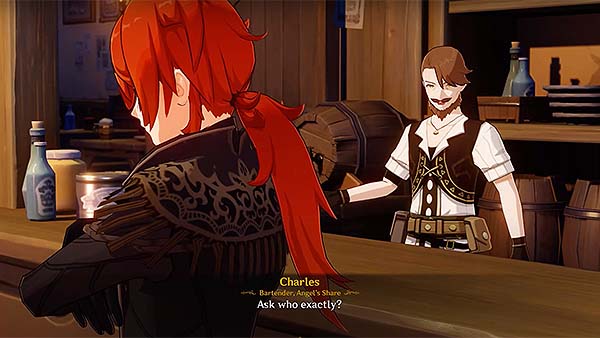
Diluc finds us a bit suspicious, so he'll start asking around. The cutscene ends, then you should head up the stairs, once you've reached the second floor, another cutscene will occur.
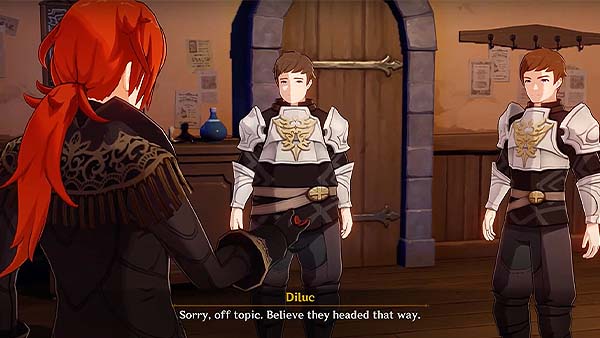
The guards that were chasing us before has entered the establishment. They start asking Diluc if they've seen two thieves around and explained that they've attempted to steal the Holy Lyre. Unexpectedly, Diluc points them in the wrong direction.
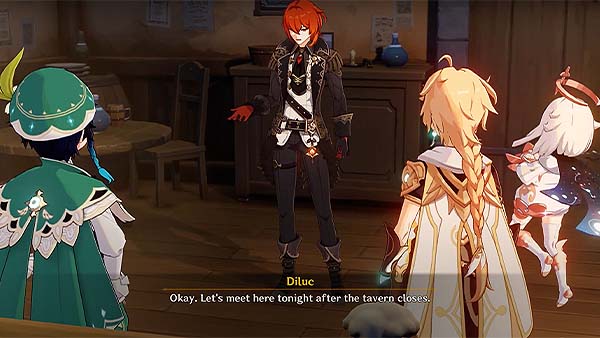
Once the guards have left, you head down the stairs, and another cutscene will occur. Diluc then stops Venti from drinking, and wants answers about the stolen Holy Lyre. Once you're done discussing about the Holy Lyre and giving Diluc some confidential information. The cutscene ends, and the objective is finished. The next objective Behind the Scenes will begin shortly after.
Behind the Scenes
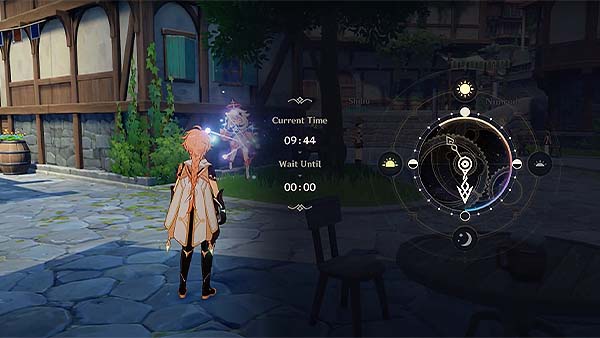
This objective will begin with you leaving the tavern first. Once you've left the tavern, you would need to advance time. Set the time between 00:00-6:00 to wait til the tavern is closed, then enter the tavern again.

A cutscene will occur when you enter the tavern. You will see Jean, Diluc, and Venti gathered inside. Jean was surprised to find out that you're the suspect. Diluc then explains that Jean came to the tavern as "Jean" herself, and not as the Acting Grand Master of the Knights of Favonius.
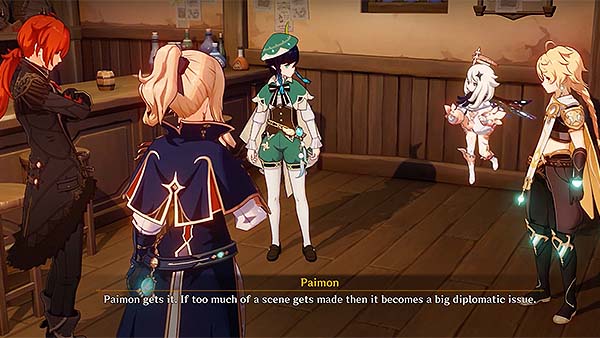
You did not need to persuade Jean to convince her on the incident about the Holy Lyre, because she could not think of a reason for Dvalin's betrayal, given it was once one of The Four Winds. Jean then explains that she could only do this in private, since doing this publicly would have the people think that she's lost grip on the gravity of the situation, and that if too much of a scene of a scene gets made, then it becomes a big diplomatic issue.
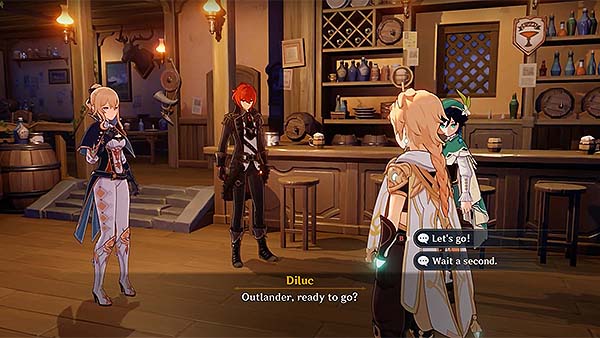
Diluc will then ask you if you're ready to go. You should choose the option "Let's go!", the dialogue will end and the objective is complete. The next objective Chasing Shadows will begin shortly after.
Chasing Shadows
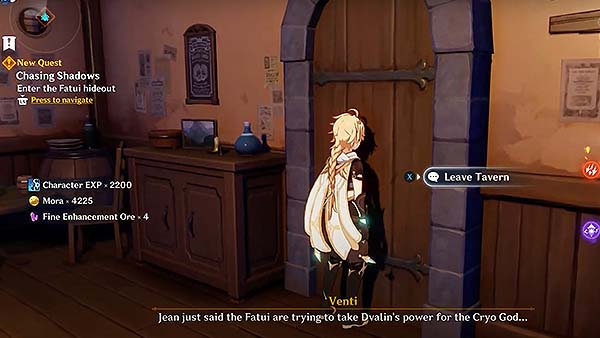
After the dialogue from the previous objective, you will need to head over to the Fatui Hideout. Exit the tavern first.
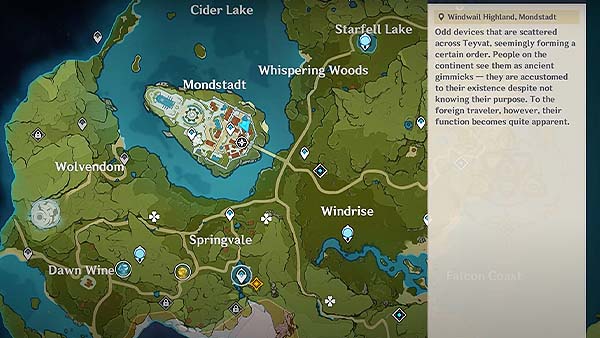
You will then have to exit the City of Mondstadt and follow the yellow icon leading to the Fatui Hideout. You can travel by foot or by using a Teleport Waypoint to fast travel. If you want to fast travel, just open the Map, look for the nearest Teleport Waypoint unlocked near the yellow icon. There should be one near Springvale, select that to fast travel.
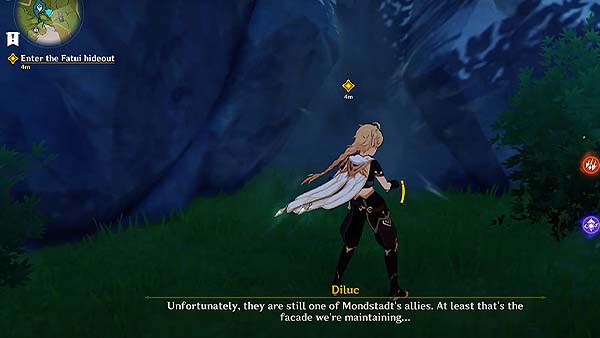
Once you've arrived at the Teleport Waypoint, proceed by following the yellow icon. The Fatui Hideout should look like a cave. Go near the Hideout, a button prompt will appear, press the button to enter the Hideout. It will show on the screen that you will now be entering a Domain Entrance, and the objective is to retrieve the Holy Lyre der Himmel. It will also show the recommended party level, as well as recommended elements to use during this run. The objective says that you will need to defeat the guards inside and take back the Holy Lyre der Himmel.

Once you press start, you can choose to switch your party members, take note of the recommended party level as well as the recommended elements, as it will help you complete this objective easier. Once you've chosen you set of character, you can then proceed and press start.

Once you enter the Hideout, you will automatically have Diluc in your party as an extra member. You will then have to cross a bridge with rotating flame traps set in some parts of the bridge. You would have to wait for the traps to flip over in order to cross safely.
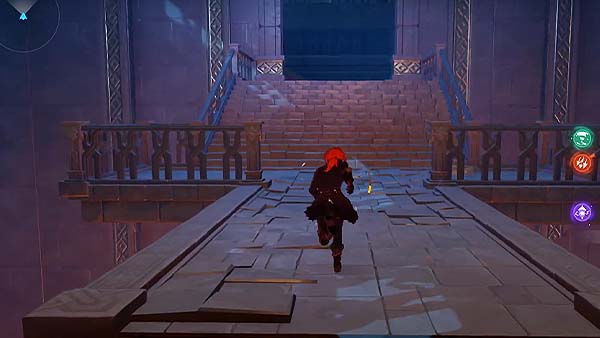
Once you've crossed the bridge safely, go straight, and head up the stairs.
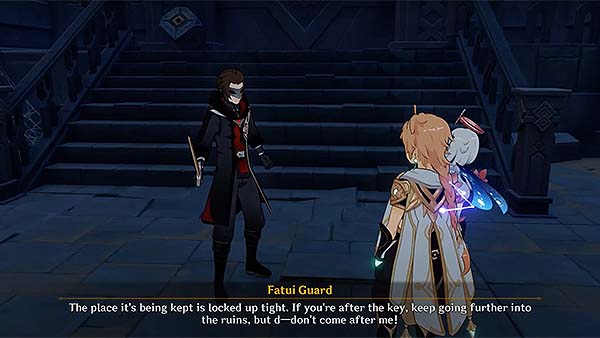
Just follow the path of the stairs, and it will lead you into a room, you will then see a Fatui Guard on standby. Interrogate the Fatui Guard. The Guard tells you that the floor's defenses have been broken. He also tells you that you should keep going into the ruins of you're looking for the key, one of the Fatui Guards has it.
![]()
After interrogating the Fatui Guard, head towards the console you see beside the door, activate the console and the door should open. Proceed to follow the path leading to the next room. Once you've entered the room, four yellow icons will pop on your screen. These are locations of the remaining Fatui Guards inside the ruins. You should explore the ruins to find one of the guards holding the key.
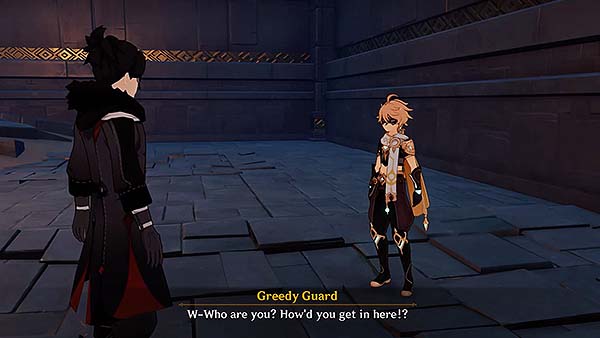
The room on your right is where you'll find the first guard, interact with them to interrogate the guard. You will also choose your dialogue during this interrogation.
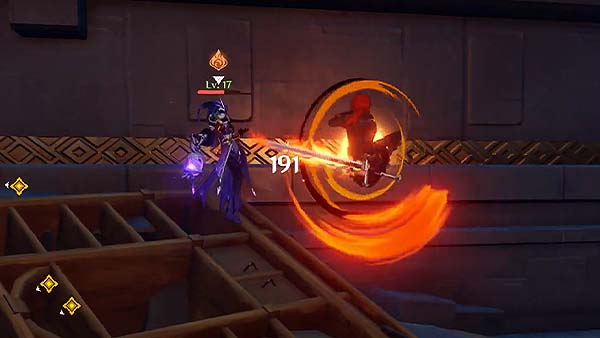
Once that's done, a Fatui Electro Cicin Mage will appear. Defeat the enemy and continue looking for the key.
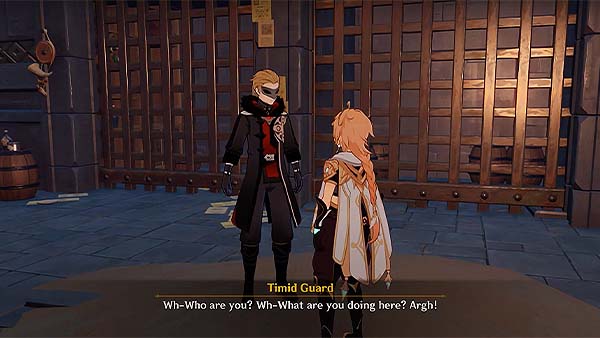
You can proceed to go upstairs on the left, you'll find another guard there. Interact with the guard to interrogate them. You will have to choose your dialogue during this interrogation. The guard will then give you the key.
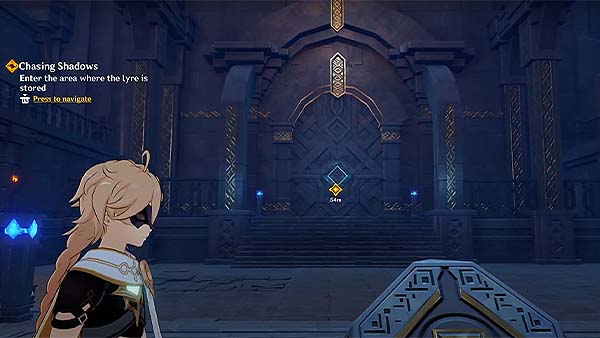
Head downstairs, you'll see a console in the middle of the room. Use the key to activate it, and the door will open.

Now you can enter the room, you'll see another console there, hop on the platform where the console is, and activate it. It will lead you to the second floor.
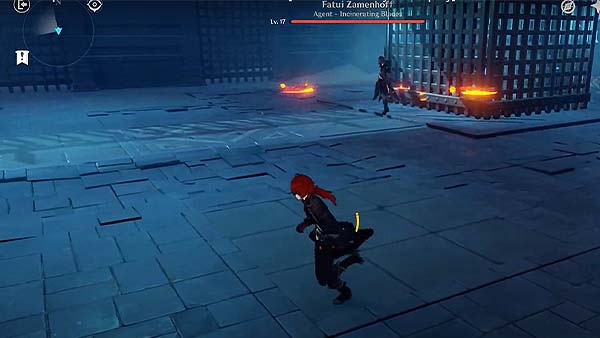
When you enter the next room, you will come across Fatui Zamenhoff. This enemy is capable of using invisibility for a short amount of time, and also uses Pyro abilities.
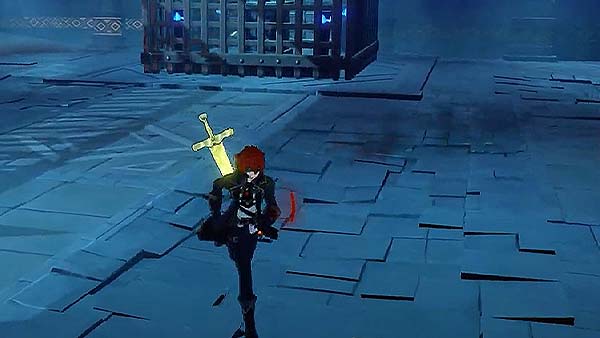
When it turns invisible, you can actually see a line of smoke form on the ground when it tries to move, keep an eye on it, and then swing you weapon to the direction of where you see smoke, you'll eventually hit him.
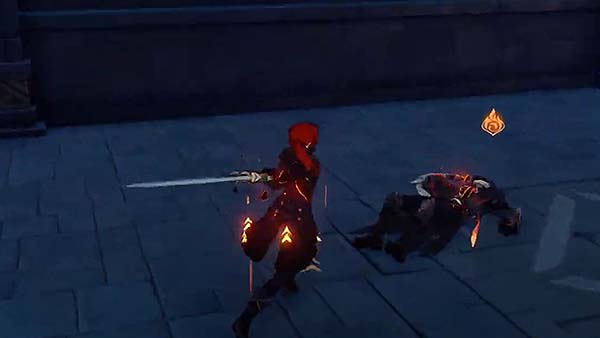
This enemy has other attacks but they aren't as complex, so it's safe to say you'll be able to take this enemy down with ease. Just focus on hitting the opponent with succession of attacks, use your main DPS character to quickly defeat him.
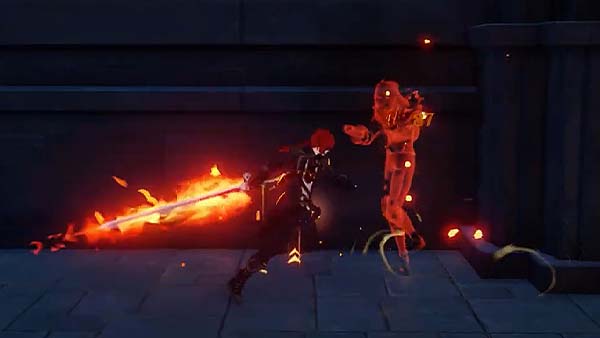
Also take note that when you've dealt an elemental damage to him just before he activates his invisibilty, you can actually see him.
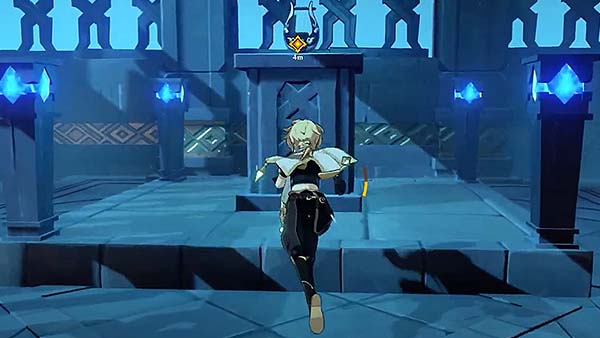
Once you've defeated him, the cage where the Holy Lyre is being stored will now open. Go towards it and obtain the Holy Lyre der Himmel, a cutscene should trigger shortly after.
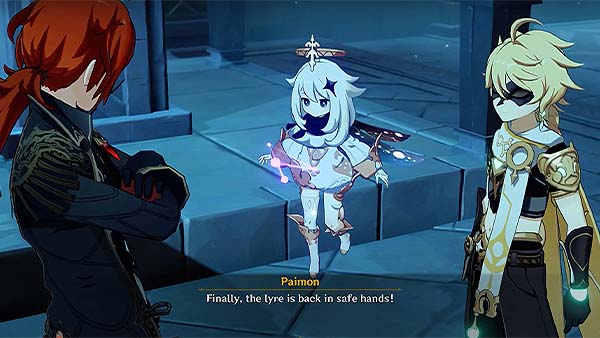
After the short cutscene, the game will prompt that you've completed the objective, and you will then gain the Holy Lyre der Himmel. The next objective State of the Holy Lyre der Himmel will begin shortly after.
State of the Holy Lyre der Himmel
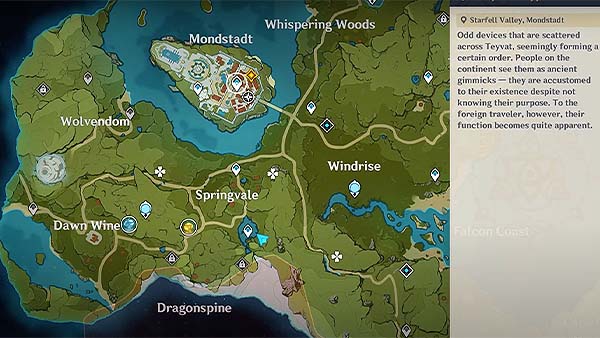
This next objective will begin by stating that you will have to bring the Holy Lyre der Himmel back at the tavern. Exit the ruins to continue. Then open you map, select a Teleport Waypoint near the yellow icon inside the City of Mondstadt.
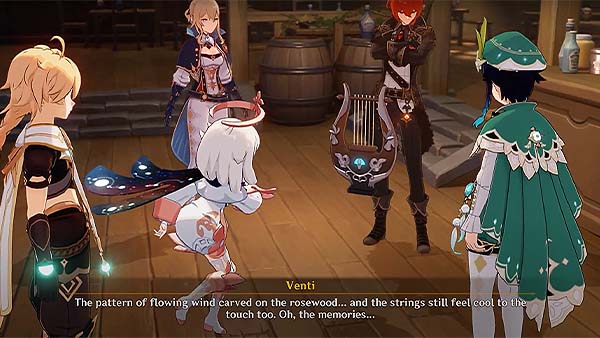
Once you're back at the city, follow the yellow trail leading towards the tavern. You'll meet up with Venti, Diluc, and Jean inside the tavern. Venti then explains that the Lyre probably won't work because of the strings, it has lost most of its Anemo powers through the years.

Venti then asks that maybe you could try fixing it by using the Teardrop Crystal on the Holy Lyre. A button will then prompt, press the button to use the Teardrop Crystal on the Holy Lyre. Upon using the Teardrop Crystal, the Holy Lyre seems to have been repaired, and the item looks different than before, the wooden brown color changed into gold, giving the instrument a shine, as well as giving the strings a green glow.

Even thought the Holy Lyre is repaired, its power is far from replenished. Venti says that we should acquire more Teardrop Crystals to power up the Holy Lyre. Jean announces that she will mobilize the rest of the Knights to assist in finding more Teardrop Crystals, and once they've found one, you will be in charge of the purification process. After the meeting, your next objective Fallen Tears will begin shortly after.
Fallen Tears
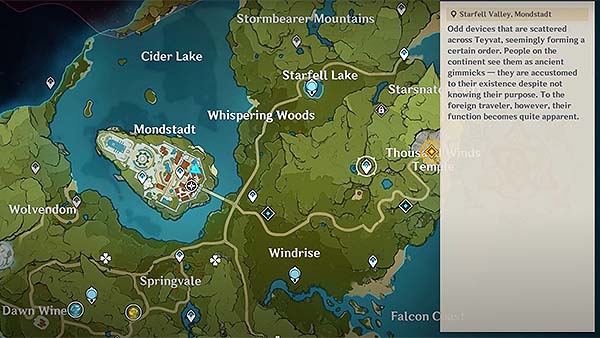
This next objective will begin just right after the meeting. First, exit the tavern. You will then need to go to the Thousand Winds Temple. It will be much easier if you fast travel. Open your map, then select a Teleport Waypoint that's nearest to the Four Winds Temple.

Once you've teleported to the waypoint, proceed to follow the yellow icon to reach the Four Winds Temple. You will need to defeat the monsters guarding the ruin to complete the challenge. You will see a Ruin Guard roaming around guarding the temple, you need to defeat this enemy in order to advance. The Ruin Guard has 2 weak spots, the glowing eye in front and a small socket at their back. Shooting these weak spots can temporarily paralyze or destabilize them. You should use this to your advantage.
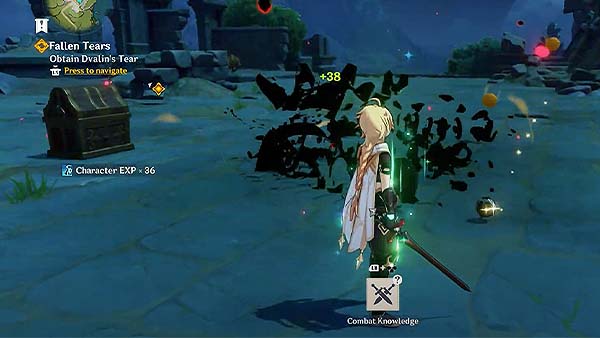
Once you've defeated the Ruin Guard, a precious chest will appear. Open the chest to obtain a Teardrop Crystal. After that, a cutscene will occur. After the cutscene, your next objective Hidden Tears will begin shortly after.
Hidden Tears
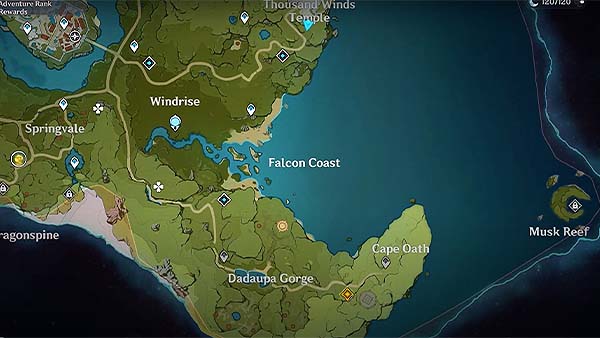
For this objective, you will need to go to the ruins in the woods. Open your map, you will see the objective just in the middle of places named Cape Oath and Dadaupa Gorge. There is a Teleport Waypoint located near cape Oath, you can use that to fast travel. Once you've reached the waypoint, continue by following the yellow icon that will lead you to the ruins. When you've reached the ruins, press interact. It will show you 2 missions, but you will only need to pick the mission called "Hidden Teardrop in the Heart of the Jungle". It will also show the recommended party level as well as the recommended elements that can help you in finishing this run easily. Before you enter the ruins, you will be given the option to switch up your party members. Choose Characters who have elemental abilities that are best suited for this run. And as for this one, you will need to atleast pick a character with an Electro or Cryo ability.

Once you enter the temple, you will see a platform just across where you're standing at, you will need to glide to reach the other side.
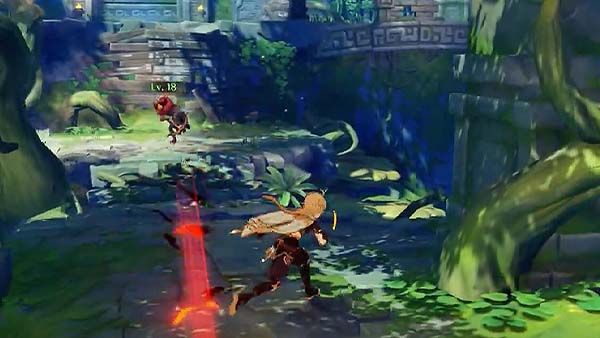
Once you've reached the other side, turn right, you will see a Hilichurl Shooter standing in the middle of the bridge. Defeat this enemy to move on.

Climb up the platform, you will then spot a locked chest in the middle, and 2 enemies at first. An Electro Hilichurl Shooter at the top left, and a Cryo Hilichurl shooter at the top right. Once you get close enough to the locked chest, 2 Pyro Slimes will spawn. Defeat all the enemies in the area to unlock the chest and open the door in the middle.

When you enter the next area, you will spot a locked chest on the far left corner, and guarding that are four enemies. You will see a Large Pyro Slime, a Pyro Slime, a Pyro Hilichurl Shooter, and an Electro hilichurl Shooter. Defeat these enemies to unlock the chest. The game will also show you that there's a Wind Current you can use on the far right corner of the area.
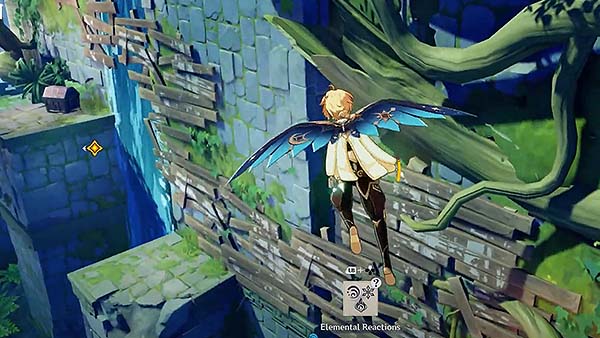
Use your Wind Glider to ride the Wind Current to reach to platform at the top. You spot a chest there. Open the chest and continue to the next area.
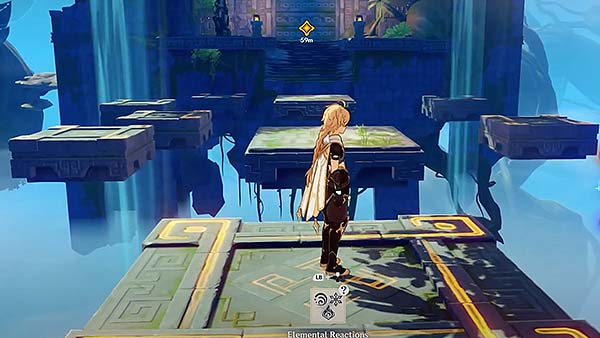
Jump down, you will see a moving platform, wait for it to reach you before you hop on over. ride the moving platform and wait for it to reach the next platform at the top. Jump on top of the next platform, there's another moving platform next to it, jump on top of the second moving platform, and it should lead you to another set of moving platforms that will form a bridge for you to get to the next area.
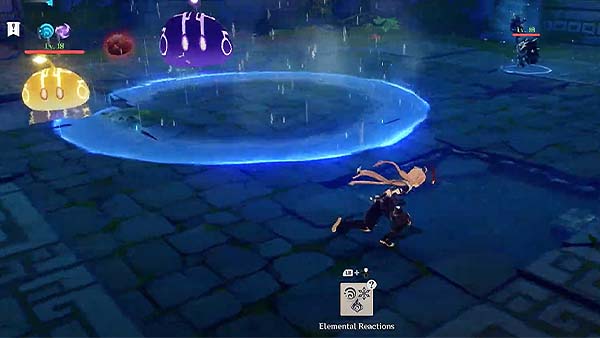
Once you've crossed the bridge, a door should open. You will see inside a locked chest on the far right corner of the room. There are four enemies in the area, a Large Electro Slime, a Mutant Electro Slime, and a Hydro Samachurl. You will need to first defeat these three enemies before the fourth enemy, a Pyro Abyss Mage, spawns.
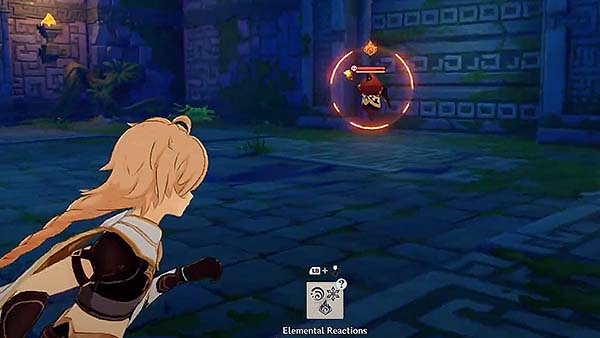
The Abyss Mage is an elite type of enemy, it can be a tough opponent to take down, especially with its barrier protecting it. You will be able to break this barrier easily by using the corresponding element that will weaken it. As for this case, since the Abyss Mage is using Pyro abilities, you can use Characters with Electro, Hydro, or Cryo abilities. Once you've broken its barrier, it would be a lot easier for you to deal damage to it. Don't take too long, because once it gets the chance, it will create another barrier for itself at full health, so you should try using your main DPS character once the barrier is broken to quickly defeat this enemy.
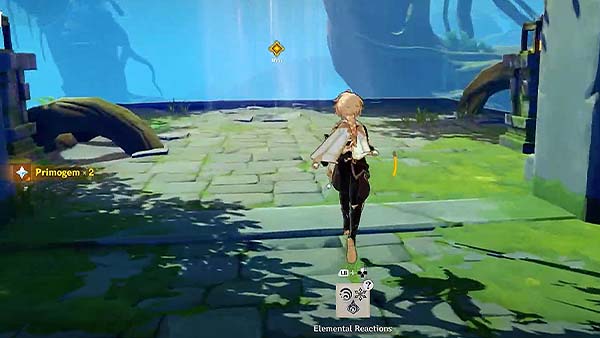
Once you've defeated the Abyss Mage, the chest will be unlocked and the door will open. Exit the room, and you will see another Wind Current. Use your Wind Glider to ride the Wind Current that will lead you to the next area.
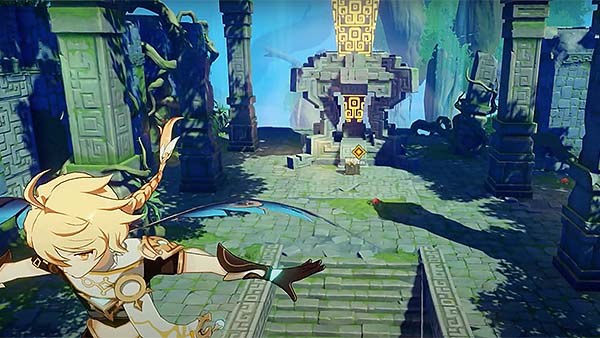
When you reach the area, there will be a chest located in the middle, open it and it will trigger a short dialogue. Paimon is glad the you're done with gathering the crystals, but Diluc says it's too early to relax since you're not yet done dealing with the Stormterror, and that the Fatui could also be plotting something.
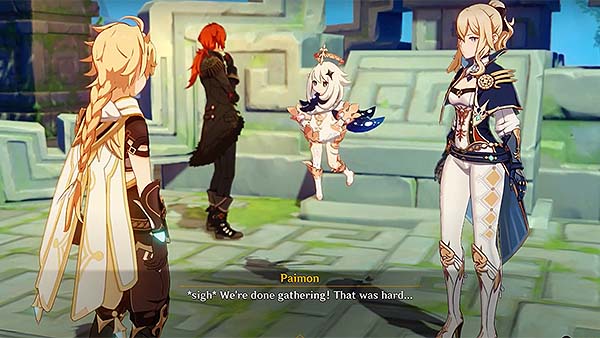
After the short dialogue, the game will then prompt that the challenge is completed, and you will have obtained another Teardrop Crystal. Exit the ruins and your next objective Stolen Tears will begin shortly after.
Stolen Tears
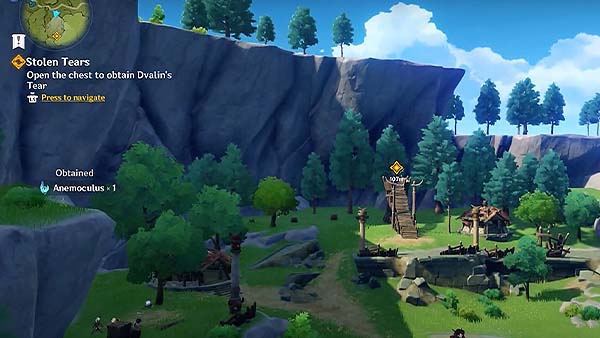
You will need to go to the Eclipse Tribe at Dadaupa Gorge to begin this objective. You don't need to fast travel to reach the place since you're already near it once you've finished the previous temple. Just follow the yellow icon and it should lead you there. Once you reach the area, you'll see a camp with different types of Hilichurls guarding a chest. Defeat the enemies inside the camp in order to unlock the chest and obtain Dvalin's Tear.
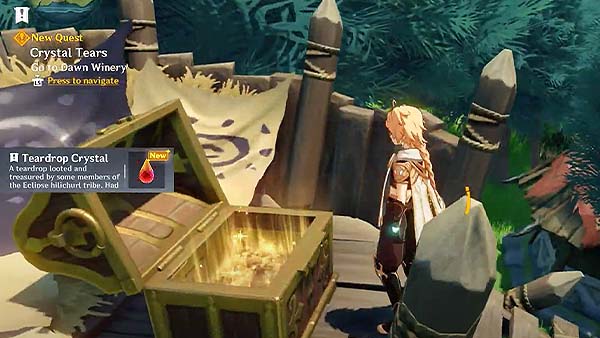
Upon obtaining another Teardrop Crystal, you next objective Crystal Tears will begin shortly after.
Crystal Tears
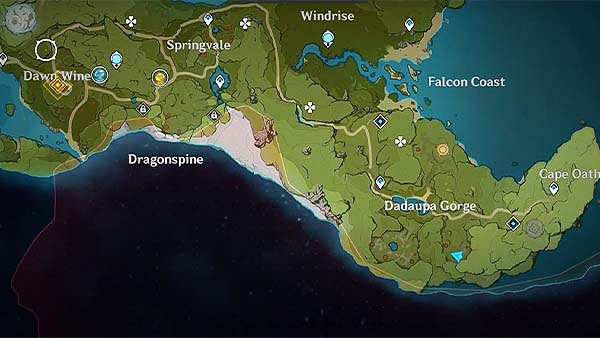
After obtaining a Teardrop Crystal from the previous objective, you will then need to head over to where the next objective is, which is at Dawn Wine. You can open your map, you will see there's a Statue of the Seven near the objective, you can use that to fast travel.

Once you've fast traveled, continue by following the yellow icon, it should lead you to Dawn Winery.

When you arrive at the Dawn Winery, you'll see Diluc, Jean, and Venti together. Approach and go talk to them. A dialogue should occur, you will now start purifying all the Teardrop Crystals you were able to gather. After purifying the crystals, you will now use them to repair the Holy Lyre once again. A button will prompt on screen, press the button to repair the Holy Lyre. Once the Holy Lyre is repaired, Venti says that the Lyre's Anemo power seems to be fully restored and we should be able to use it now to summon the Stormterror. Jean asks where should we summon Stormterror, and says that it should be away from the city, just incase we fail.

Venti suggests that it should either be near the sea or at high places. Diluc says that if you go east from Starfell Lake, there are mountains south of the beach, and if you head to where the cliff juts out, that place is known as Starsnatch Cliff. The place seems to meet the requirements for the Holy Lyre to work properly. Venti agrees, and Jean says that we should meet at Starsnatch Cliff when we are all ready. The next objective Reunion with the Dragon will begin shortly after.
Reunion with the Dragon
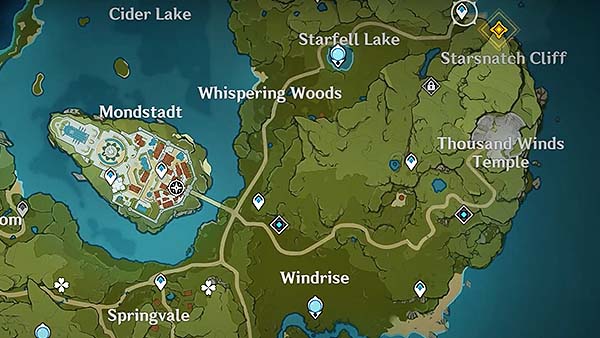
You will need to head over to Starsnatch Cliff to begin this objective. You can open you map, you'll see a Teleport Waypoint near the objective at Starsnatch Cliff. You can use that to fast travel.

Once you've reached the waypoint, proceed by following the yellow icon leading you towards the cliff.
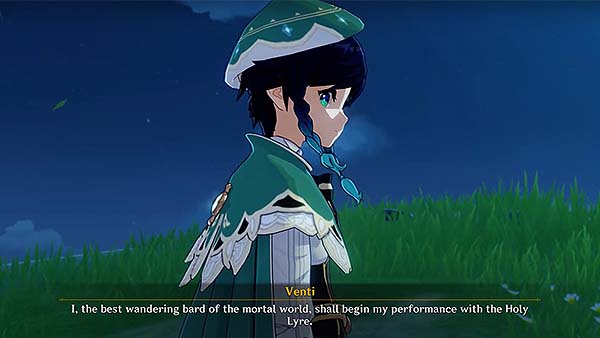
Upon reaching the cliff, a short dialogue will occur. Venti, Jean, and Diluc are all here. Venti then says that he will begin his performance with the Holy Lyre.

A cutscene should follow after the short dialogue, where Venti was able to use the Holy Lyre to summon the Stormterror, Dvalin.

After being summoned, Dvalin starts off by telling Venti that what has been done cannot be undone. Venti says he can still see sadness in Dvalin's eyes, and that he's yearning for this song.

While in the middle of a conversation, the Holy Lyre was suddenly shot by an elemental ability from afar, and the Lyre seems to have been broken.

A Cryo Abyss Mage suddenly reveals itself hiding behind the Stormterror, and tells the dragon to not be fooled, and continues to brainwash Dvalin with lies and hate.

Dvalin now thinks that Venti was planning to have him slain by the Knights of Favonius. The Abyss Mage then says that the time has come for the dragon to serve its true master. The Stormterror flies away together with the Abyss Mage, leaving the scene. After the cutscene, Jean accidentally slips and reveals Venti's true identity, Barbatos. Venti then thanks Jean for continuing to use the name Venti. Diluc then asks if the Holy Lyre can still be played and if it needs to be prepared. But unfortunately, it looks like it's beyond repair by now.
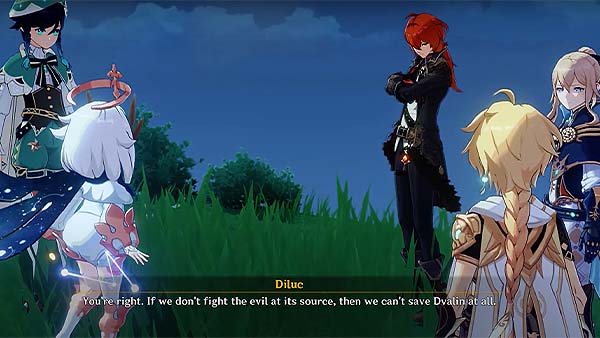
You would then continue to discuss what's your next move, Diluc suggesting that we should fight the evil at its source to save Dvalin. He also says that he's got a plan and to wait for his word. He'll make sure the Abyss Order knows that their blatant disregard for Mondstadt will not go unpunished.

After the discussion, another cutscene will occur, where it'll show your Twin, being accompanied by the Abyss Order, and being referred to as "Your Highness". It looks like you're twin might be the mastermind for all of this.
After the cutscene, the game will prompt that the quest For a Tomorrow Without Tears is finally completed.
The next main quest after this is called Song of the Dragon and Freedom, but you will need to reach AR 18 first before you are able to proceed with this next main quest.
Trivia & Notes:
Trivia and notes go here
