Song of the Dragon and Freedom is an Archon Quest in Genshin Impact. Archon Quests cover the main story of the game that follows the adventure of the Traveler and Paimon as they set off on a quest to search for the Traveler's lost twin. As players progress, Archon Quests requires a certain level Adventure Rank (AR) to be unlocked in order to continue through the act.
General Info
- Act: Prologue: Act 3
- Required AR: 18
- Previous: For a Tomorrow Without Tears
- Next: Of the Land Amidst Monoliths
- Bosses: Stormterror
NPCs & Characters
- Paimon
- Jean
- Diluc
- Venti
- Amber
- Kaeya
- Otto (Knights of Favonius)
- Cyrus (Branch Master, Adventurer's Guild)
- Nimrod
- Grace (Nun)
- Sara (Waitress, Good Hunter)
- Fatui Agents
- La Signora (The Fair Lady, The Eighth of the Eleven Fatui Harbingers)
Bosses
- Stormterror
Items
Reward/s:
- Adventure EXP: 2,715
- Primogems: 80
- Mora: 91,400
- Fine Enhancement Ore: 28
- Mystic Enhancement Ore: 13
- Adventurer's Experience: 33
- "Pile 'Em Up": 3
- Memory of Roving Gales: 1
- Tainted Blood: 1
- Barbara: 1
- Favonius Bow: 1
Enemies
- Hydro Abyss Mage
- Hydro Samachurl
- Cryo Hilichurl Shooter
- Wooden Shieldwall Mitachurl
- Anemo Samacurl
- Pyro Hilichurl Grenadier
- Large Geo Slime
- Geo Slime
- Pyro Abyss Mage
- Dendro Samachurl
Song of the Dragon and Freedom Walkthrough
This is the third main quest you will unlock in Genshin Impact, but you will have to finish the previous quest For a Tomorrow Without Tears, as well as reach AR 18 before you can proceed with this quest. You should consider doing Daily Commissions or World Quest to quickly increase your AR.
Related Objectives and Rewards
The following rewards listed below are provided after completing each objective related to the Archon Quest: Song of the Dragon and Freedom
Abyss Mage
- Description: After the failed attempt to restore Dvalin back to his old self, you then head back to Dawn Winery and meet up with Diluc as he shares his new lead...
- Adventure EXP: 350
- Primogem: 0
- Mora: 10,725
- Other Rewards: Mystic Enhancement Ore x2, Adventurer's Experience x4
Hurdle
- Description: You come back to the Stormterror's Lair, only to find out it is being surrounded by wind barriers.
- Adventure EXP: 350
- Primogem: 0
- Mora: 10,725
- Other Rewards: Mystic Enhancement Ore x2, Adventurer's Experience x4
Empty Abode
- Description: Venti was able to break the wind barrier, you are now able to enter Stormterror's lair and find a way to the top of the tower.
- Adventure EXP: 300
- Primogem: 0
- Mora: 8,775
- Other Rewards: Fine Enhancement Ore x10, Adventurer's Experience x3
Light Guiding Ceremony
- Description: Just a few more steps to finally confront Stormterror, but the light actuators aren't activated yet. You must activate these light actuators scattered around the area to continue.
- Adventure EXP: 365
- Primogem: 20
- Mora: 11,325
- Other Rewards: Mystic Enhancement Ore x2, Adventurer's Experience x3
Calm Before the Storm
- Description: All the light actuators have been activated, all that's left is to confront Stormterror and finally put an end to this nightmare.
- Adventure EXP: 275
- Primogem: 0
- Mora: 8,000
- Other Rewards: Fine Enhancement Ore x9, Adventurer's Experience x3
A Long Shot
- Description: You will now finally confront Stormterror and face him head on in battle.
- Adventure EXP: 425
- Primogem: 30
- Mora: 12,400
- Other Rewards: Mystic Enhancement Ore x3, Adventurer's Experience x5, Barbara x1, Favonius Bow x1, Tainted Blood x1
When the Wind Dies Down
- Description: You've managed to beat Stormterror and he is finally back to his old self, Dvalin.
- Adventure EXP: 275
- Primogem: 0
- Mora: 18,125
- Other Rewards: Mystic Enhancement Ore x2, Fine Enhancement Ore x9, Adventurer's Experience x7, "Pile 'Em Up" x3
Ending Note
- Description: Jean is waiting for you at the Cathedral, wanting to talk about something regarding the Holy Lyre der Himmel.
- Adventure EXP: 375
- Primogem: 30
- Mora: 11,325
- Other Rewards: Mystic Enhancement Ore x2, Adventurer's Experience x4, Memory of Roving Gales x1
Abyss Mage
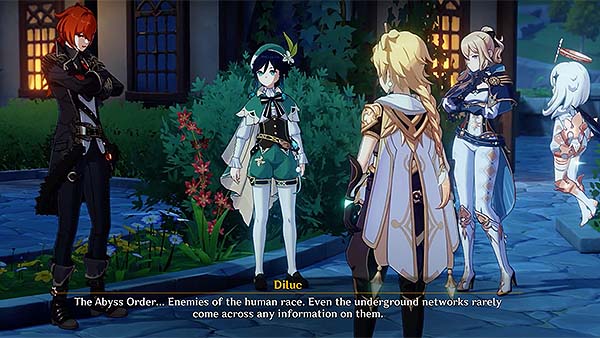
This main quest will start once you meet up with Diluc at the Dawn Winery, go there and talk to him. Diluc will then discuss and share to the group the information he has gathered about the Abyss Order. He says that they've managed to track the Abyss Mage to the vicinity of the winery. Jean says it is important to not let it escape.
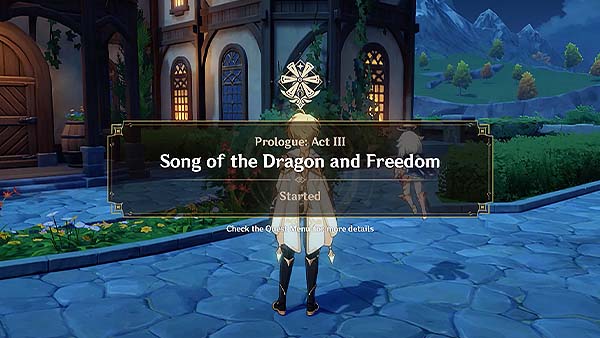
After the discussion, a prompt will appear and show that you've officially started the quest Song of the Dragon and Freedom. Then the first objective will lead you to where the Abyss Mage is.
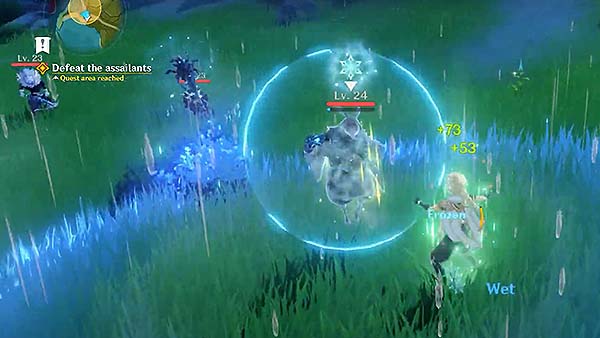
Once you've spotted the Abyss Mage, you will see it is accompanied by two other enemies, a Cryo Hilichurl Shooter, and a Hydro Samachurl.
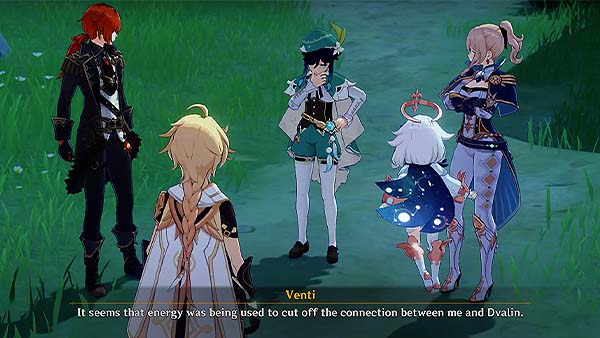
After defeating the enemies, Venti will then say that a certain energy was dispersed from the body of the Abyss Mage after it was defeated, and it looks like the energy was being used to cut off the conmnection between him and Dvalin. Venti will then discuss about Stormterror's Lair, and how Dvalin took the ancient ruins as his lair when he woke up. He says that the entrance to the ruins is also sealed by a special barrier, but now he is able to read the rhythmic flow of how the barrier's magic was woven because of the energy that was dispersed from the Abyss Mage. He explains it should be enough to let us break through the storm barrier and reach Stormterror's Lair.
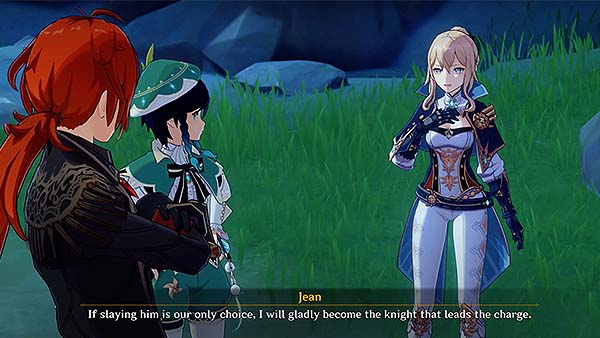
Diluc and Jean talk about how you should confront Dvalin, and that if there is a need to take him down, Jean will gladly lead the charge. Venti says that you have yet to need to go that far, and explains that your trump card wasn't the Holy Lyre, it was you, the traveler. It was because you were able to purify the Teardrop Crystals, and the impurities from the tears and the curse that binds Dvalin belong to the same maleficent power.
The dialogue ends, and your next objective Hurdle will begin shortly after.
Hurdle
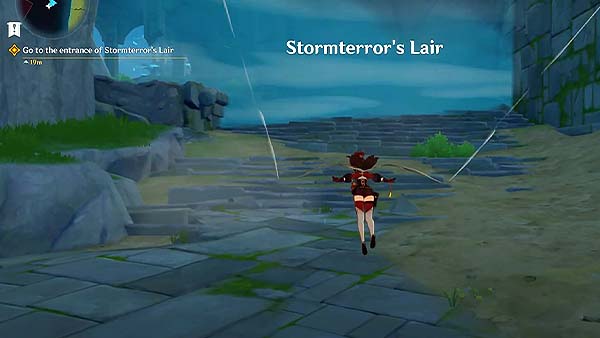
After finishing the previous objective, you will now need to go to the entrance of Stormterror's Lair. Just follow the yellow icon presented on the screen.
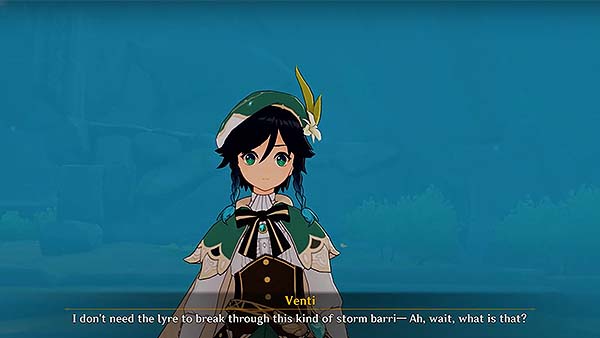
A cutscene should trigger once you reach the entrance. Just when Venti was about to break the storm barrier, three Hilichurls show up to ambush us.
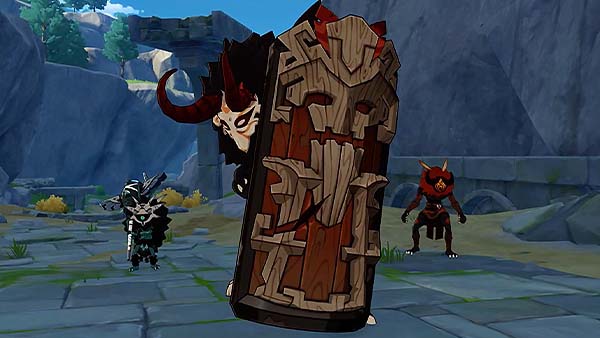
The three Hilichurls consists of a Wooden Shieldwall Mitachurl, a Pyro Hilichurl Grenadier, and an Anemo Samachurl. Defeat the enemies so Venti can proceed in breaking the storm barrier. After defeating the enemies, Venti explains that Hilichurls don't usually venture in areas with high elemental concentrations because it puts a heavy burden on their bodies. Diluc then says that the Abyss Order must've been manipulating them behind the scenes, but he is still concerned on how they were able to determine that you would come here.
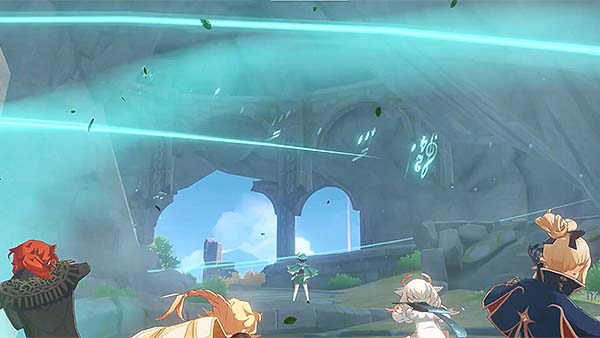
Venti now uses the Holy Lyre to open the storm barrier. Once opened, you can now enter Stormterror's Lair.
After opening the storm barrier, your next objective Empty Abode will begin shortly after.
Empty Abode
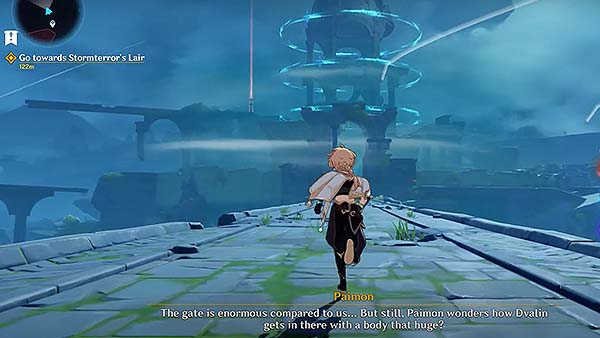
Upon breaking the storm barrier, you can now enter Stormterror's Lair. Continue following the yellow icon, it should lead you to a bridge, then Paimon will start saying that you have reached the front gate to Stormterror's Lair.
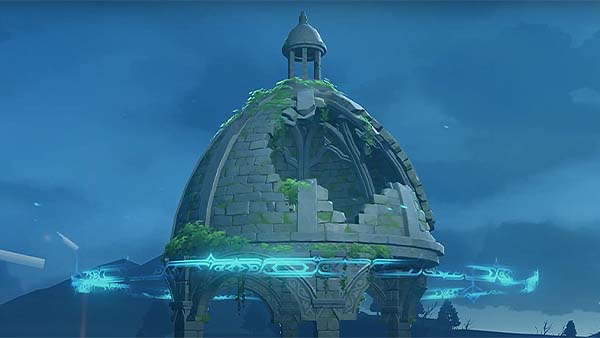
A cutscene should trigger once you've reached the front gate, and it seems like the path is blocked, it'll then show you a giant hole at the top of the roof.
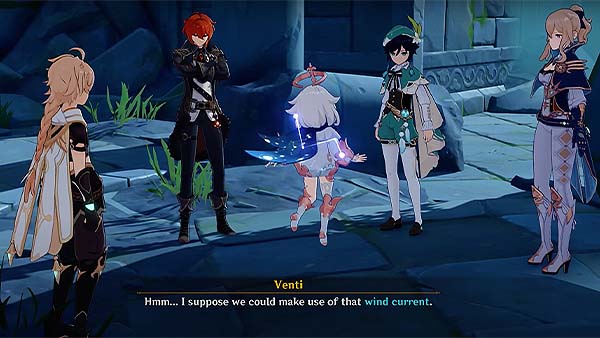
Venti then suggests that we could make use of the Wind Current and make a detour to head towards the roof.
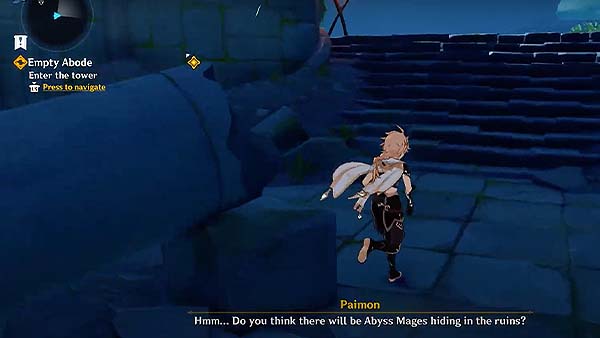
Now the dialogue ends, and you can continue making your way to the roof. Take note that there may be random Hilichurls and other enemies around the lair, so be wary. Turn right, and go up the stairs, just continue in following the path, it'll lead you to another stairs where you'll see the Wind Current and a bridge with thorns beside it.
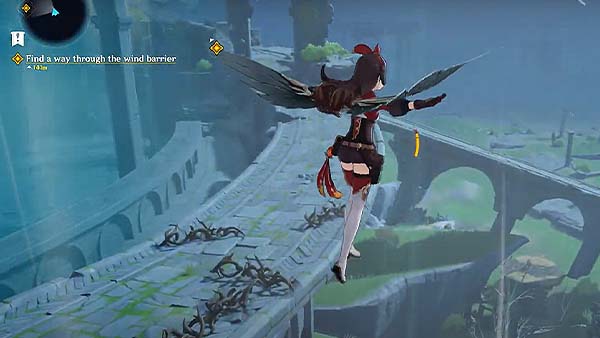
You can use a character with Pyro abilities to burn down the thorns, or you can just use the Wind Current to glide over them.
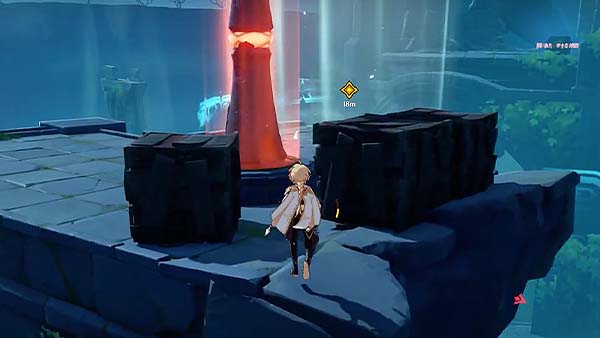
Continue in following the path, it'll lead you to another stairs, then you will have to cross a bridge to get to the inner part of the lair. After crossing the bridge, make your way around the tower, you whould be able to find the Wind Current, it is near one of the Statues of the Seven. Ride the Wind Current to take you to the top of the tower.
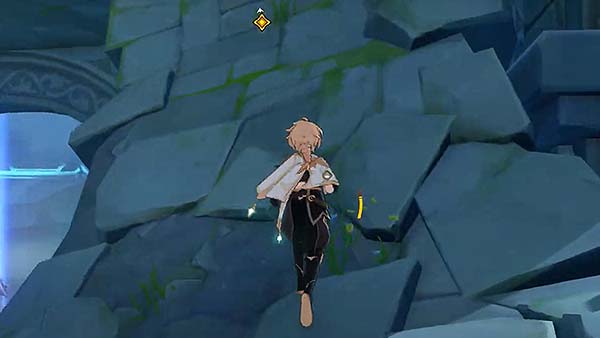
Once you reach the inside of the tower, go up the next floor by climbing up the broken debris that is formed like a stairs.

After climbing up, you'll see another Wind Current at the edge of the ledge, ride the Wind Current to lead you to the hole in the roof. Once you land, a dialogue should trigger.
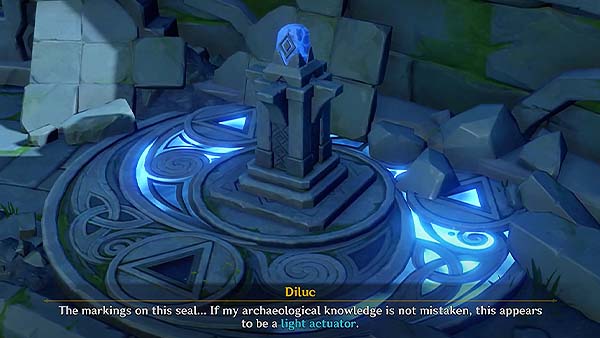
Venti then explains that you can't advance any further since it is guarded by ancient seals. Diluc then points out that this appears to be a light actuator, and that if you are able to retreive and reintegrate all the parts, you should be able to get it working.
After the dialogue, your next objective Light Guiding Ceremony will begin shortly after.
Light Guiding Ceremony
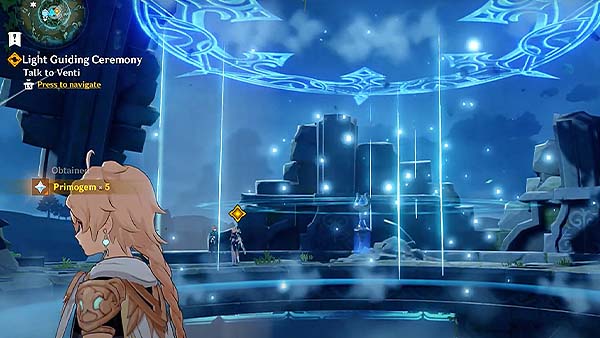
The first objective will start once you start activating the light actuator within the tower. After activating it, talk to Venti.
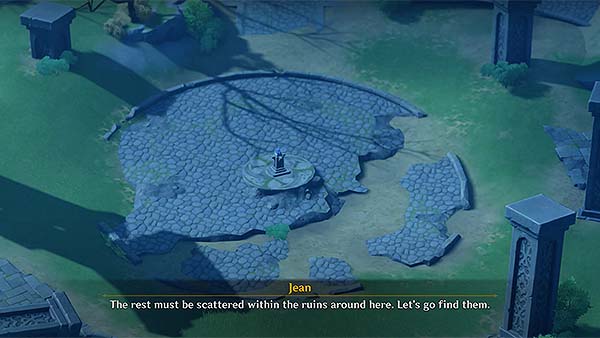
Jean says that there are three more corresponding light actuators to activate, there is one seen just across the tower, and the rest must be scattered within the ruins. You will have to find all of them and activate them as well.
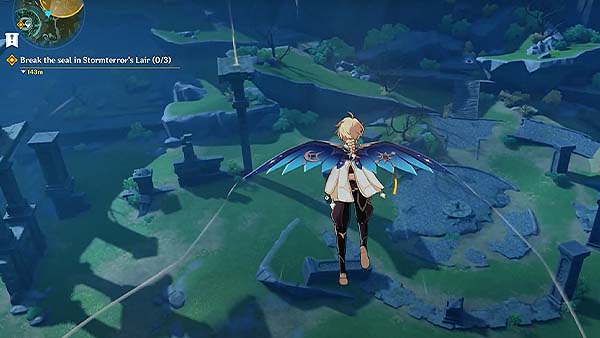
After the dialogue, three yellow icons will be displayed on your map and on screen, these are locations of the light actuators. The nearest one is just across the tower, you can use the Wind Current at the edge to glide over to the nearest light actuator. You will see three guiding light pieces scattered near the first light actuator. The first one at the top left of a platform, the second one is also at the top of a platform, but it's between the first guiding light piece and the actual light actuator. The last one is just beside the light actuator itself. Gather all the guiding light pieces and bring them over to the light actuator to activate it.
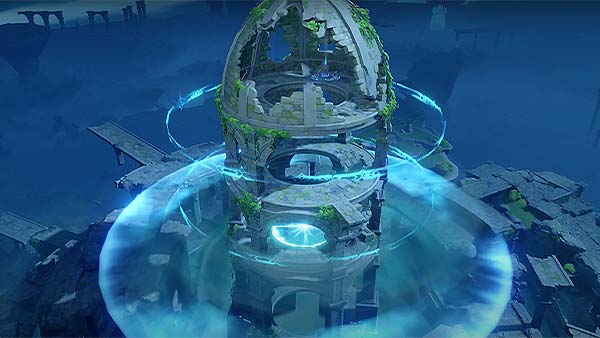
Upon activating the first light actuator, you will see one of the three halos above the tower has now become solid ground. There are two more light actuators to activate, one is located northwest, and the other southwest from you.
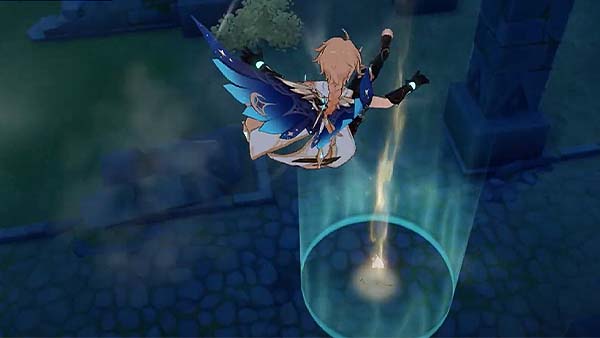
The light actuator located at northwest also has three light guiding pieces. The first one is inside a Wind Barrier, you can climb nearby pillars and drop down inside the Wind Barrier to acquire the first piece.
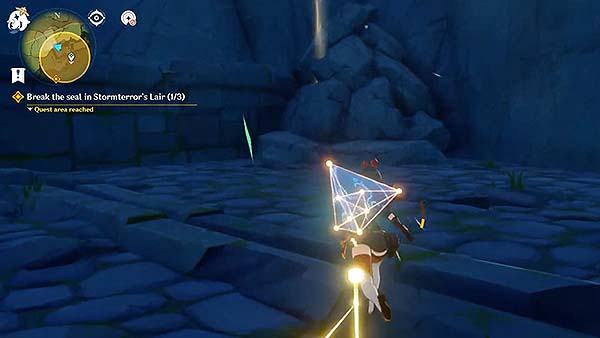
The second light guiding piece is hidden behind a breakable rock, but a Large Geo Slime and a Geo Slime will spawn once you get close enough.
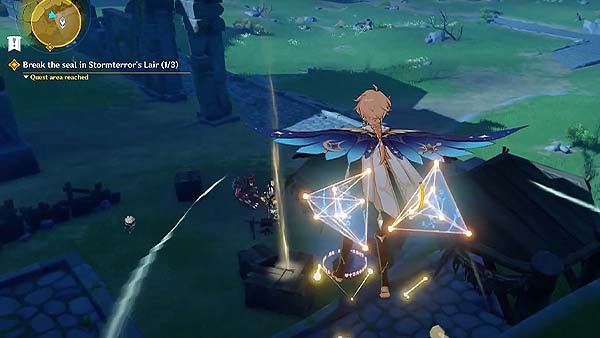
The last light guiding piece is within a Hilichurl Camp, you can also just skip the battle destroy the crates to collect the light guiding piece.
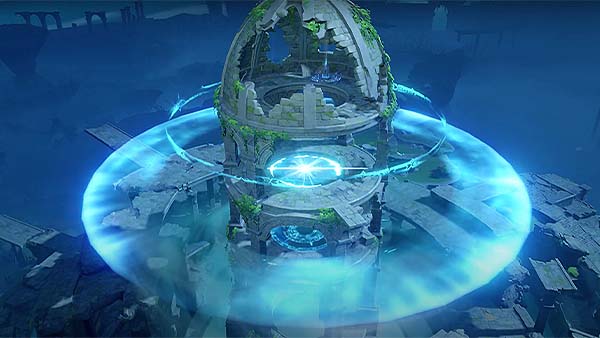
Bring it over to the light actuator and it should activate. You will now see the two of the halos have become solid ground. One more light actuator left to activate to break the seals at the top of the tower.
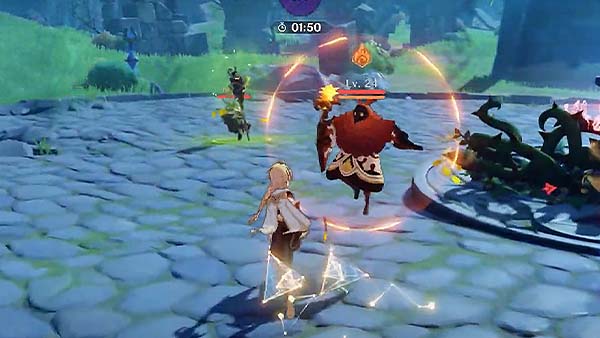
The last light actuator at the southwest area has all the light guiding pieces surrounding the light actuator itself, but going near it will trap you in a barrier where a Pyro Abyss Mage and two Dendro Samachurls will spawn. The light actuator will also be locked in the meantime. You will have to defeat these enemies within two minutes to break the seal on the light actuator.
After defeating the enemies within the time limit, activate the light actuator.
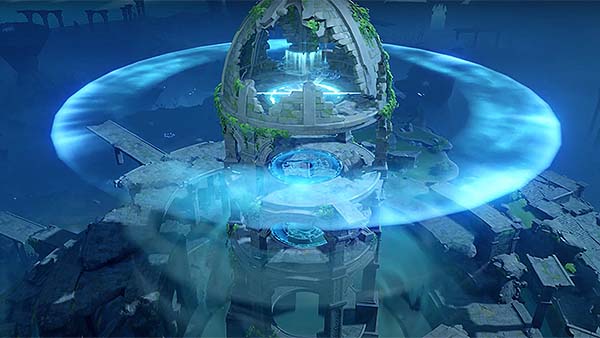
You will see all the halos are completely gone now and you can now explore the tower freely.
You next objective Calm Before the Storm will begin shortly after.
Calm Before the Storm
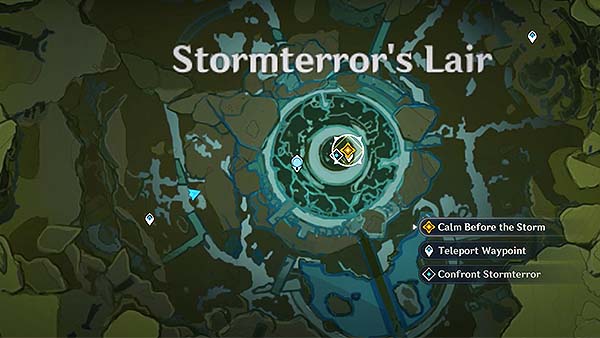
For this next objective to begin, you will need to go back to the top of the tower. You can use the Teleport Waypoint located inside the tower to fast travel.

Once you reach the top of the tower, a dialogue should occur. Venti wants to write a song about our adventures after we're done, and hopefully the song will be sung for years to come by the people of Mondstadt.
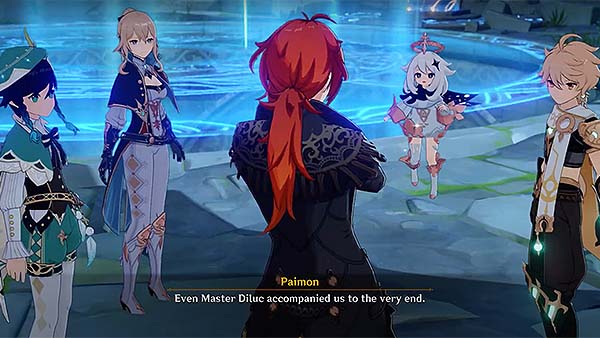
Jean asks you if you are ready, she then tells you that she is completely prepared and fully confident that you everyone can do this. Diluc also accompanied the group, despite only being an accidental bystander. He says that because the group shared a secret with him, he only returned your trust to the same extent. Venti also revealed that he was the one who channeled Anemo energy to you when you were trying to fend off the Stormterror from attacking the city of Mondstadt.
The dialogue ends, and your next objective A Long Shot will begin shortly after.
A Long Shot
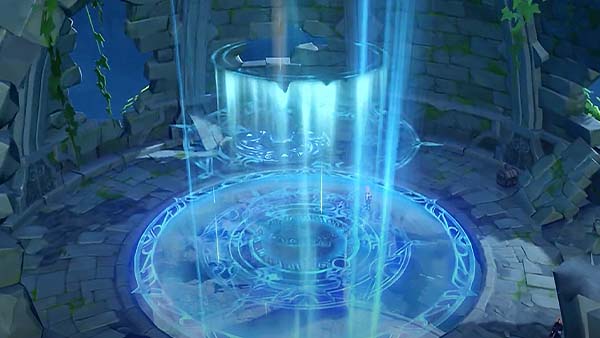
This next objective will start once you confront the Stormterror. It is located at the top of Stormterror's Lair, go near the seal and press the interact button to confront the Stormterror. Once you press the interact, the game will show you the mission Storming Terror, it will also show the recommended party level for the mission. The short description also states that after a long and daring pursuit of Dvalin, who has been led astray by the Abyss Mages, you are about to finally confront him once and for all.
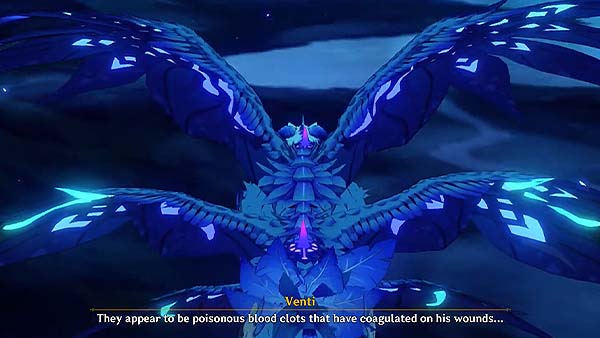
When you start the mission, it will be similar to how you fought Stormterror on the first main quest The Outlander Who Caught the Wind, but this time, you will need to target those two blood clots or crystals on Dvalin's back. It's what the Abyss Order used to corrupt Dvalin's mind. You just have to aim at the crystals and hold down the shoot button.
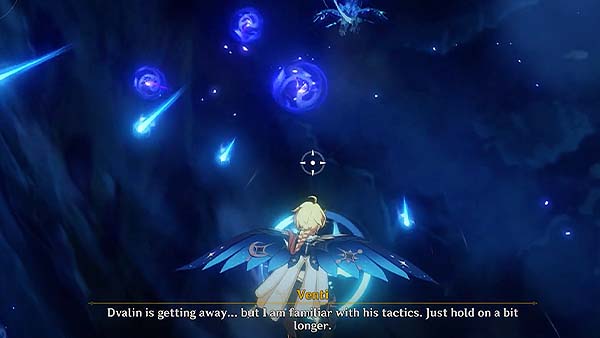
After some time, Dvalin will try to get away and start shooting out orbs. You will be able to control your character for this part, you need to dodge these orbs. If you're having a hard time dodging these attacks, you can pause and try eating something that can help regenarate your health, and then go into battle once again.
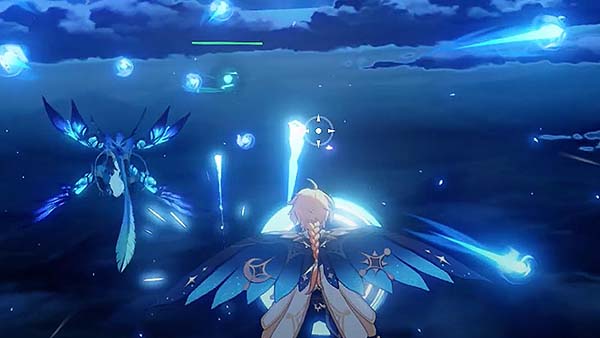
Dvalin will also be shooting out these Anemo Orbs, which Venti will try to condense to create Condensed Anemo Orbs, these orbs have green glow on them.

Shoot these orbs to create acceleration currents that will help you catch up to Dvalin. You will have to do this a few more times to really catch up to Dvalin and start shooting the crystals on his back.
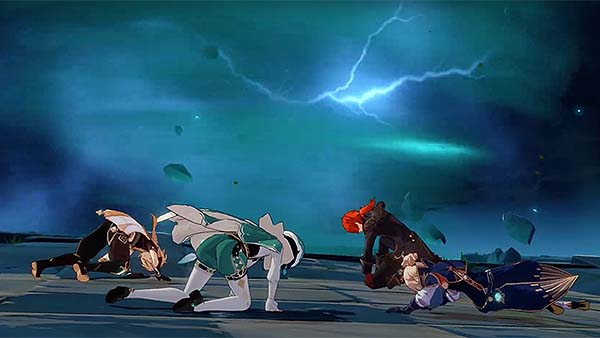
After destroying one of the crystals on Dvalin's back, a cutscene should trigger. Dvalin will be enraged and start attacking everyone directly.
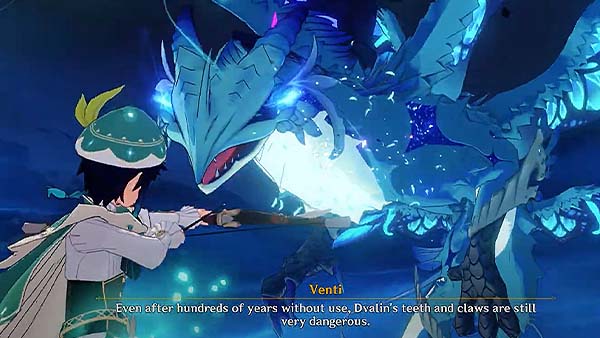
This time, you will get to battle Dvalin on equal ground, and Venti will also join your party to help in battle. You can use Characters with long-ranged attacks to target Dvalin while he's flying.
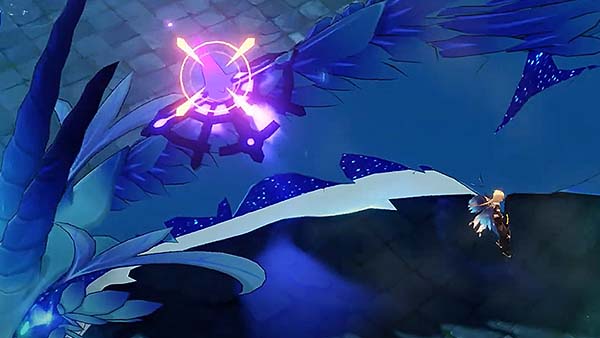
Breaking Dvalin's armor will cause him to fall down on the platform, exposing the crystal on his neck. You can use one of the Wind Currents that's spawn on either side of the platform to climb up on Dvalin's neck and start attack the crystal, or you can just use any long-ranged attack that can target the crystal from the ground.
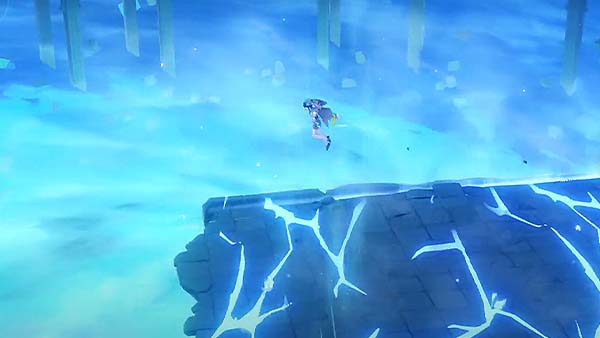
When Dvalin start's using the attack called "Caelestinum Finale Termini", you will hear Venti say that, you have to watch out for the hot fissures from the ground, it will continuously damage your HP if you don't try to stay off the ground or glide across a different platform. You can find Wind Currents on both sides of each platform.
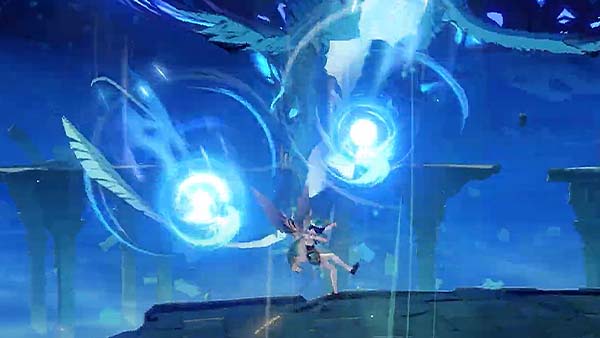
Dvalin can also shoot out orbs, and dash right through the platform, you can simply dodge these attacks.
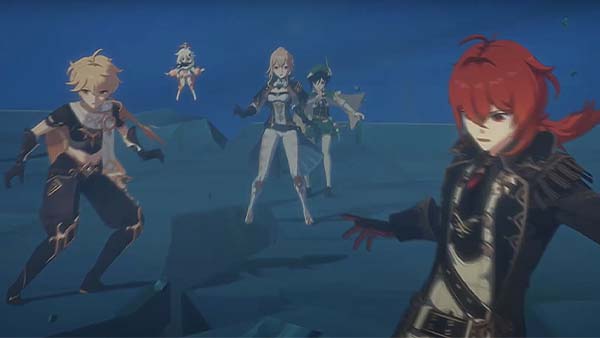
Break the armor, attack the crystal, dodge, rinse and repeat until you defeat Dvalin. Defeating him should trigger a cutscene. The Lair finally collapses, and everyone falls down, but after breaking the crystal's on Dvalin's back, he was able to regain consciousness and come back to his old self. Dvalin save's everyone from the fall and flies away from the lair.

Everyone is back at the city of Mondstadt. Jean writes a report on how the Stormterror threat was put to an end and clarified the misunderstandings to the citizens on Mondstadt, to let them know they are safe. The people of Mondstadt must think that the Stormterror attacked the city out of nowhere, and then vanished just as quickly, they must be finding the whole ordeal very confusing.

One day later, you meet up with Amber outside the city of Mondstadt. You talk about your adventure, and also how she will be dealing with the Stormterror's aftermath. She then tells you that she'll be finally treating you to a Sticky Honey Roast, and meet her at Good Hunter right after she cleans up on the area.
The dialogue ends and your next objective When the Wind Dies Down will begin shortly after.
When the Wind Dies Down

This next objective will start immediately right after you finished talking to Amber. You can head straight into the City of Mondstadt and talk to the locals, or you can help out in clearing the hilichurls' barricades out in the front.
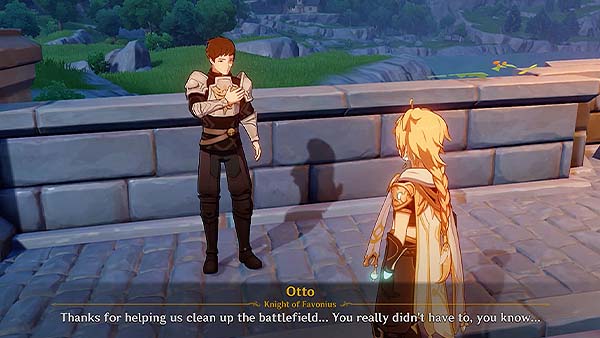
If you choose to help out, there are 13 barricades for you to destroy. After finishing the task, go talk to Otto, you can find him just near the bridge in the area. You'll receive rewards after you finish talking to Otto.
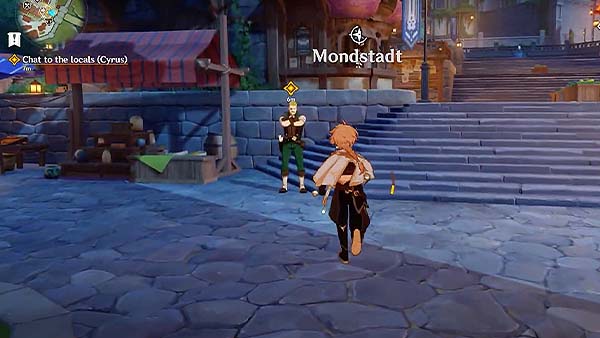
Now you should chat with the locals. The first one is Cyrus, you will see him just as you enter the entrance gate of the city, you will see a yellow icon above his head, he's at the left side near the stairs. Then followed by Nimrod and Grace, they're all just around the corner, a yellow icon will be seen above their head just after you finish talking with the previous local.
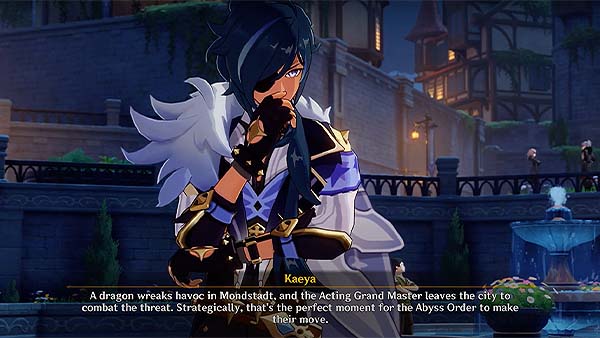
You can then proceed to go to the Good Hunter, the place Amber told you to wait for her. You will also find Kaeya here. When you arrive at Good Hunter, Kaeya will start talking and share
with you what happened during our confrontation with the Stormterror. While the Acting Grand Master, Jean was away, the city was left unguarded, Kaeya knew that this is what the Abyss Order wanted. The Hilichurls' attack from the outside was only a mere distraction, as Kaeya saw a few Abyss Order Infiltrators inside the City. He was able to confront these infiltrators and also managed to gather some intel. He also shares that the Abyss Order is united under a single leader, and they call him/her "The Prince/The Princess" (It depends on which twin you're using).

Kaeya leaves as she saw Amber heading your way. Amber then orders one Sticky Honey Roast. Follow her to the table and sit with her.
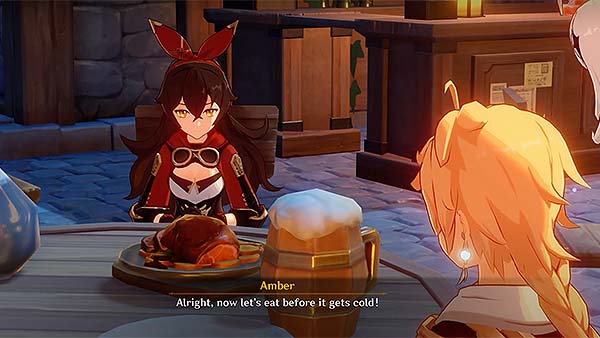
Amber will ask you what's your next plan after all this. Paimon answers and says that she thinks it's time to leave Mondstadt for now and keep looking throught the seven nations until you're able to find clues about your missing twin. Amber says her goodbyes, but also tells you that you'll always be welcome in Mondstadt. You then enjoy your meal. When you finish your meal, Amber will tell you that Jean's waiting for you at the Cathedral and it has something to do with the Holy Lyre der Himmel.
After that, your next objective Ending Note will begin shortly after.
Ending Note
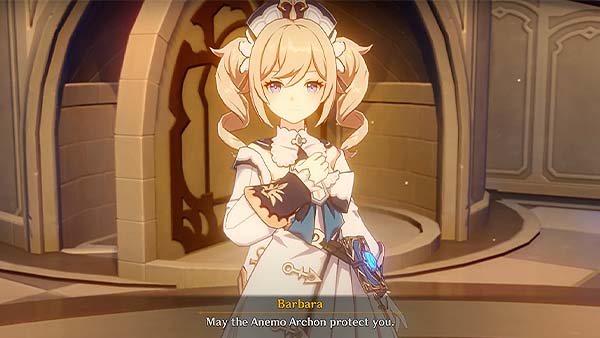
This next objective will begin once you meet Jean and Venti at the Cathedral. Jean will then introduce Barbara, the Deaconess of the Church. She explains that she is here to retrieve the Holy Lyre der Himmel.
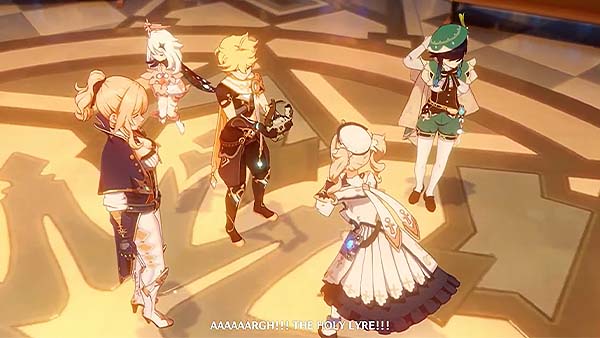
Barbara then asks if you brought the Holy Lyre with you, but when you finally show it to her, she was in shock because of the state it's in.

Venti then reaches for the Holy Lyre and attempts to repair it.

Barbara then grabs the Holy Lyre and tells you that she doesn't know how you've managed to fix it, but you'll never be able to touch the Holy Lyre again. Venti says the the "trick" he used to repair the lyre isn't going to hold it forever. Venti then runs and exits the Cathedral with you and Paimon following him.
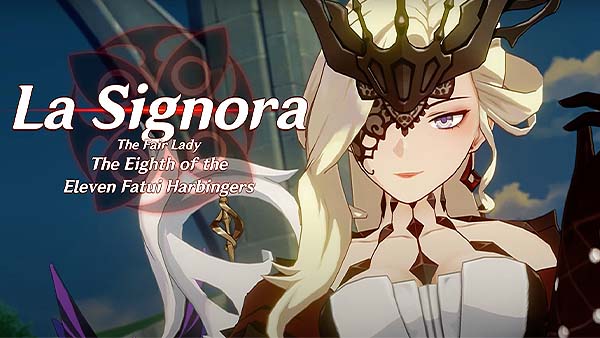
As you exit the Cathedral with Venti, you were both ambushed by two Fatui agents. Then La Signora makes her appearance.

La Signora creates an ice storm that freezes Venti in place, while you are being held back by the two fatui agents.

Venti was then attacked by La Signora after provoking her.
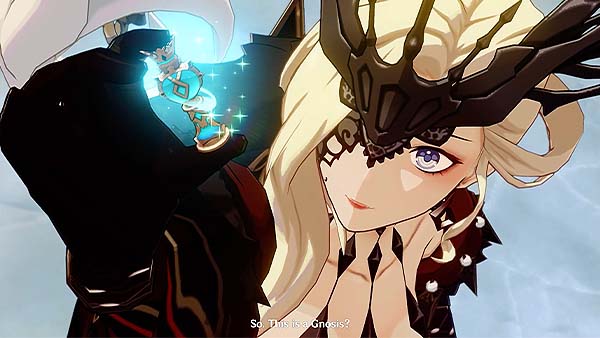
She then takes Venti's Gnosis. Venti provokes her one last time, and then she completely knocks him out.
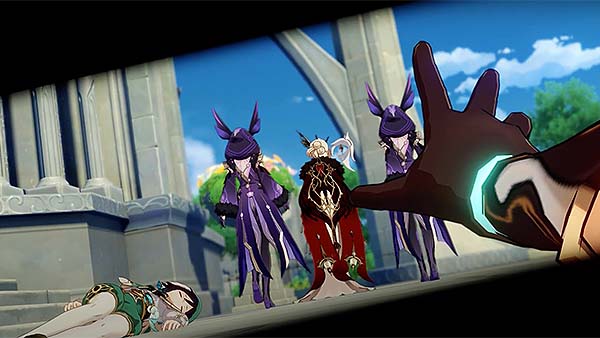
As you continue struggling, one of the Fatui Agents struck you down, you slowly become unconscious as the Fatui leave the scene.
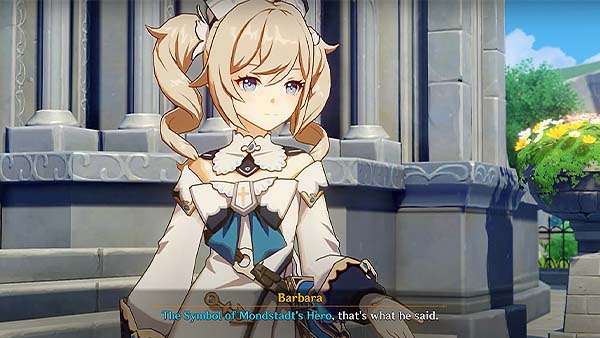
You then wake up and see Barbara, she tells you that she found you lying unconscious outside the Cathedral, so she used her elemental powers to heal you. She also says that Venti woke up first, and that her healing powers had almost no effect on him. She also says that Venti went to The Symbol of Mondstadt's Hero. Paimon says that she remember Venti healing under that Giagantic Tree before.
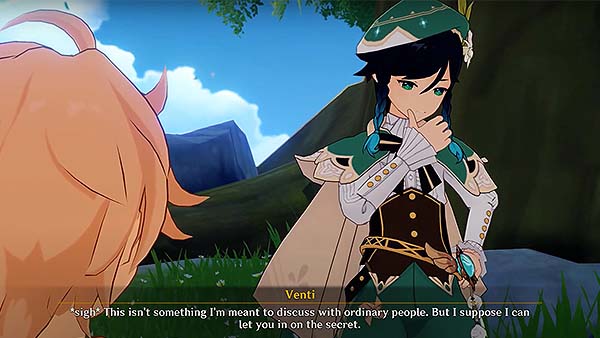
The dialogue ends, you should now find Venti at Windrise. You can open your map and fast travel to a waypoint located near Windrise. Once you've reached the waypoint, talk to Venti. You then ask him about the Gnosis. He says that each archon has an internal magical focus, which is called a Gnosis, that resonates directly with Celestia itself. He then explains the encounter with La Signora. He says that she and the rest of the harbingers have been given god-like executive authority by the Tsaritsa of Snezhnaya, and with it, strength surpassing that of other mortals. Venti then says that we should head for Mondstadt's neighboring nation of Liyue. The Geo Archon who reigns there administrates his entire region personally.
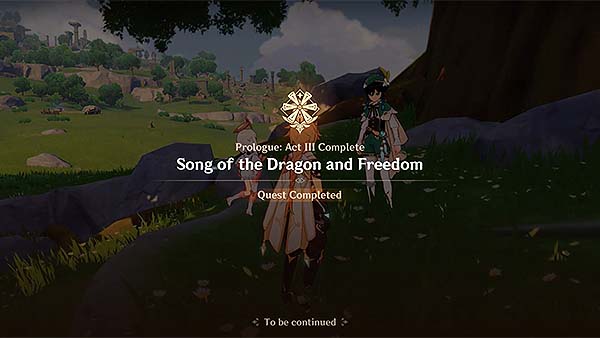
After your talk with Venti, the game will prompt that you've officially completed the quest Song of the Dragon and Freedom.
The next main quest after this will start with Chapter 1: Act 1: Of the Land Amidst Monoliths. You will need to reach AR 23 first before you can start with the first quest on the next chapter.
Trivia & Notes:
Trivia and notes go here
