Stillness, The Sublimation of Shadow is an Archon Quest in Genshin Impact. Archon Quests cover the main story of the game that follows the adventure of the Traveler and Paimon as they set off on a quest to search for the Traveler's lost twin. As players progress, Archon Quests requires a certain level Adventure Rank (AR) to be unlocked in order to continue through the act.
General Info
- Act: Chapter 2: Act 2
- Required AR: 30
- Previous: The Immovable God and the Eternal Euthymia
- Next: Omnipresence Over Mortals
- Bosses: Raiden Shogun
NPCs & Characters
- Paimon
- Taroumaru (Owner of Komore Teahouse)
- Kamisato Ayaka
- Thoma
- Raiden Shogun
- Takayama (Shogunate Samurai)
- Ishihira (Shogunate Samurai)
- Sakamoto
- Jiichirou
- Teppei (Sangonomiya Samurai)
- Gorou
- Tokuda (Sangonomiya Samurai)
- Masashi (Sangonomiya Samurai)
- Shouji (Sangonomiya Samurai)
- Hisahiko (Sangonomiya Samurai)
- Message-Runner (Sangonomiya Samurai)
- Kaida Ryouma (Sangonomiya Officer)
- Kujou Sara
- Kaedehara Kazuha
- Sangonomiya Kokomi
- Beidou
Bosses
Items
Reward/s:
- Adventure EXP: 2,050
- Primogems: 60
- Mora: 97,900
- Mystic Enhancement Ore: 18
- Hero's Wit: 9
- Inazuma Shrine of Depths Key: 1
- Memory of Violet Flash: 1
Enemies
- Yoriki Samurai
- Shogunate Infantry
- Shogunate Infantry Captain
- Fujita Sanshirou "Spear Demon Fujita" (Shogunate Infantry)
- Kayama Tadao "Bamboo-Breaking Tiger" (Shogunate Infantry Captain)
- Takasaka Izumi "Kujou's Right Hand" (Yoriki Samurai)
Stillness, The Sublimation of Shadow Walkthrough
This is the tenth main quest you will unlock in Genshin Impact, but you will have to finish the previous quest The Immovable God and the Eternal Euthymia, as well as finish Story Quests Grus Nivis Chapter Act I: The Whispers of the Crane and the White Rabbit and Carassius Auratus Chapter Act I: Dreamlike Timelessness first before you can proceed with this quest.
Related Objectives and Rewards
The following rewards listed below are provided after completing each objective related to the Archon Quest: Stillness, The Sublimation of Shadow
Amidst Stormy Judgement
- Description: Komore Teahouse is empty, silent as the grave but for Taroumaru's uneasy barking. You have a bad feeling about this...
- Adventure EXP: 925
- Primogem: 30
- Mora: 44,000
- Other Rewards: Mystic Enhancement Ore x8, Hero's Wit x4, Inazuma Shrine of Depths Key x1
In the Name of the Resistance
- Description: Your first meeting with the Raiden Shogun leads to a clash beyond your expectations. With a warrant out for you, your only option to reverse the situation now is to throw your lot in with the Sangonomiya resistance.
- Adventure EXP: 1125
- Primogem: 30
- Mora: 53,900
- Other Rewards: Mystic Enhancement Ore x10, Hero's Wit x5, Memory of Violet Flash x1
Amidst Stormy Judgement
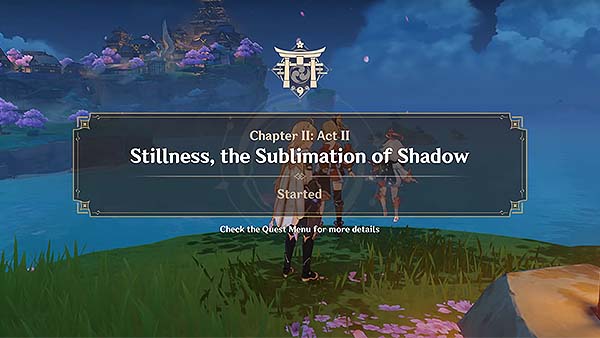
This quest will automatically start once you've finished both Ayaka's and Yoimiya's Story Quests namely Grus Nivis Chapter Act I: The Whispers of the Crane and the White Rabbit and Carassius Auratus Chapter Act I: Dreamlike Timelessness.
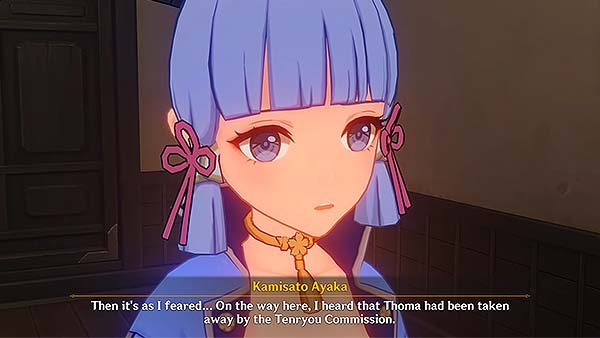
To start this first objective, you will have to go to Komore Teahouse. Open your map and select the top teleport waypoint located inside Inazuma City to fast travel. Once you reach the waypoint, just follow the yellow icon and it should lead you straight to Komore Teahouse. Upon entering the teahouse, Paimon will immediately notice the strange silence in the place, since it's usually never this quiet inside the teahouse. Ayaka then came running in and said that on the way here, she's heard that Thoma had been taken away by the Tenryou Commission. She says the Raiden Shogun is holding a Vision Hunt Ceremony at the Statue of the Omnipresent God today, to mark the 100th Vision seized under the decree, and the 100th Vision bearer in question might be Thoma. She says that she wants to rescue Thoma, but pulling a stunt like that will declare that the Yashiro Commission and the Raiden Shogun are enemies, and it might implicate a lot of other people from the Yashiro Commission as well. You will then offer your help, she says she'll be waiting here at the Komore Teahouse for your return.
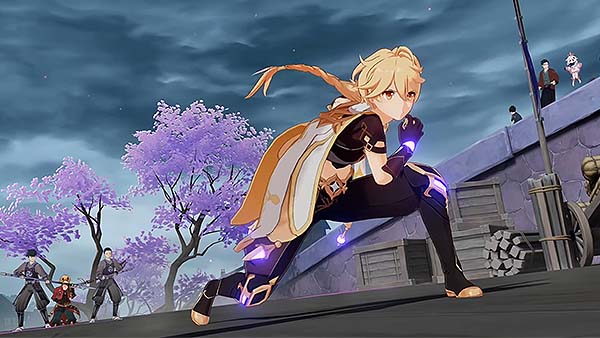
Now exit Komore Teahouse and follow the yellow icon, it should lead you to where the Vision Hunt Ceremony is taking place. Once you reach the venue, a cutscene will occur. You'll see Thoma restrained and being guarded by two officers, just when the Raiden Shogun, was about to obtain Thoma's Vision, you swiftly jump into the scene, intercept and grabbed Thoma's Vision as well as quickly knocking out the guards. The Raiden Shogun is impressed by your ability to control elements without possessing a Vision, she then drags you into an alternate realm for battle.
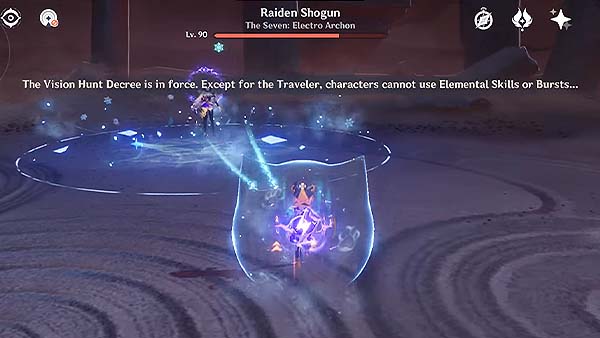
For this fight, you won't be able to defeat the Raiden Shogun completely because you are supposed to lose this fight. After shaving away about 25% of her health, she will enact the Vision Hunt Decree where all party members, except for the Traveler, won't be able to use any Elemental Skills or Bursts. Note that even after this, all normal attacks, including ones which deal elemental damage, can still be used.
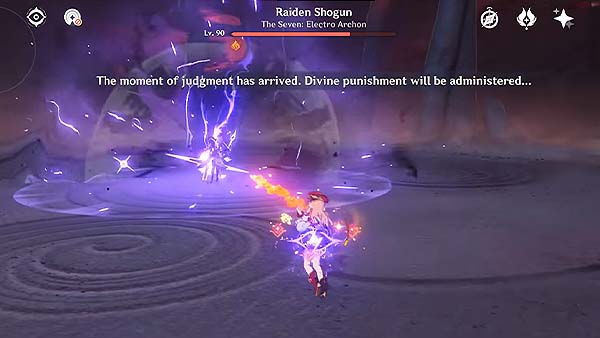
About a minute after activating the Vision Hunt Decree, the Raiden Shogun will now administer Divine Punishment, this will end the fight, following a cutscene.

After exchanging final blows, you were left incapacitated. Despite your efforts, you were no match for the sheer strength of the Raiden Shogun. The alternate realm disappears and you're back in the real world. The Raiden Shogun attempts to finish you off, but before she could land the killing blow, Thoma was able to break free and throws a spear at her. The Raiden Shogun was able to block the spear, in doing so, created a massive gust of wind that sends you and Paimon flying towards Thoma. Thoma catches you and proceeds to leave the scene. The Raiden Shogun tells the guards to seize you under the decree.
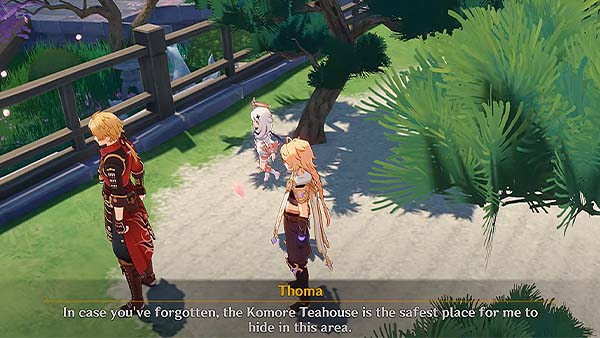
Thoma stops midway and tells you that the Komore Teahouse is the safest place for him to hide in the area, but for now, he won't be able to leave again for some time, and he'll have to leave the next steps to you. He tells you to go to Tatarasuna and find the resistance. Since the Shogun's Army is almost certainly about to issue a warrant of arrest for the both of you, there are a very few parties that will be willing to shelter you, but the resistance is an exception. He then tells you that the resistance was founded by Sangonomiya Kokomi, the Divine Priestess of Watatsumi Island and that currently, it's her subordinate Gorou who is leading them in their war against the Shogun's Army. The issue right now is that Thoma isn't sure where the resistance forces' is currently located, so you'll have to ask around along the way.
After discussing the plan for your next move with Thoma, your next objective In the Name of the Resistance will begin shortly after.
In the Name of the Resistance
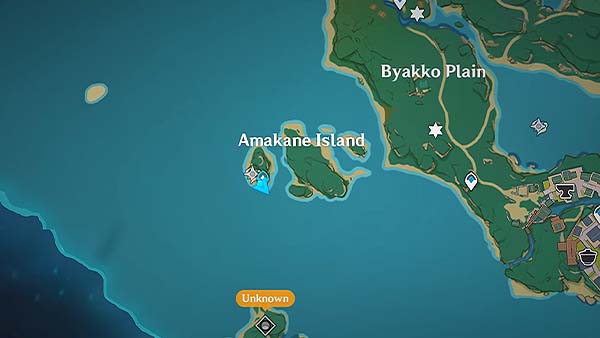
To start this next objective, you will now have to go to Tatarasuna to gather some intel. To get to Tatarasuna, go to Amakane Island first, go to the left most edge of the island.
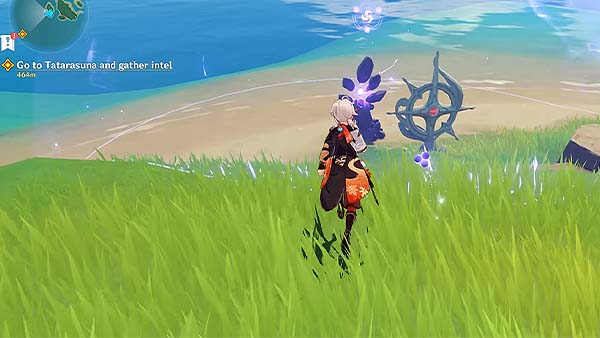
You will see a Waverider Waypoint surrounded by an Electro Barrier.
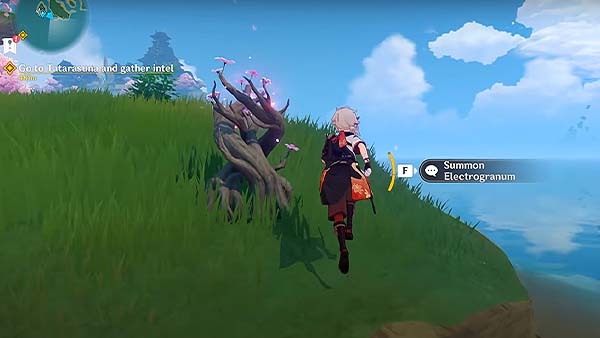
There should be a an Electrogranum around the area, summon one so you can enter the Electro barrier and activate the Waverider Waypoint.
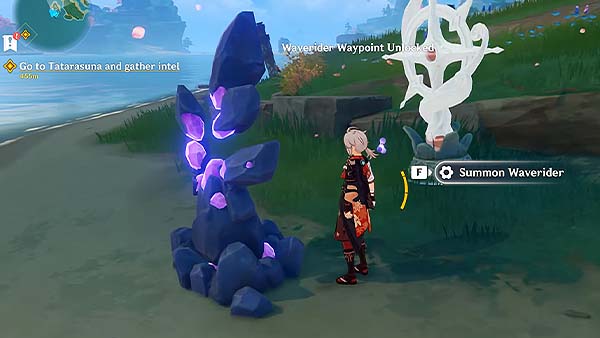
Upon activation, you can then summon a Waverider by pressing interact to the statue next to the waypoint.
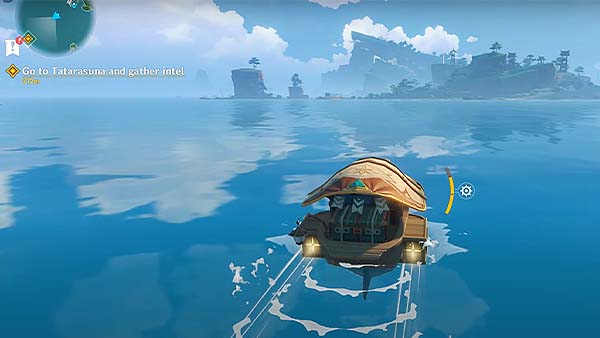
Once the Waverider has spawned, you can use this to sail across the ocean to reach Tatarasuna.
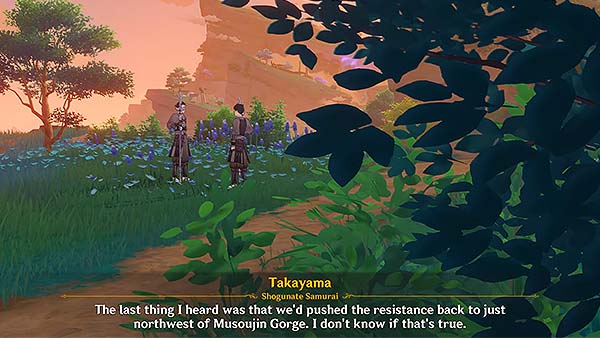
Once you reach the yellow icon, you'll see two Shogunate Samurai discussing about new high-priority targets being added to the wanted list. They also discussed about the front lines pushing back the resistance to northwest of Musoujin Gorge. Paimon says that must be where the resistance forces are based, she suggests that you keep asking around just to be sure.
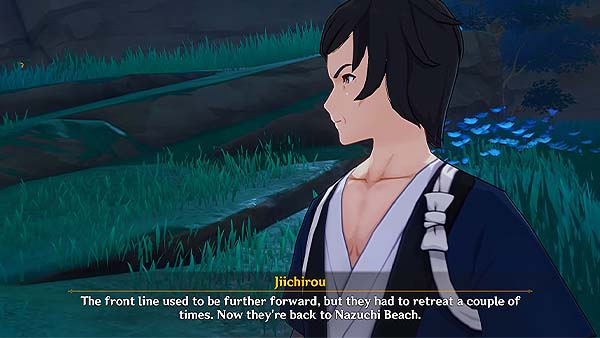
Now go follow the next yellow icon. It should lead you to two locals, you will hear them discussing about the location of where the resistance and the Shogun's Army are battling right now, at Nazuchi Beach. Paimon suggests that you both go there and take a look.
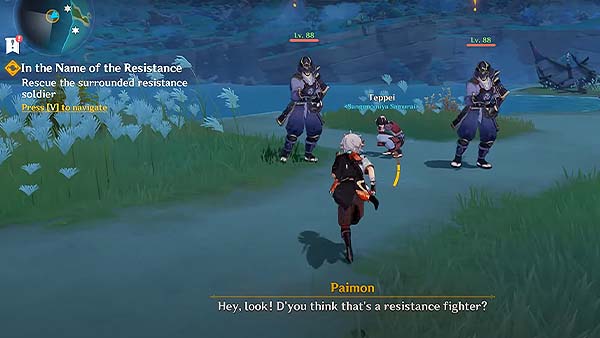
Now folow the yellow icon and go to the front line. Once you reach the area, you'll see a resistance fighter surrounded by two Yoriki Samurais. Defeat the samurais to continue.
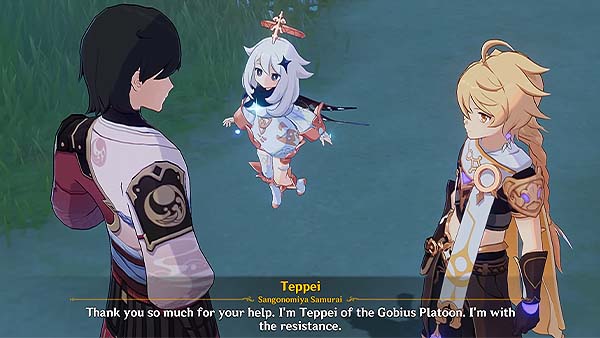
After defeating the samurais, approach and talk to the resistance fighter. He will thank you for rescuing him, and then introduce himself as Teppei of the Gobius Platoon, member of the resistance. He said he was sent to the front line just recently. He also says that your support in joining the resistance will make a big difference. He then explains to you the current situation as of now, he says the resistance are at a constant disadvantage when it comes to open confrontation. The goal of the Shogun's Army is to uphold "eternity." To this end, they have the support of the Tenryou Commission's general, Kujou Sara, who commands an exceptionally strong force. And as for the resistance, Vision bearers are few and far as is it is, and because of the Vision Hunt Decree, they're rarer than ever. He says the only reason they were able to hold out this long was because of Sangonomiya and Gorou.
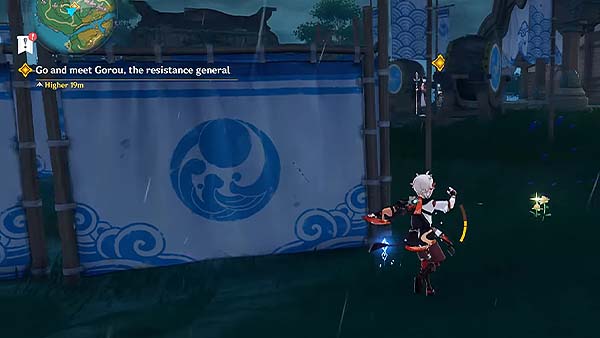
After your conversation with Teppei, head over to the yellow icon presented on your map to meet the resistance general, Gorou. You'll know you've reached the area once you see the resistance logo plastered all across the campsite.
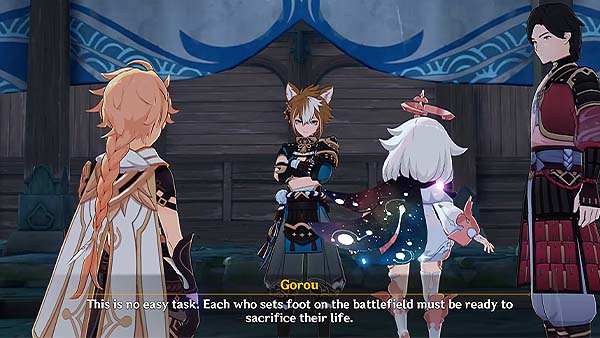
Approach Gorou and press interact to talk to him. Teppei will begin to introduce you to Gorou, telling him how you rescued how you rescued him and how you were able to manipulate elements without bearing a Vision. Gorou then tells you that the goal of the resistance is to defeat the Shogun's Army and repeal the Vision Hunt Decree, and considering that this is no easy task, one who sets foot on the battlefield must be ready to sacrifice their life. You then tell him about the events that happened during the ceremony to mark the 100th Vision seized under the decree and how you've managed to battle the Raiden Shogun and save your friend's Vision. After hearing this, Gorou welcomes you to the resistance.
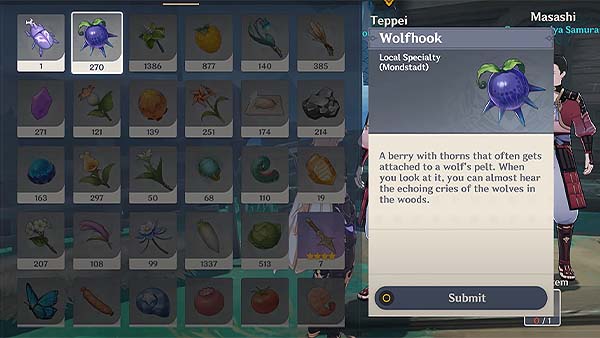
Teppei will now show you around the camp, starting with the field hospital. Go to where the yellow icon is located, it should lead you to the field hospital. The soldiers in the field hospital welcomes you as well. One of them was training hard despite their injury yesterday and therefore opening the wound again. Teppei tasks you to gather the materials needed to make a medicine. You can either give him an Onikabuto or a Wolfhook.
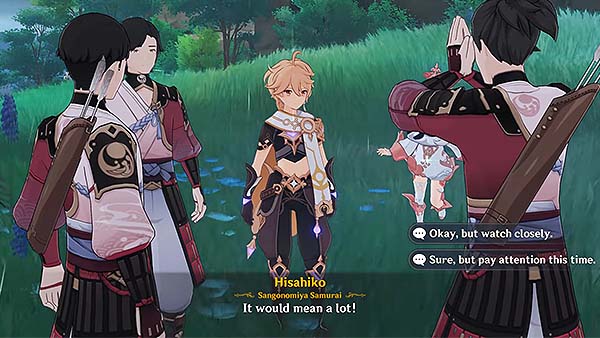
After helping out in healing the wounded soldiers, you will now head over to the training grounds where some of them are doing some archery practice. Follow the yellow icon to reach the next area. Once you've reached the training grounds, Teppei will introduce you to the archers training there, and it seems like they're having a difficult time trying to master the bow. After hearing Teppei's story about your incredible feat, they ask for your assistance in showing them a quick demonstration on archery techniques.
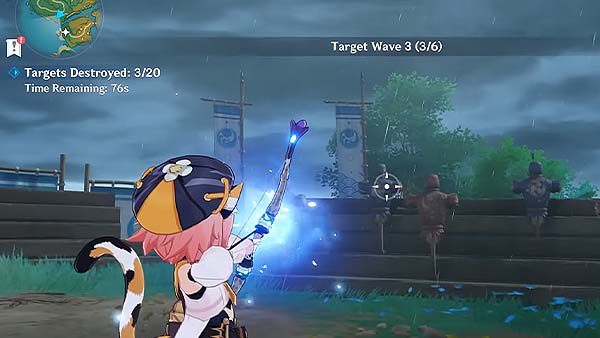
Now you will have to demonstrate your archery techniques. For this part, you will have to use a Character who wields a Bow as a weapon. You must then destroy 20 Blue targets within 87 seconds to complete the demonstration. Take note that hitting the Red targets that represents the resistance or leaving the area will result in failure.
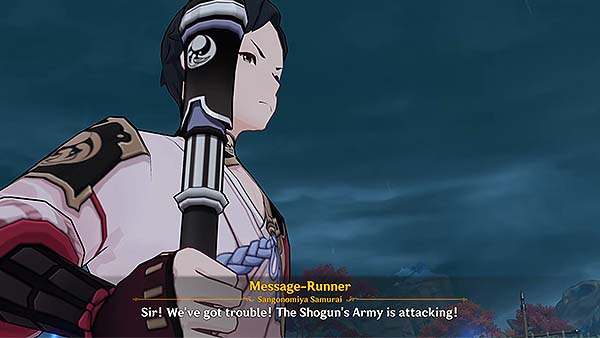
After the demonstration, they were able to determine what they were doing wrong during training. They were also able to observe some proper technique, as long as they can retain what they've learned, they'll become stronger in no time. Just when Teppei was about to show you around the next location, a message-runner interrupts and announces that the Shogun's Army is attacking the camp.
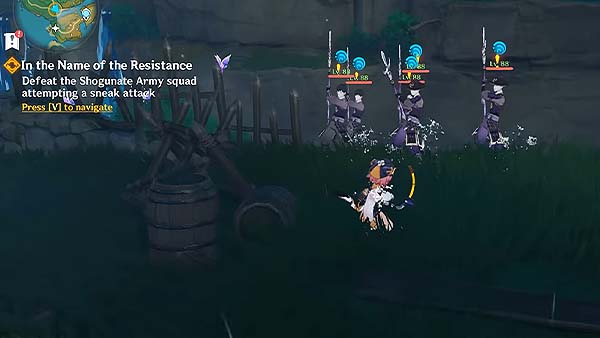
Your next task is to defeat the Shogunate Army squad attempting a sneak attack. Defeat the enemies in the area to continue.
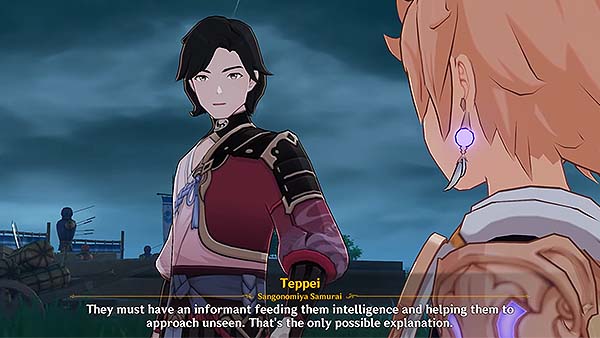
After taking care of the intruders, Teppei says that the enemy should never have been able to reach the camp unnoticed since they have sentries and patrols posted all around the perimeter. He suspects that there's a traitor among them, an informant feeding them intelligence and helping the Shogun's Army to approach the resistance unseen. Teppei says that finding the mole is top priority at the moment. The message-runner interrupts once again and tells Teppei that he just returned from inspecting the perimeter and it appears that several portions of their defensive walls were already collapsed, and that the Shogun's Army must have known about this vulnerability and made their way over from the cliffs nearby, before attacking through the gaps in their defenses. He then suggests the walls be repaired and double the amount of guards patrolling the area.
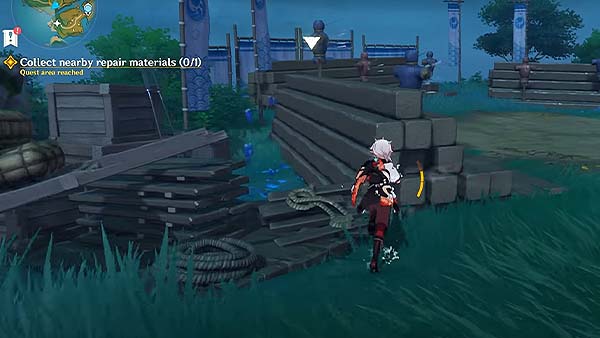
Your next task is to gather nearby repair materials. Folow the yellow icon presented on your map, it should lead you to where the repair materials are located, you will see it is also just beside the training area where you demonstrated your archery techniques. Go towards the left side of the training area where you can see the stock of planks and rope and press interact to pick them up.
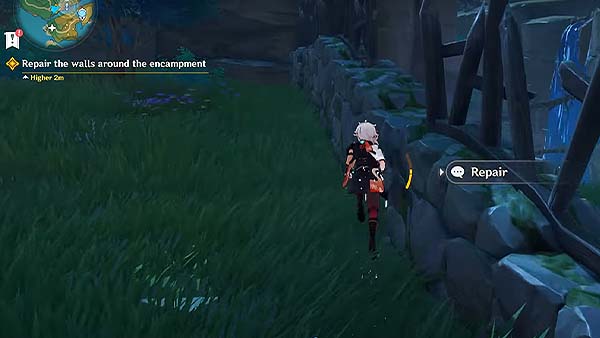
Now go follow the yellow icon and repair the walls around the encampment. Go towards the wall and press interact to start repairing the walls.
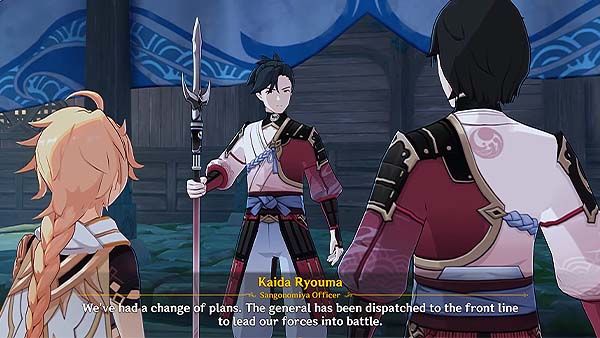
After repairing the walls, go follow the yellow icon and report back to Gorou about the situation. Once you arrive at the area, a resistance officer informs you that there's been a change of plans, and that Gorou has been dispatched to the front lines to lead the resistance into battle. He says that the Shogun's Army is attempting an advance on the main front, and that reports have it that Kujou Sara is now personally leading the enemy forces.
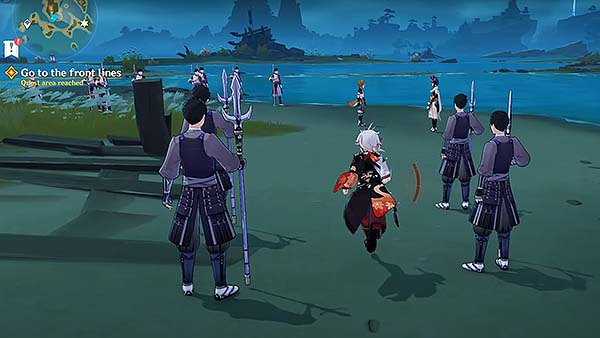
Teppei will then suggest that you must go to the front line as well. Open your map and select the teleport waypoint that's nearest to Nazuchi Beach to fast travel. Once you reach the waypoint, continue following the yellow icon leading you to the front line, you'll see the Shogun's Army and the resistance, as well as Gorou and Kujou Sara.
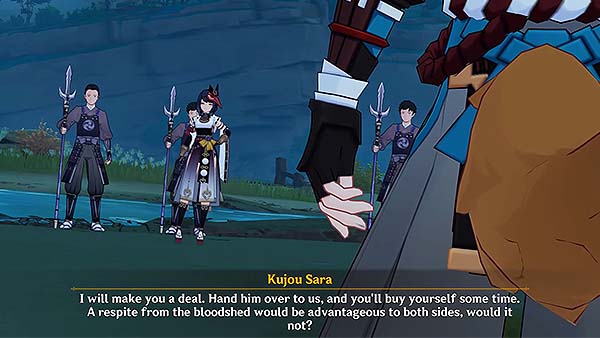
During the confrontation, Kujou Sara says that she was hoping to meet the grand strategist of the resistance, since she was the one causing their forces so much trouble, and the fact that the resistance was able to hold out this long was thanks to her. She then offers Gorou a deal, knowing that you've seeked refuge in the resistance' camp, she says that she will order the army to stand down once they hand you over. Gorou refuses, even though you just joined the resistance recently, he considers you as a comrade and would never surrender you to the Shogun.
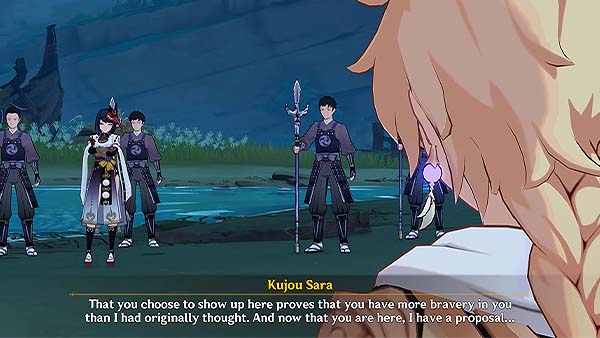
When you show up in the scene, Kujou Sara immediately offers you a deal as well, where you represent in a fight of honor. Gorou explains that before the battle begins, each side chooses their finest warrior for a match of single combat.
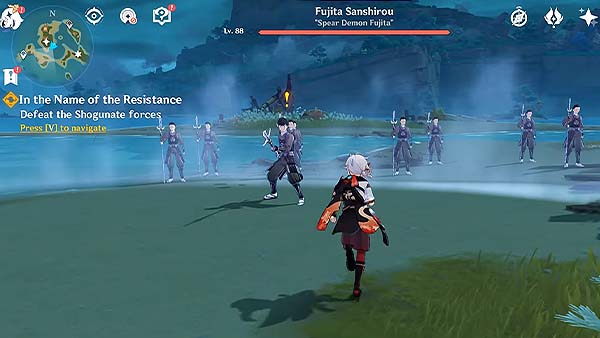
For this, you will have to battle three opponents one at a time. You will battle a Shogunate Infantry, Shogunate Infantry Captain, and a Yoriki Samurai respectively.
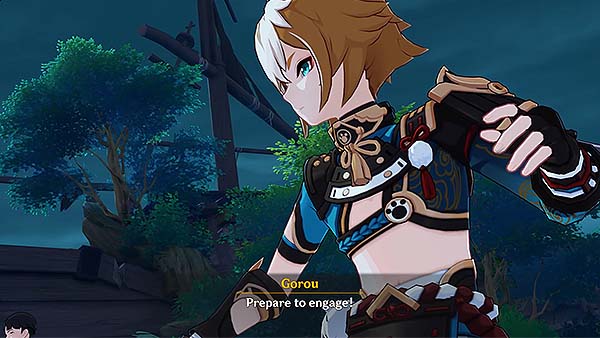
After the battle, Kujou Sara is impressed with your combat ability, she says the contest has served its purpose, and then announces for the Shogun Army to attack. Gorou tells the resistance to prepare to engage as well.
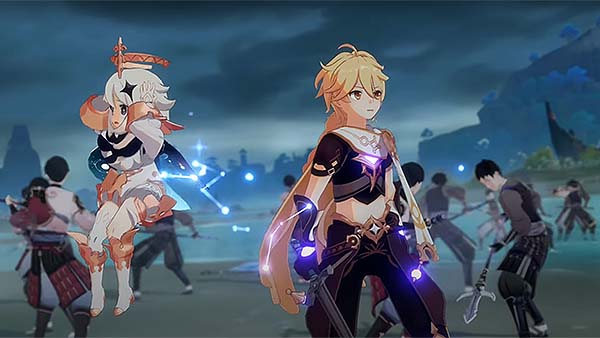
A cutscene will occur where an all out battle between the Shogun Army and the resistance will begin.
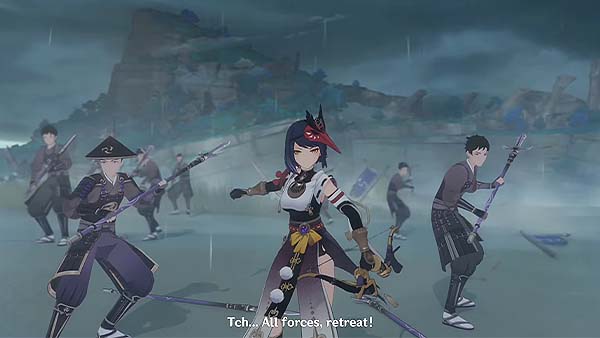
In the middle of the battle, bubbles start floating from the ground, this is where Sangonomiya Kokomi, the leader of the resistance arrives. She brought along a large group of mercenaries inclucing Beidou and Kazuha. The new reinforcements were able to turn the tide of the battle. Frustrated, Kujou Sara orders her forces to retreat.
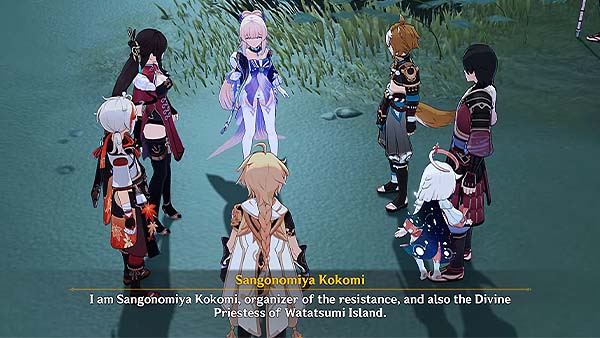
After the Shogun Army's retreat, Sangonomiya Kokomi formally introduces herself to you as the organizer of the resistance, and also the Divine Priestess of Watatsumi Island. She says that she's heard a lot about you from Beidou and Kazuha, but she wasn't expecting you to join the resistance. She then invites you to continue your conversation at the shrine of Sangonomiya. She says that even though the Shogun's Army has retreated, the war is far from over since the Vision Hunt Decree has not been repealed, and neither the Tenryou Commission nor the Raiden Shogun show any sign of stopping. She then tells you to renezvous with Teppei once you're ready and he will escort you to the shrine.
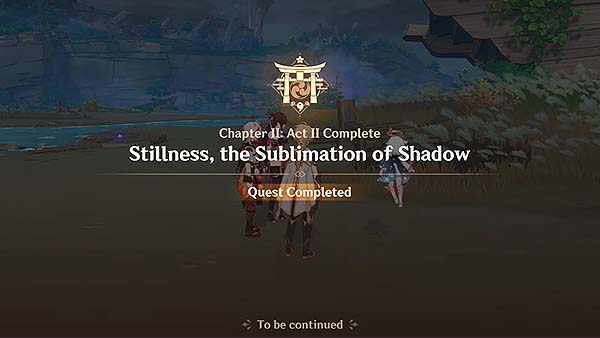
After your conversation with Sangonomiya Kokomi, the game will prompt that you've officially completed the quest Stillness, The Sublimation of Shadow.
The next main quest after this is called Omnipresence Over Mortals.
Trivia & Notes:
Trivia and notes go here
