The Immovable God and the Eternal Euthymia is an Archon Quest in Genshin Impact. Archon Quests cover the main story of the game that follows the adventure of the Traveler and Paimon as they set off on a quest to search for the Traveler's lost twin. As players progress, Archon Quests requires a certain level Adventure Rank (AR) to be unlocked in order to continue through the act.
General Info
- Act: Chapter 2: Act 1
- Required AR: 30
- Previous: Autumn Winds, Scarlet Leaves
- Next: Stillness, The Sublimation of Shadow
- Bosses: n/a
NPCs & Characters
- Paimon
- Katheryne (Receptionist, Adventurer's Guild)
- Sea Drake (Sailor)
- Beidou
- Thoma
- Kageyama (Inspector)
- Yurika (Inspector)
- Kurisu (President of the International Trade Association)
- Werner
- Keijirou (Kanjou)
- Harrison
- Katsuie (Chief Samurai, Kanjou Commission)
- Kobayashi (Kanjou Commission Officer)
- Yokoyoma (Kanjou Commission Officer)
- Hiiragi Shinsuke (Kanjou Commssioner)
- Shinnojou (Kanjou Commission Officer)
- Hiiragi Chisato
- Kenzaburou (Kanjou Commission Officer)
- Kozue (Shop Assistant, Komore Teahouse)
- Kamisato Ayaka
- Mahiru
- Kenjirou
- Tejima
- Oomori
- Yuuya
- Kurosawa Kyounosuke (Yoriki)
- Ken (Treasure Hoarder)
- Tadao (Treasure Hoarder)
- Gou (Treasure Hoarder)
- Aoi (Owner of Tsukumomono Groceries)
- Junya
- Nanako
- Anzai
- Inagi Hotomi (Shrine Maiden)
- Yae Miko
- Domon
- Okawara Goemon (Yoriki)
- Hanshirou
- Yoimiya
- Kinoshita (Prison Guard)
- Maeda (Prison Guard)
- Masakatsu
- Kujou Sara
Bosses
- n/a
Items
Reward/s:
- Adventure EXP: 6,325
- Primogems: 120
- Mora: 301,950
- Mystic Enhancement Ore: 56
- Hero's Wit: 31
Enemies
- Treasure Hoarder Electro Potioneer
- Treasure Hoarder Cryo Potioneer
- Treasure Hoarder Scout
- Treasure Hoarder Seaman
- Treasure Hoarder Gravedigger
- Treasure Hoarder Marksman
- Treasure Hoarder Pyro Potioneer
- Nobushi: Hitsukeban
- Hilichurl
- Kairagi: Fiery Might
- Shogunate Infantry
- Shogunate Infantry Captain
- Yoriki Samurai
The Immovable God and the Eternal Euthymia Walkthrough
This is the ninth main quest you will unlock in Genshin Impact, but you will have to finish the previous quest Autumn Winds, Scarlet Leaves first before you can proceed with this quest.
Related Objectives and Rewards
The following rewards listed below are provided after completing each objective related to the Archon Quest: The Immovable God and the Eternal Euthymia
Setting Sail
- Description: It has been a while since you struck an agreement with Beidou to go to Inazuma together. You decide to check on how things are progressing...
- Adventure EXP: 650
- Primogem: 0
- Mora: 31,125
- Other Rewards: Mystic Enhancement Ore x6, Hero's Wit x3
Confessions of an Outlander
- Description: You arrive at Ritou in Inazuma smoothly and meet up with your contact, Thoma. But it seems that outlanders are far from welcome here...
- Adventure EXP: 800
- Primogem: 30
- Mora: 38,100
- Other Rewards: Mystic Enhancement Ore x7, Hero's Wit x4
Ritou Escape Plan
- Description: Thoma has set you a test to leave Ritou by your own power, lest your journey end here...
- Adventure EXP: 800
- Primogem: 0
- Mora: 38,100
- Other Rewards: Mystic Enhancement Ore x7, Hero's Wit x4
Three Wishes
- Description: Setting foot on Inazuma's main island — Narukami Island — for the first time, you carry your Invitation Letter to Komore Teahouse, not knowing what might happen next...
- Adventure EXP: 650
- Primogem: 30
- Mora: 31,125
- Other Rewards: Mystic Enhancement Ore x6, Hero's Wit x3
The Meaning of Meaningless Wait
- Description:The village guardian who has lost his Vision seems to have forgotten why he had remained there in the first place...
- Adventure EXP: 800
- Primogem: 0
- Mora: 38,100
- Other Rewards: Mystic Enhancement Ore x7, Hero's Wit x4
To Treat the Well-Meaning Well
- Description: How did the samurai who lost his Vision become stuck in a quagmire of troubles brought upon him by the people?
- Adventure EXP: 800
- Primogem: 30
- Mora: 38,100
- Other Rewards: Mystic Enhancement Ore x7, Hero's Wit x4
A Swordmaster's Path is Paved with Broken Blades
- Description: The swordmaster who aimed to be the greatest under heaven descended into madness after losing his Vision. You decide to help his disciples investigate the cause...
- Adventure EXP: 800
- Primogem: 0
- Mora: 38,100
- Other Rewards: Mystic Enhancement Ore x7, Hero's Wit x4
A Flower Blooms in a Prison
- Description: After fulfilling Kamisato Ayaka's three wishes, you successfully win her trust. And now the next step is...
- Adventure EXP: 1,025
- Primogem: 30
- Mora: 49,200
- Other Rewards: Mystic Enhancement Ore x9, Hero's Wit x5
Setting Sail
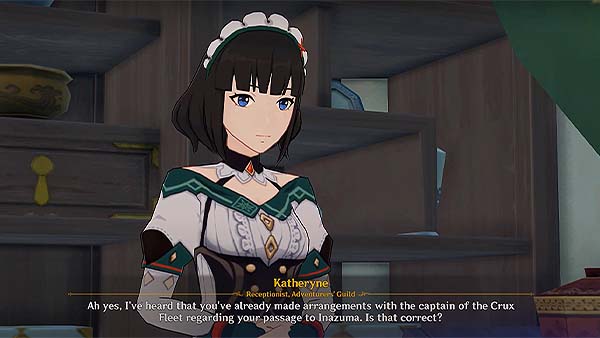
To start this quest, go to Liyue Harbor and ask Katheryne, the receptionist at the Adventurer's Guild, some information about going to Inazuma. She will then say that she's heard you've already made arrangements with the captain of the Crux Fleet regarding your passage to Inazuma.
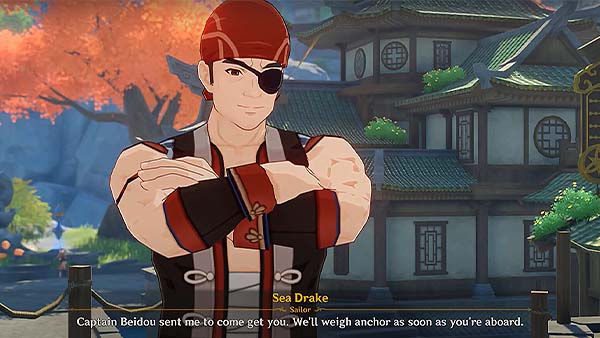
A sailor then comes up to you and says that Beidou told him you're the traveler that they'll be taking to Inazuma. He also added that the fleet has nearly completed reprovisioning. Once the crews have taken a headcount, they could get underway and proceed to sail. He was also sent by Beidou to come get you, they'll be weighing the anchor as soon as you're aboard.
After your conversation with Katheryne and the Sailor, the game will prompt that you've officially started the quest The Immovable God and the Eternal Euthymia.
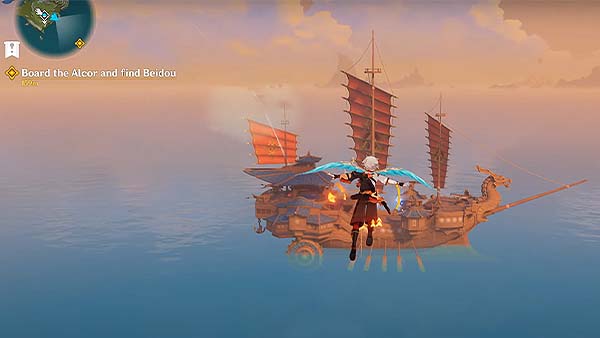
Now you should aboard the Alcor and find Beidou. Open your map and select the domain at the Guyun Stone Forest to fast travel. Once you reach Guyun Stone Forest, head to the top of the mountain and glide across the sea to reach the Alcor and aboard the ship.
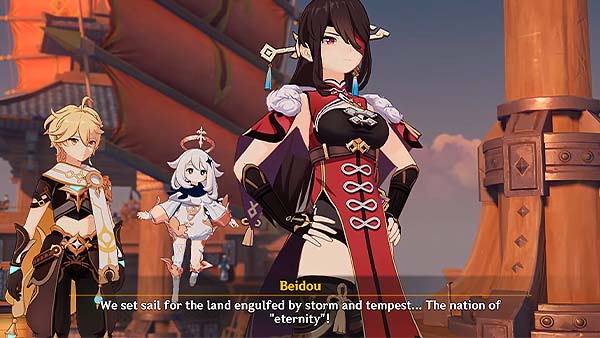
Once you're aboard, you'll find Beidou at the front of the ship. Now that everyone's aboard, Beidou announces it's time to set sail. The anchors are lifted up and the ship started sailing.
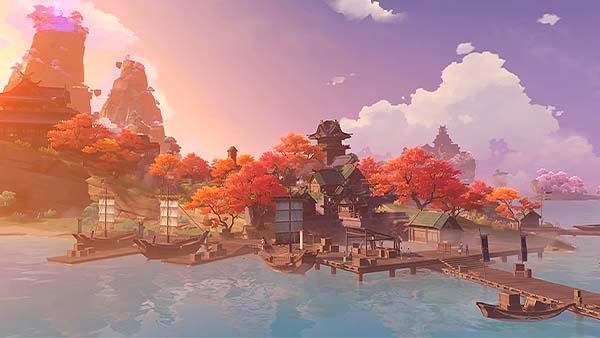
After braving the raging thunderstorm, the Alcor finally comes to port. You'll now see the land of Inazuma.
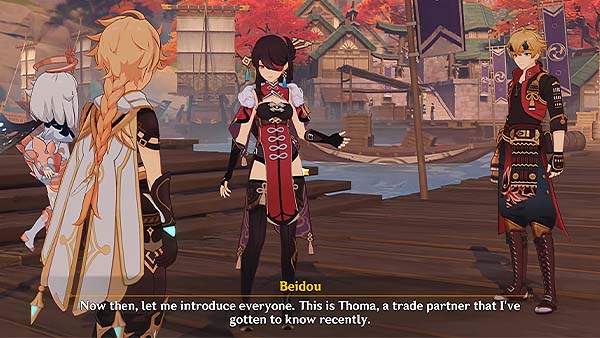
Once you come down the ship, Thoma will welcome you both. Beidou then began to introduce everyone. She says that Thoma is a trade partner that she's gotten to know recently. And it looks like no further introductions needed for you, as Thoma already knows you're the famous traveler and your reputation precedes you. Beidou adds that Thoma is known as the fixer around these parts, and that if you run into any problems here, you can just talk to Thoma. She also warns Thoma that if he tries to pull any moves on you, she'll be the to deal with him personally.
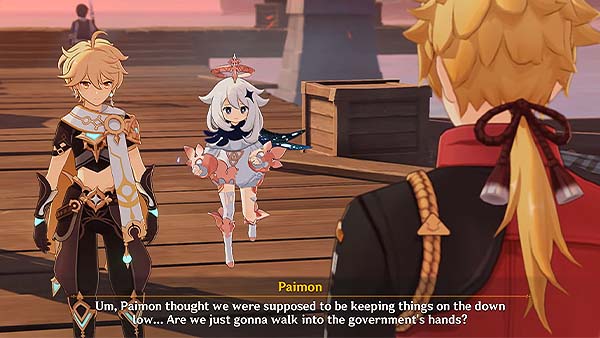
Beidou then takes her leave. Thoma says that you need to get yourself registered at the border checkpoint.
After your conversation with Thoma, your next objective Confessions of an Outlander will begin shortly after.
Confessions of an Outlander
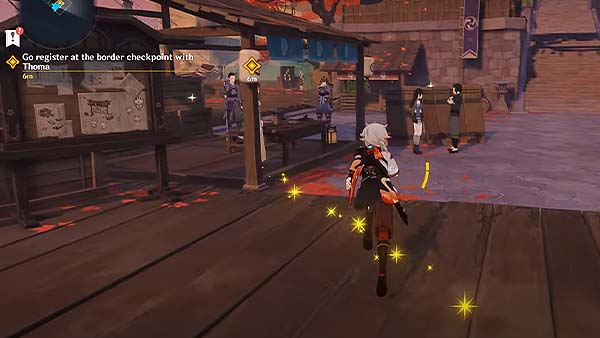
To start this objective, just follow the yellow trail, it will lead you to the border checkpoint where you should register with Thoma.
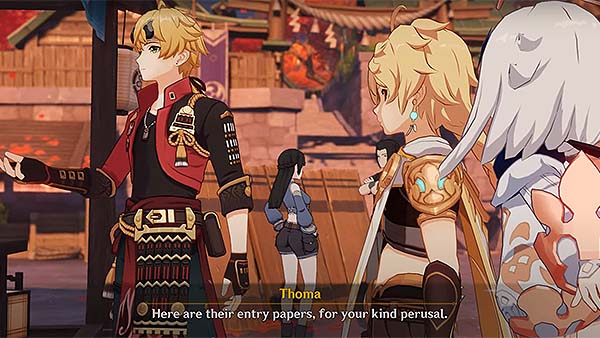
Once you reach the checkpoint, the inspector will ask you to state your name, identity, the purpose of your visit, and also declare any goods that you are carrying with you. Thoma then hands your entry papers, and now the inspector welcomes you to Ritou. Thoma then says that now you'll head over to The Outlander Affairs Agency. He says that the inspector only checks entry permits here, and that if you want to remain on Ritou, there will be a process that you have to go through with the agency.
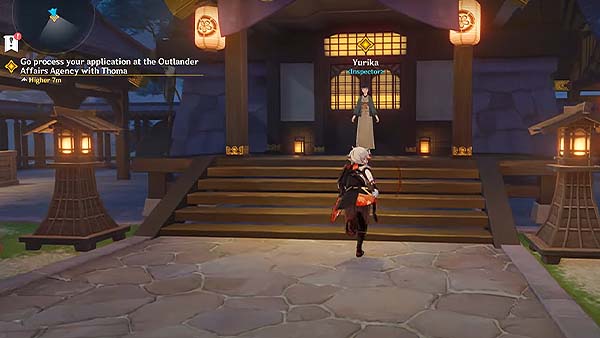
Now you should follow the yellow icon, it should lead you to the agency where another inspector is waiting.
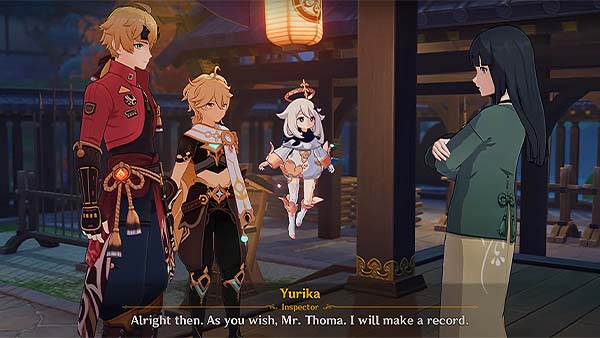
The inspector says that if you're applying for residency, the processing fee will be two million Mora. It's one million Mora per applicant. Thoma then says that both you and Paimon are good friends of his, and by way of courtesy, the inspector reduces the processing fee to 400,000 Mora in total. The residency application is then processed smoothly at the Outlander Affairs Agency. Thoma joins you as you exit the agency. You then discuss about this processing fee and how the International Trade Association came about. The head of the association is called Kurisu and is a good friend of his, he says you should talk to him and he'll wait for you back at the agency.
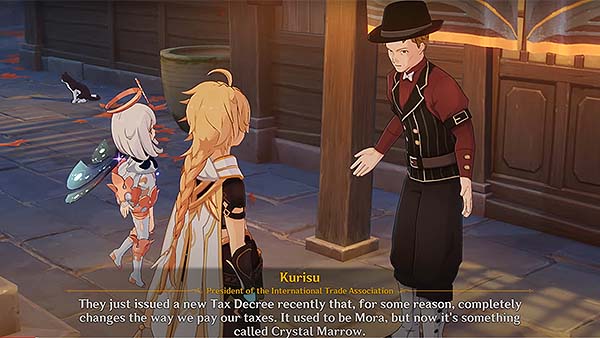
After your conversation with Thoma, follow the yellow trail, it should lead you to the International Trade Association, and then you will speak to Kurisu. He then explains that what's really squeezing them dry are those Mora-grubbers from the Kanjou Commission. Of the three Commissions, they're the one that oversees everything in Ritou. They also just issued a new Tax Decree recently where they changed the way the outlanders pay their taxes, it used to be only Mora, but now they're requiring them to pay with Crystal Marrow.
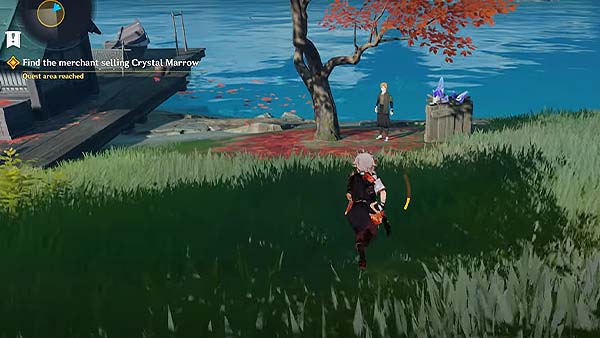
After your conversation with Kurisu, you must now look for a merchant named Werner selling Crystal Marrow. Just follow the yellow icon presented on your map, you should see the merchant standing beside a tree, beside the merchant is also a box with crystals on top of it, go towards the merchant and press interact to talk to him. You won't be able to negotiate with the merchant this time so you would then ask for help from Thoma.
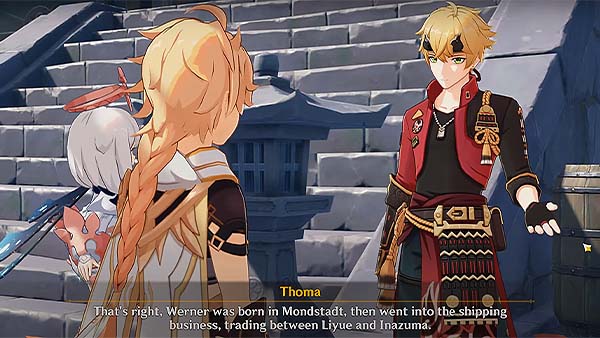
Go back to Thoma and ask him for intel support. Follow the yellow icon and it should lead you back to him. Thoma revealed that the merchant Werner was part of the International Trade Association back then. He says that the association was initially very generous to him, but over time, with decree after decree, the association members found it increasingly difficult to make ends meet. He also says that he believes even the most ungrateful and cold-hearted of people still have some amount of gratitude and warmth left in them somewhere.
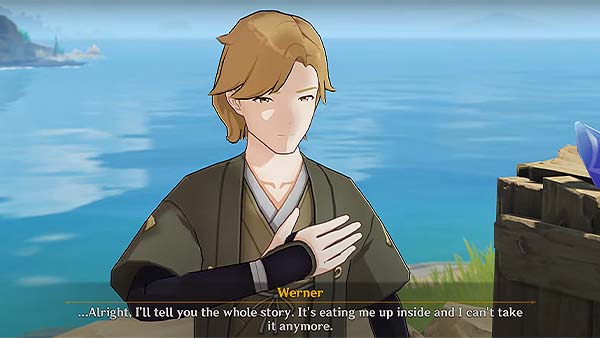
After talking to Thoma, go back and talk to Werner again to negotiate. You were then able to make him relive his moments back when he was in Mondstadt and Liyue, he then tells you the whole story. He reveals the tax scheme by the tax-collection ashigaru, Keijirou and his companions. He says they start by overtaxing the merchants, then take the extra Crystal Marrow they receive and stockpile it. Once the merchants run out of places to buy Crystal Marrow, they get him to sell that extra stock back to the merchants at an extortionate price, with the proceeds going to the tax-collection ashigaru. He then offers to help you find Keijirou and his companions.
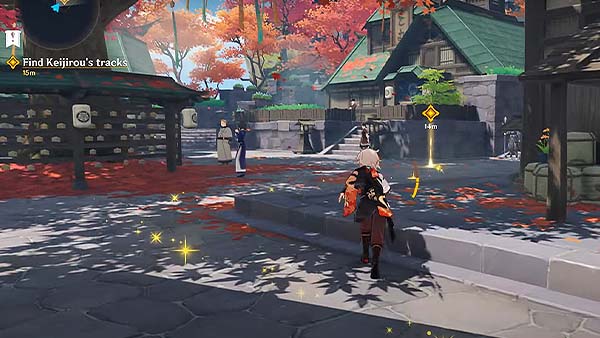
Now folow the yellow icon, it should lead you to Keijirou's tracks, you'll see a glowing light on the ground, go towards it.
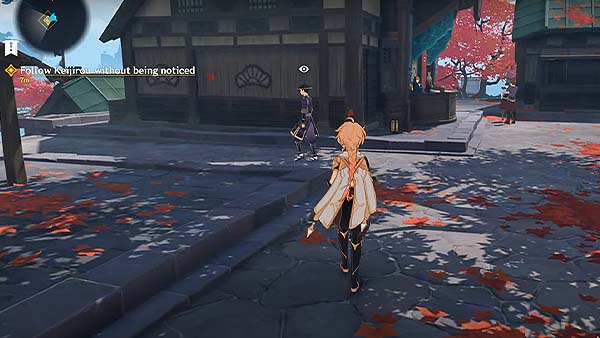
Werner then sees Keijirou, for this, you must follow Keijirou without being noticed. Keijirou will have an "eye" icon above his head, if you're to close, he'll be able to notice you and the red meter on the "eye" icon above his head will slowly fill up.
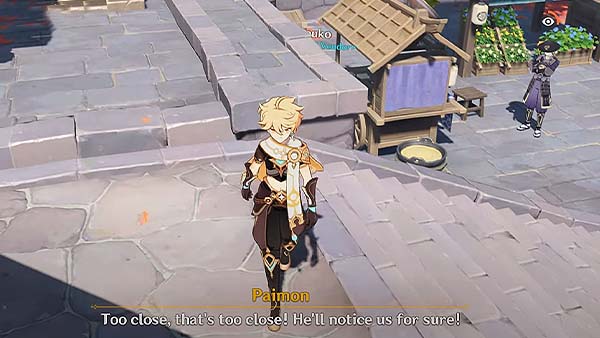
He'll constantly be turning around to see if someone's following him, so don't get to close and stay away from his line of sight.
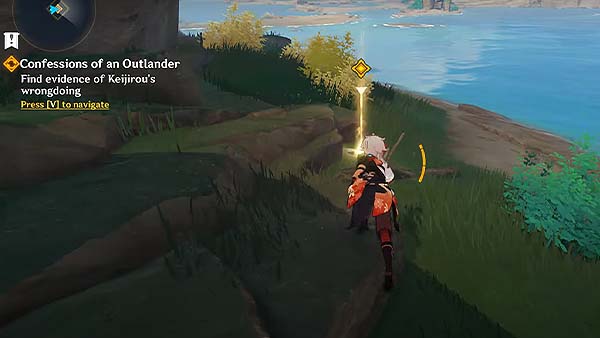
He will eventually stop and you'll see him bury something on the ground, once he leaves, go over the glowing light on the ground and check what Keijirou's been up to.
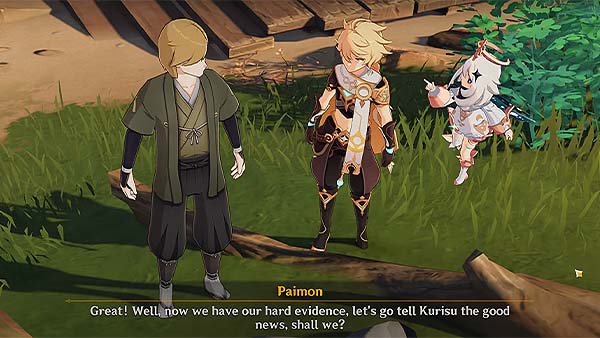
You then discover a ledger containing a clear and complete record of every single transaction, each one proof of Keijirou's guilt. Now that you have your evidence, you should tell Kurisu the good news. Werner won't be coming with you this time, since he's still not ready to face the association again at the moment and says he needs more time, considering what he's done.
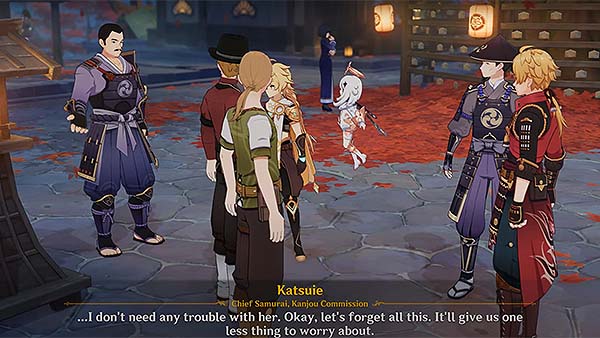
Now go back to the International Trade Association and tell them what really happened, just follow the yellow icon and it should lead you to the association. You will come across Keijirou talking to Kurisu. You then join in and reveal that you were able to find his ledger containing hard evidence about all of his transactions. You then show Kurisu the ledger and he reads through each and every item in it. During the discussion, the Chief Samurai of the Kanjou Commission, Katsuie, was just around the corner and asks what was all the commotion that he heard just now. Thoma also decided to show up on time as he was able to save the situation and resolve the dispute.
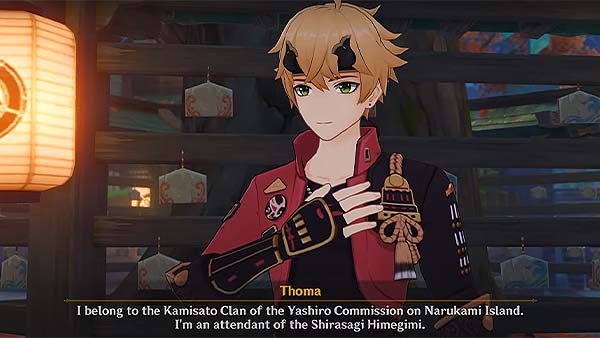
After resolving the situation, go and talk to Thoma. He then reveals that he belongs to the Kamisato Clan of the Yashiro Commission on Narukami Island, and that he's an attendant of the Shirasagi Himegimi. He says the Kamisato Clan is the head of the Yashiro Commission, who manage ceremonial and cultural affairs. He's role is the clan is to take care of the clan's daughter, Kamisato Ayaka, also known as the Shirasagi Himegimi. He then gives you an invitation letter, he says that when we get to Narukami Island, we can find him at Komore Teahouse, as per the letter.
After your conversation with Thoma, you next objective Ritou Escape Plan will begin shortly after.
Ritou Escape Plan
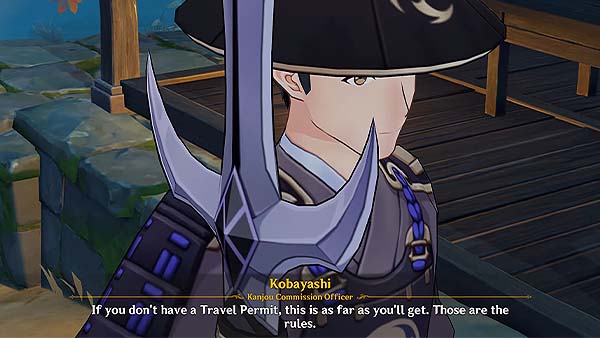
Now you have obtained a Komore Teahouse Invitation Letter. Your next goal is to try and leave Ritou and head over to Narukami Island. Follow the yellow icon presented on your map to reach the border and talk to a Kanjou Commission Officer named Kobayashi. He then tells you that if you can't present a travel permit, this is as far as you go. You then suggest to Paimon that maybe we can talk to the Kanjou Commissioner himself.
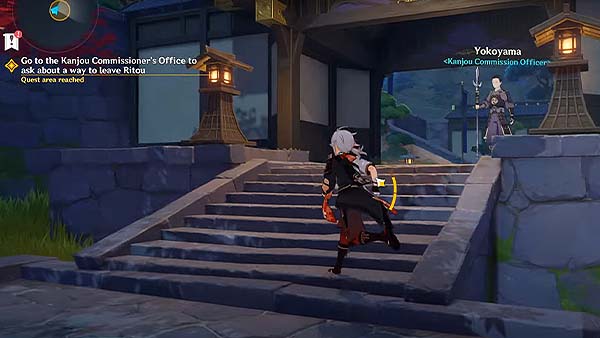
Now go to the Kanjou Commissioner's office to ask about a way to leave Ritou, just follow the yellow icon presented on the map.
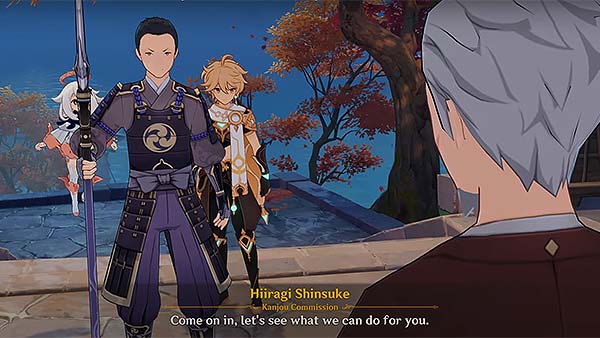
A Kanjou Commission Officer should stop you once you reach the entrance. The guard tells you that the commissioner seldom entertains outlanders, and just as he was about to ask you to leave, the Kanjou Commissioner himself showed up and told the guard that you and Paimon are honored guests from afar.
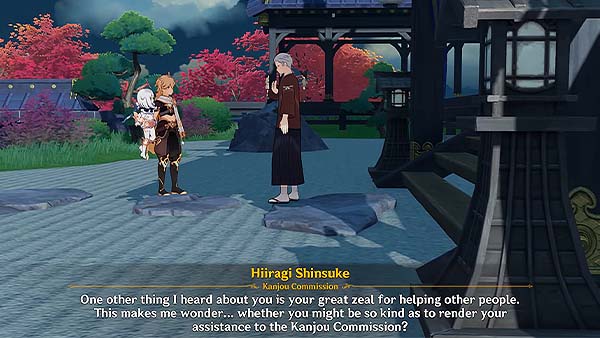
Now go through the entrance and talk to the Kanjou Commissioner. He then introduces himself as Hiirage Shinsuke, Kanjou Commissioner and head of the Hiiragi Clan. Since he's also heard that you have a great zeal for helping other people, he was wondering whether you might be able to render your assistance to the Kanjou Commission. You then consider the request.
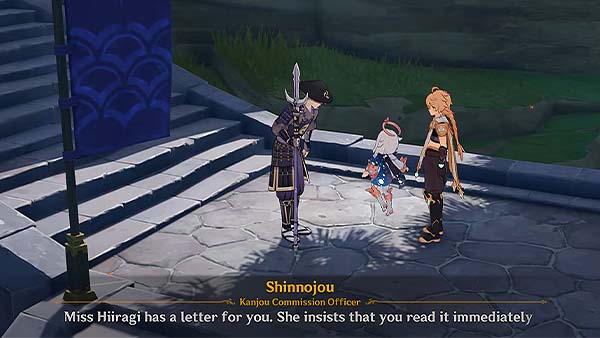
Now leave the Commissioner's office. Once you reach the yellow icon, a Kanjou Commission Officer will stop you and give you a letter coming from Ms. Hiiragi, and insists that you read the letter immediately. The letter contains a message from Ms. Hiiragi and she says that you meet her tonight, she also says to not fret about retainers and bodyguards as she will ensure that their attention is elsewhere.
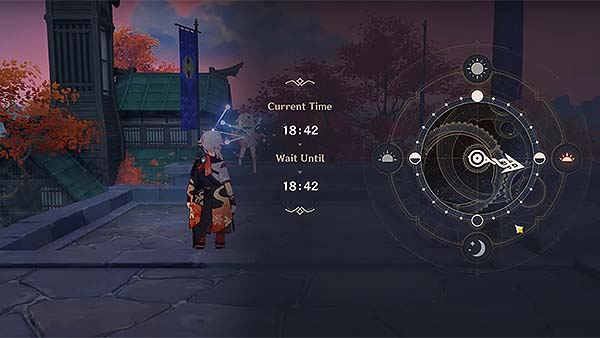
After reading the letter, meet Ms. Hiiragi at the appointed time from 18:00-24:00. Open the Paimon Menu and select Time, then move the hand to the appointed time to skip and advance time. Once you were able to advance time, follow the yellow icon, it should lead you to where Ms. Hiiragi is.
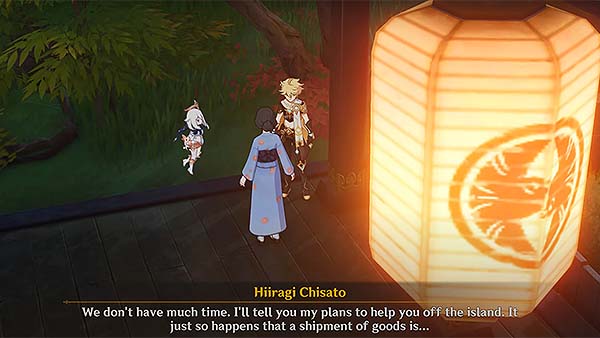
Once you reach the area, Ms. Hiiragi will introduce herself as Hiiragi Chisato, daughter of the Hiiragi Clan. She then asks if you could deliver a letter to Narukami Island in her stead, and it is to be given to Kujoi Kamaji of the Tenryou Commission. She says her father has always forbidden her from communicating with Kamaji, he knows that there are prospects for her marriage that would better serve him politically, but her heart is with Kamaji. She adds that there is no one who would dare defy her father's will on Ritou, but since you are an outlander seeking to get to Narukami Island, it would seem regrettable to let this opportunity pass. Once you are able to deliver the letter, she promises that she will do everything in her power to help you leave Ritou. She then tells you her plans, and says that she'll be waiting for you at the border and is counting on you to deliver the letter.
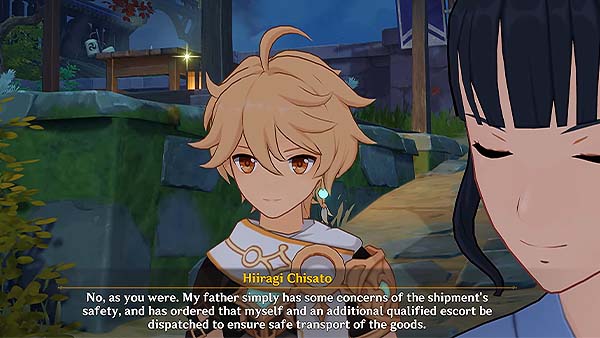
Now follow the yellow icon on your map and go to Ritou's border to carry out Chisato's plan. Once you reach the area, Chisato will talk to the officers regarding goods being sent to Watatsumi Island, and says that her father has some concerns with the shipment's safety and has ordered that both you, and herself to be dispatched to ensure the safe transport of the goods.
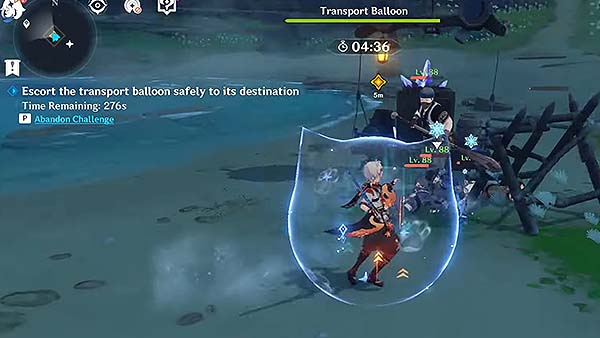
Now you should escort the goods and leave Ritou. Approach the goods and press interact to start moving. For this part, you will need to escort the transport balloon safely to its destination, there will be Treasure Hoarders and Hilichurls that will try to ambush you, protect the goods and defeat the enemies along the way to continue.
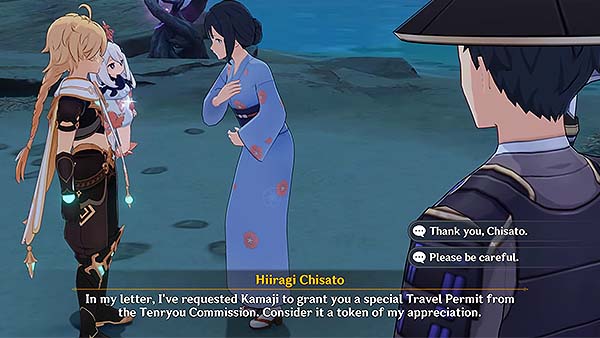
Once you've safely escorted the goods to the destination, Chisato tells you that the letter she gave you also says that She's requested Kamaji to grant you a special travel permit from Tenryou Commission.
After your conversation with Chisato, your next objective Three Wishes will begin shortly after.
Three Wishes
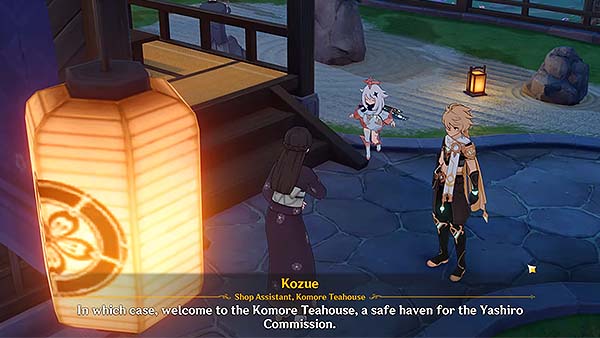
For this next objective, you would need to go to Komore Teahouse and give the letter to Kujou Kamaji, follow the yellow icon presented on your map. Once you reach the teahouse, the shop assistant, Kozue, tell you that they don't serve the general public and will ask you to leave. You then show your letter that was given to you by Thoma, after reading the letter, the shop assistant then welcomes you to the teahouse.
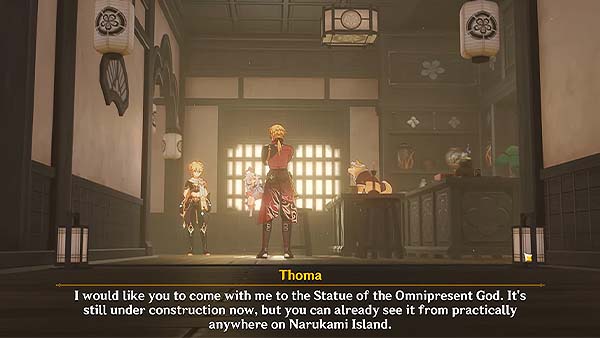
Now go towards the door and enter the teahouse. Thoma then greeted you and apologized for the little "test" you went through earlier though it was quite necessary, it helped him determine whether or not to bring you before Miss Kamisato, and whether you had the courage to face the lightning alongside them. He says that now he will bring you to where the Yashiro Commission is located, at the Kamisato Residence. But before that he would like you to come with him to the Statue of the Omnipresent God.
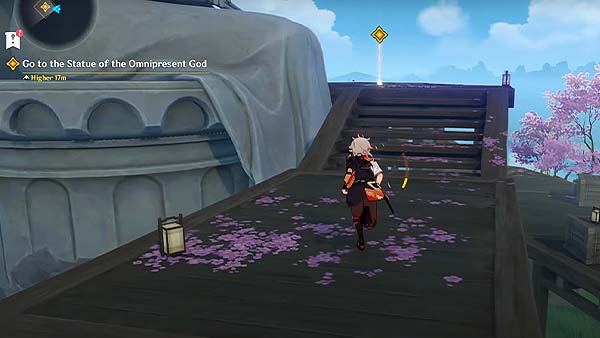
After your conversation with Thoma, exit Komore Teahouse and follow the yellow icon presented on your map, it should lead you to the Statue of the Omnipresent God.
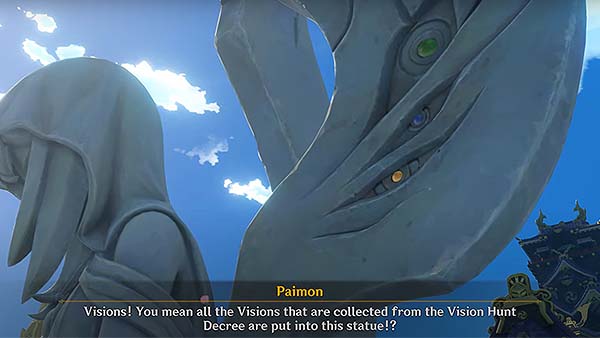
Once you reach the statue, you'll see Visions that were collected from the Vision Hunt Decree are all attached into this statue. Thoma says that before he explains, he reminds you that Mondstadt is the City of Freedom, Liyue is the City of Contracts, and Inazuma is the Nation of Eternity. The Raiden Shogun is both the nation's most powerful ruler, and its deity, and the "eternity" in question is her endless and unchanging will to rule over Inazuma. The Raiden Shogun relies on the Tri-Commission to regulate the nation's affairs, and the Sakoku Decree to limit the people's movement. The Raiden Shogun also dispatched the Tenryou Commission to scour the nation for Visions, embedding each one in this statue.
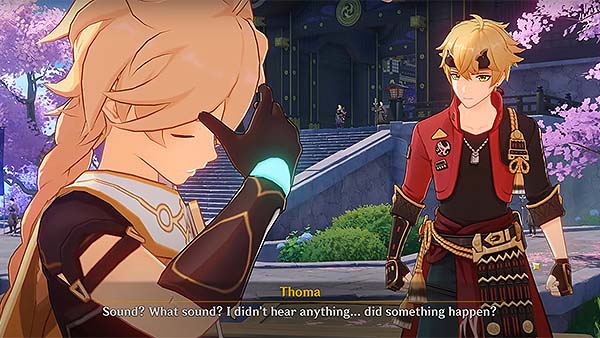
When you tried to touch the statue, you were then bothered by hearing the sound of people's aspirations. Thoma then says that your next stop is the Kamisato Residence.
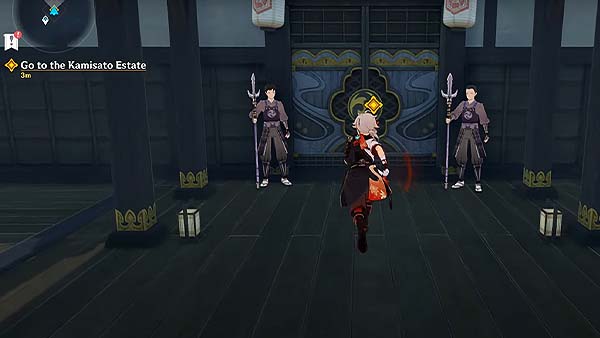
Now follow the yellow icon and it should lead you to the Kamisato Estate. Once you reach the residence, go towards the door where you can see two officers guarding the entrance then press interact to enter the Yashiro Commission Headquarters.
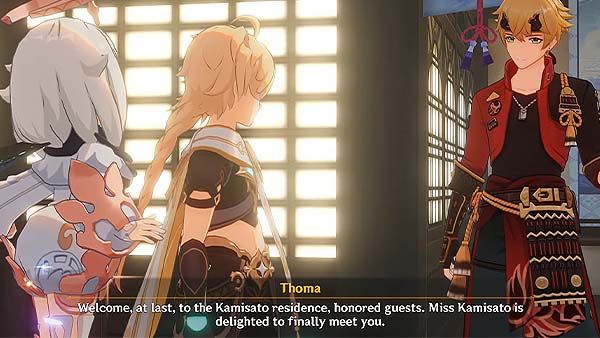
Thoma will welcome you at the Kamisato residence, and as honored guests, he says that Miss Kamisato is delighted to meet you. Kamisato Ayaka says that she's awaited your arrival with great anticipation, and Thoma assures her that you do indeed possess the power to change the tide of the times. She then says that she will introduce you to the Raiden Shogun on one condition, you must fulfill three small wishes on her behalf. Kamisato Ayaka will tell you the story of the three Visionless people.
After your conversation with Kamisato Ayaka, your next objective The Meaning of Meaningless Wait will begin shortly after.
The Meaning of Meaningless Wait
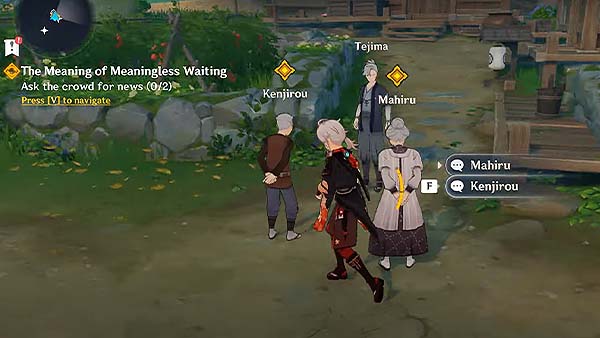
To start this next objective, you must go to Konda Village and find out what happened. Open your map and there should be a teleport waypoint near the current objective, use the waypoint to fast travel. Once you reach the waypoint, you will need to ask the crowd for news. Approach Mahiru and Kenjirou and press interact to talk to them.
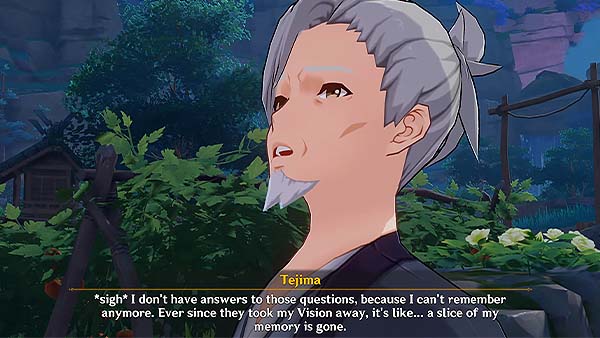
After talking to the elderly, talk to Tejima and find out about what happened. Paimon immediately asks what made Tejima want to leave all of a sudden, Tejima replies that he doesn't have answers to all the questions because he can't remember anymore. He says that ever since his vision got taken away, it's like a slice of his memory was gone. In the past, he knew he wanted to stay here, but whatever resolve he had then is gone now. Paimon then suggests that we can help Tejima from leaving if you find his diary, it could help him rediscover his purpose.
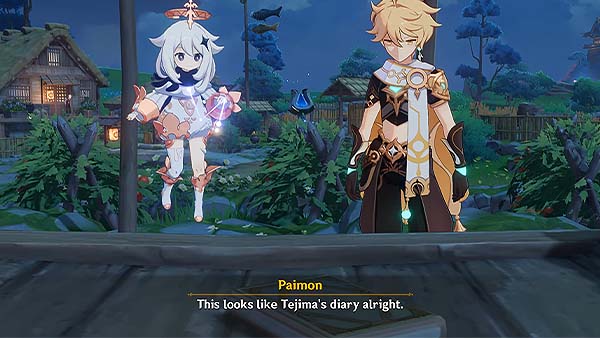
Now follow the yellow icon presented on your map, it should lead you to a clue to Tejima's memory. From where Tejima is standing, just go towards the house behind him and you'll see the diary on the left side of the house, then press interact to read it.
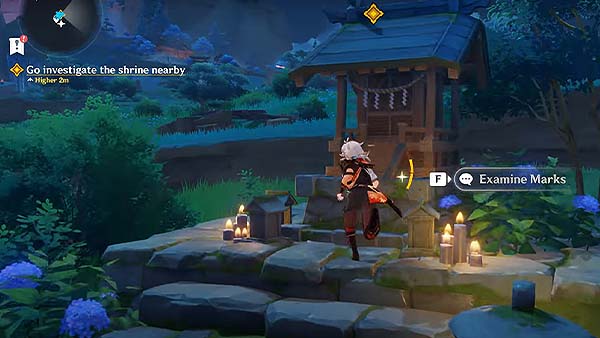
After reading the diary, follow the yellow icon again, it should lead you to a shrine nearby. Go to the shrine and press interact to examine the marks.
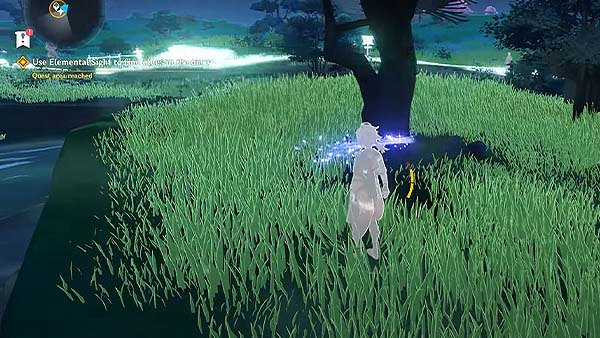
After examining the marks, use your Elemental Sight to find clues in the diary. By using your Elemental Sight, you will see a purple trail, follow this trail and it should lead you to a tree behind the house. You will discover that Tejima must've buried something beside the tree, since the soil looks like it's been disturbed.
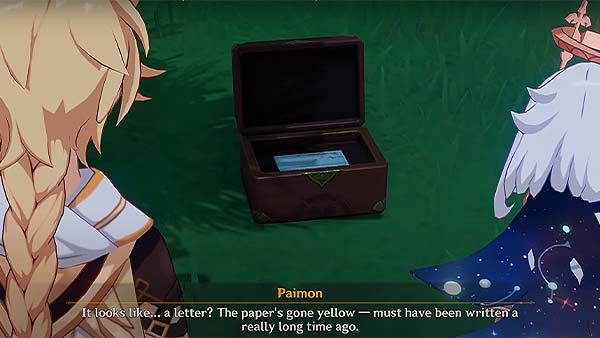
After digging, you will find a box containing a letter, where the paper's already gone yellow. As you read the letter, you'll come to find out that the reasone Tejima came here was to wait for someone.
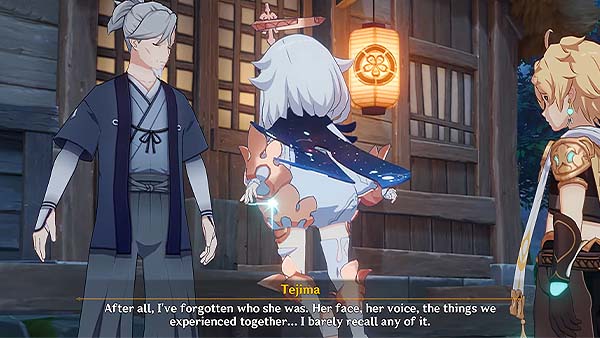
Now you've obtained the Yellowed Letter, go back to the front of the house and talk to Tejima. Upon showing him the letter, he immediately recognized his handwriting, but he has no memory of anything that's written in this diary. He then proceeds to explain that over the years, he must've made a note of anything interesting that he could share with her when they finally get the chance to reunite again.
After your conversation with Tejima, your next objective To Treat the Well-Meaning Well will begin shortly after.
To Treat the Well-Meaning Well
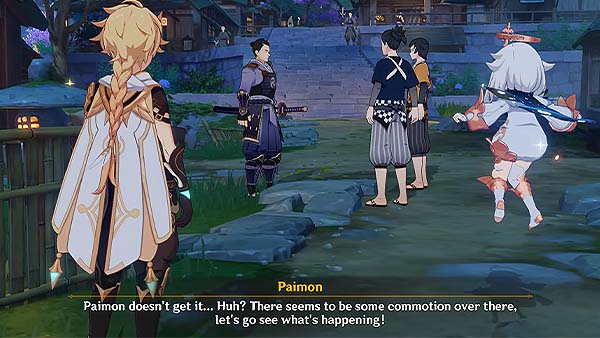
To start this next objective, you will now have to find the next person who lost their Vision, and as per Kamisato Ayaka, that second person is a samurai from the Tenryou Commission. Just proceed to where the yellow icon is located, once you reach the area, you'll see a commotion about the people's emergency provisions.
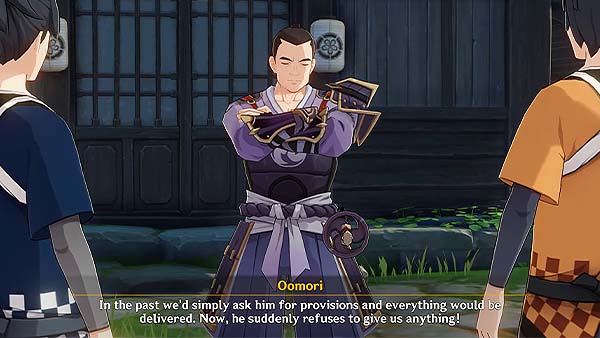
One of the locals then tells you that you've come at the right time and perhaps you can help them settle this matter. The local then points at the samurai and Introduces him as Kurosawa, a member of the Shogun's Army. He says that they issue emergency provisions to the area and he's the one responisble for distribution. Back then, they would simply ask him for provisions and everything would be delivered but now, he suddenly refuses to give them anything.
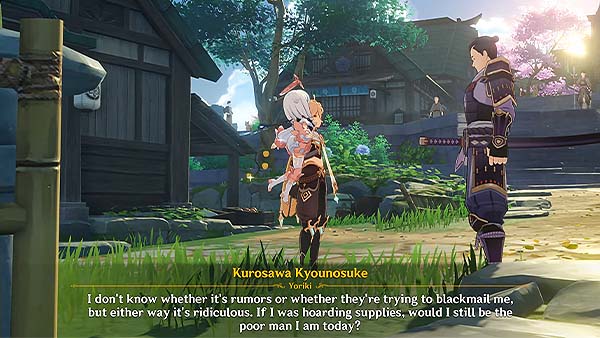
After hearing the side of the locals, go and talk to Kurosawa. He then explains that he's never heard of these emergency provisions, he doesn't know whether it's rumors or whether they're trying to blackmail him. He explains that if he was really hoarding those supplies, he wouldn't be as poor as he is now, he even explains that even his own family can barely get by as it is. You then tell him that you were told that he lost his Vision recently. He then explains that his house was raided by Treasure Hoarders recently, which is also why he came here in the first place. He was chasing after them but then got held up by these two. Paimon suggests that you round up the Treasure Hoarders and see what they have to say.
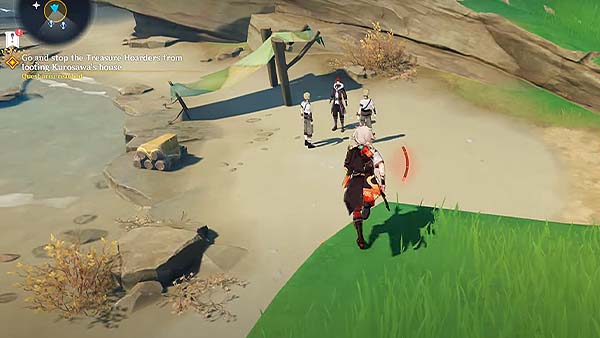
After your conversation with Kurosawa, go and stop and Treasure Hoarders from looting Kurosawa's house, a yellow icon will be shown on you map, they should be just around the corner. Once you reach the yellow icon, defeat all the Treasure Hoarders in the area to continue.
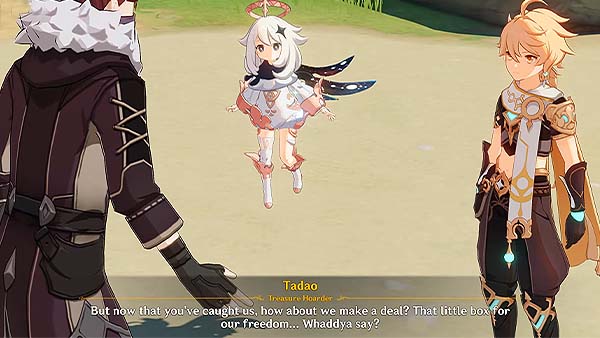
Upon defeating the Treasure Hoarders, Paimon quickly asks them what they found inside Kurosawa's house, their leader said the house was a mess, they only found a strange looking box containing a bunch of IOUs. Their leader then made a deal, the box for their freedom, Paimon quickly agreed.
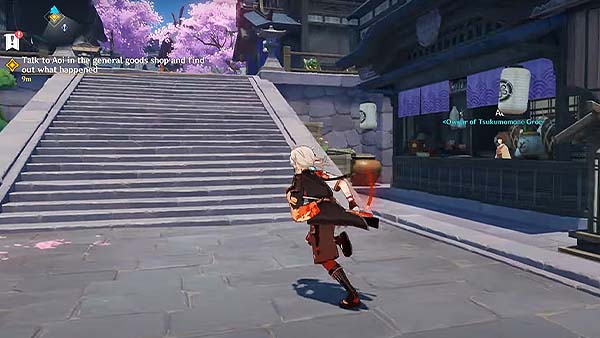
Now you must talk to Aoi in the general goods shop and find out what happened, follow the yellow icon presented on your map, you'll see the store beside a stairs on the street.
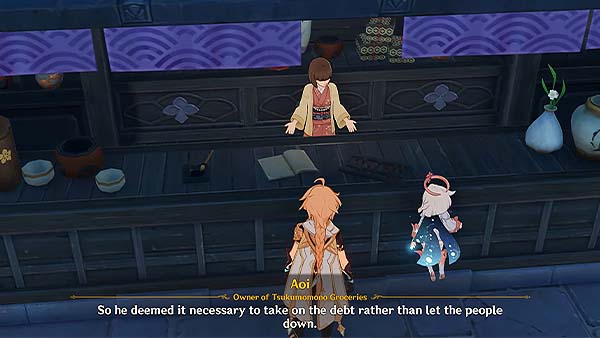
You will then show her the IOUs, Aoi thought you came to her to pay off his debt, but Paimon quickly explained you both just came to learn where they all came from. Aoi explained that Kurosawa would come regulary to purchase large quantities of foodstuffs and he'd always put the payment on his own account. But then, the price of the provisions began to skyrocket, and his salary was no longer enough to cover the cost so he started writing out IOUs to cover whatever he couldn't afford of the usual amount. Kurosawa was actually purchasing all the emergency provisions at his own expense.
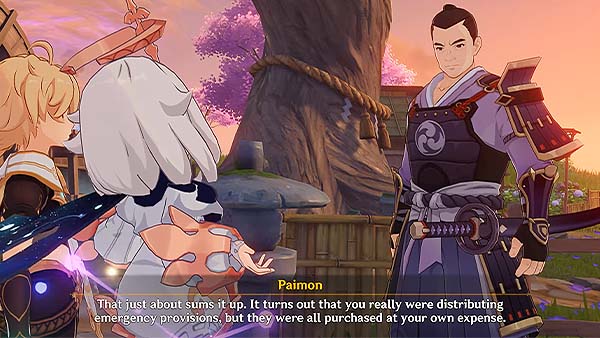
After your conversation with Aoi, go back and talk to Kurosawa, just follow the yellow icon and it will quickly lead you straight to him. You then recount your encounter with the Treasure Hoarders and your conversation with Aoi. Even after you've told Kurosawa everything, it seems that he really doesn't have any such recollection and still doesn't remember anything. He then explains that he forgot many important things ever since his Vision was taken from him, all he can remember now is his father telling him that the blade he's wielding bore his father's life creed. Paimon saw that there were words engraved on the hilt of the sword saying "Virtue and Justice". Suddenly those two words seem to explain everything to Kurosawa, taking on seemingly endless debts to make others happy, Kurosawa thinks that must've been his greatest ambition after all.
After your conversation with Kurosawa, your next objective A Swordmaster's Path is Paved with Broken Blades will begin shortly after.
A Swordmaster's Path is Paved with Broken Blades
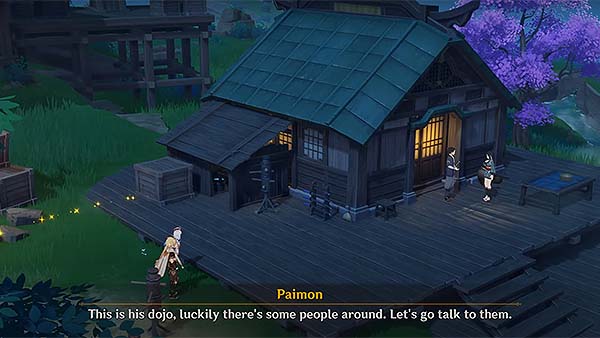
Now go find the last Visionless person, just follow the yellow icon, that person should be just around the area where you're from during your previous objective. You will come across a dojo, where two of its students, Junya and Nanako are outside talking about how their master was possessed.
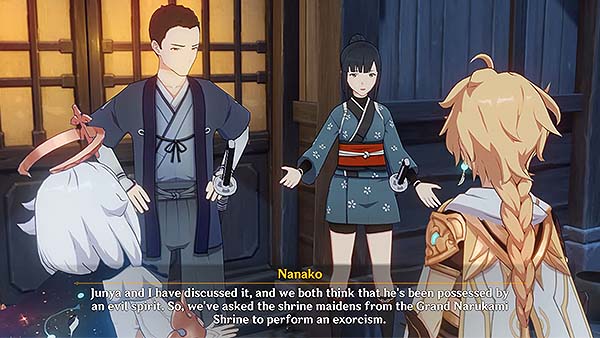
You and Paimon overheard about their master's possession, and asked the students. Junya says that their sensei got possessed recently and still under recovery. He then revealed his sensei's name, Domon. He explains that though self-taught, Domon was able to master the art of the sword at a high level. He was also able to defeat many other prominent swordmasters, never losing a single fight, with his goal to become the best swordmaster in the world. Junya continued to explain that even whebn they were taken as students, Domon continued to hone his own art. Nanako then added that not long ago, Domon's Vision was taken away, and he hasn't been the same since. Junya and Nanako thinks that Domon has been possessed by an evil spirit so they've asked the shrine maidens from the Grand Narukami Shrine to perform an exorcism.
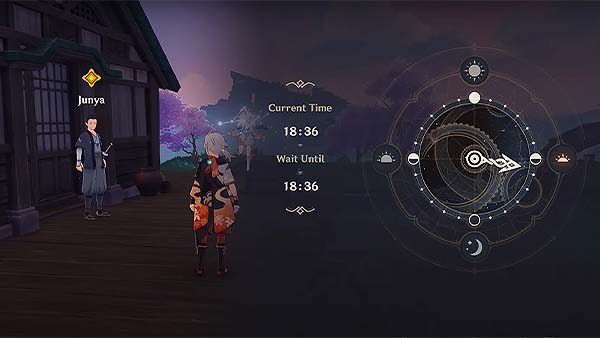
After talking to Junya and Nanako, you will have to wait until it's night time for the exorcism. Open the Paimon Menu and select time, you must advance time and wait from 18:00-24:00.
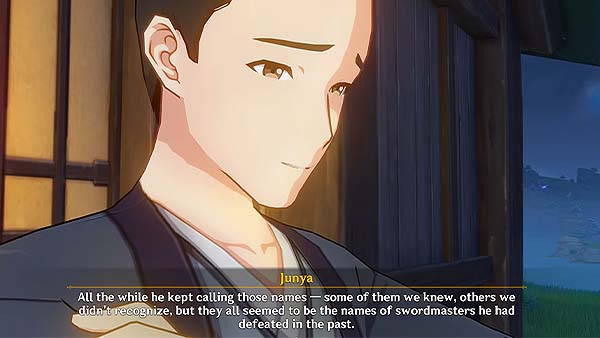
Once you've advanced time, talk to Junya. He says that it was good that you didn't arrive any earlier because you would have witnessed Domon in one of his fits of madness. He also tells you that just when Nanako was attending to Domon, she heard him whispering a few names to himself, when she asked him who the people were, he suddenly looked panic-stricken and pushed her away. All the names Domon kept calling out were the swordmasters he had defeated in the past. Junya was able to recognize some of them, and one of those names that he was able to recognize was Anzai, used to be a fellow disciple of Domon. But when Anzai was defeated in a duel many years ago, he has been a wanderer ever since. The Shrine Maidens were able to subdue Domon, the ritual has now begun, all you can do now is await for the result with Junya and Nanako.
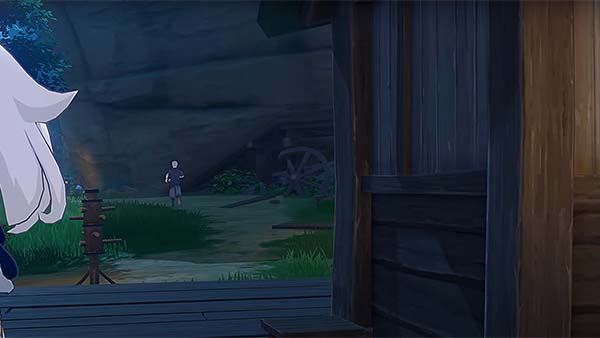
Junya then tells you that he'll fetch some water for Domon first. Paimon will then spot a suspicious person sneaking around the area and when spotted, he ran away. Now follow that person's traces.
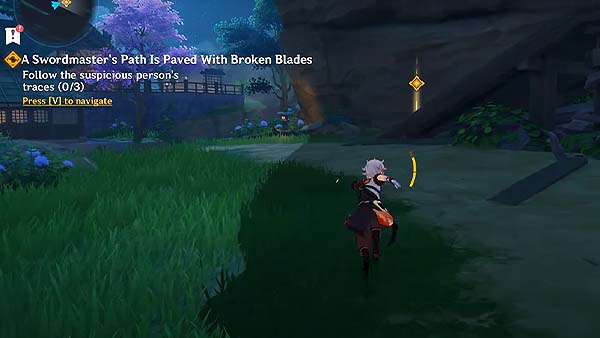
The first trace will be found just by an inclined platform.
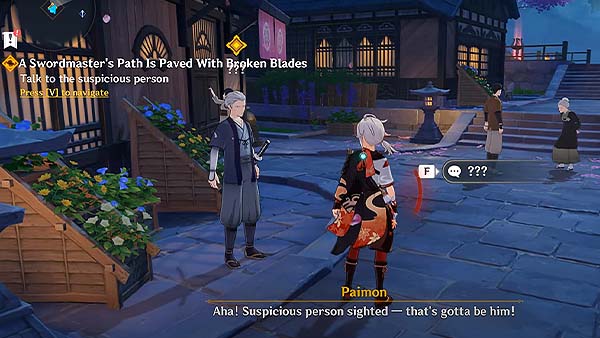
Continue going up and you'll eventually spot the suspicious person at the top. Go towards him and press interact to confront him.
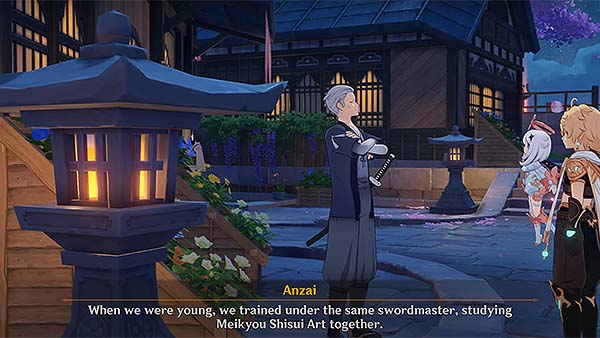
He then introduces himself as Domon's senior, Anzai. He explains that when they were young, they trained under the same swordmaster studying the Meikyou Shisui Art together. He says that he had begun training five years before Domon, and everyone looked up to him as a steady and dependable older disciple. When Domon showed up, everything changed for Anzai. When they sparred, he not only lost the match, but also his pride and status as well. He then fled the dojo and never looked back.
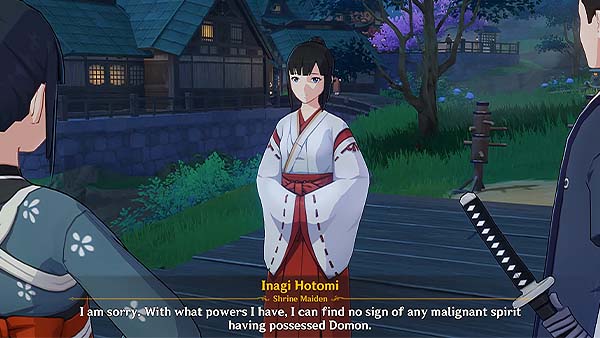
After your conversation with Anzai, go back to the dojo and see how the exorcism went. Once you reach the dojo, the shrine maiden will reveal that Domon isn't actually possessed and they couldn't find signs of any malignant spirit possessing him. The shrine maiden informs the students that not all hope is lost, since Lady Yae, the Head Shrine Maiden of the Grand Narukami Shrine, has taken interest in Domon's case.
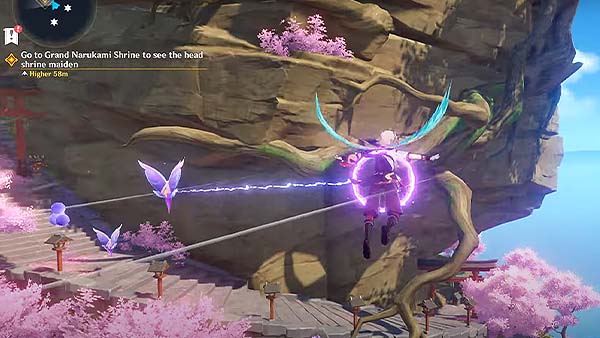
After hearing the news, you must now go to Grand Narukami Shrine to see the head shrine maiden. Open your map and select the nearest teleport waypoint to the objective to fast travel. Once you reach the waypoint, continue following the yellow icon to make your way to the shrine. You won't be able to just climb your way up the mountain to reach the shrine, you will see a butterfly-like entity known as a Thunder Sphere, these are a common sight in Inazuma and Characters who wield Electro Power or who are looked after by Inazuma can use it to move around at lightning speed. If you're character is carrying an Electrogranum or affected by Electro and is within the proximity of a Thunder Sphere, you can move towards it at great speed.
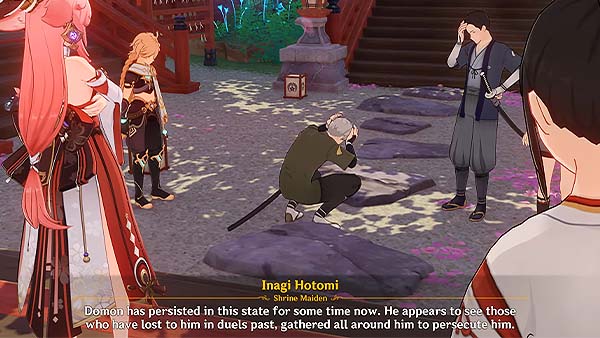
Once you reach the Grand Narukami Shrine, go inside. Lady Yae will show up, you will also finally see Domon there. The shrine maiden explains to Lady Yae the situation regarding Domon's state. Lady Yae then explains that Domon is indeed not possessed by any evil spirit, unable to cope with the tremendous pressure he was under, he suffered a spiritual collapse, with his wits impaired, he finally descended into madness. And for what has triggered this change, Lady Yae suspects it must've been the loss of his Vision.
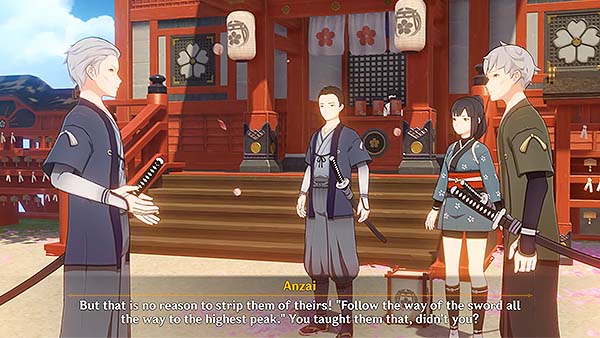
Anzai then shows up and finally shows himself to Domon. Amzai explains that he's already made peace with what happened years ago, and that Domon did nothing wrong that at that time. The Meikyou Shisui Art disciples thank the head shrine maiden and leaves.
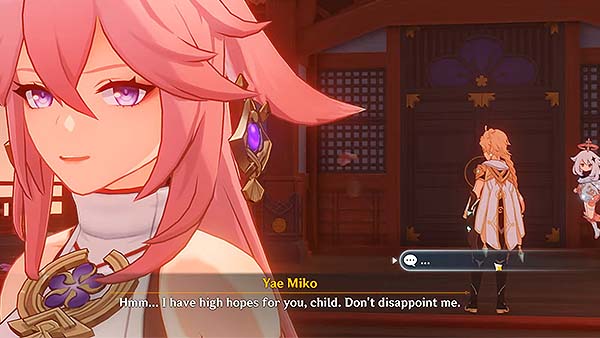
The Shrine Maiden tells you that Lady Yae wants to talk to you. She says that you set foot on these islands at precisely the right moment and that she has high hopes for you. Not really understanding what it meant, Paimon suggested that you should go back and report to Miss Kamisato for now.
After talking to Paimon, your next objective A Flower Blooms in a Prison will begin shortly after.
A Flower Blooms in a Prison
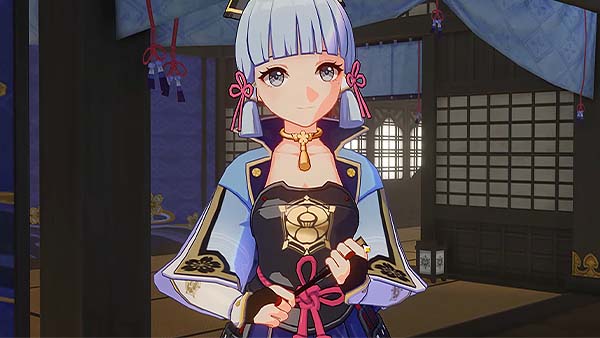
Now return to the Kamisato Estate and speak to Kamisato Ayaka. Open your map and select the teleport waypoint located inside the estate to fast travel. Once you reach the estate, Kamisato Ayaka will finally show herself to you, she thanks you for helping out her three friends. After asking you how you felt after witnessing the pain of those deprived of their visions, she asks if you're willing to consider your stance in helping to fight the Vision Hunt Decree. You then tell her that you would be happy to help. Ayaka suggests to move the discussion to the Komore Teahouse since the remainder of your discussion pertains to matters of confidential information, and she doesn't want to involve other members of the Yashiro Commission on this one. Ayaka and Thoma will take you once again to the Komore Teahouse.
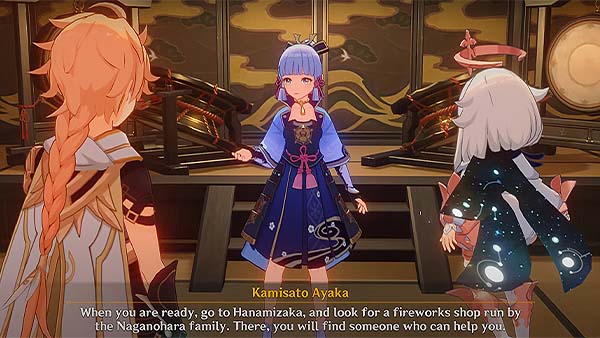
Paimon immediately asks why is this specific teahouse always the meeting place. Ayaka explains that this is land that was gifted to the Yashiro Commission by the shogun, and that the Kamisato Clan has the exclusive right to plan, build, and repair any property on this land, and even allow or deny access. Once the members of ceremonial affairs conducted in the city began to decline, their forebears built a teahouse here, and only members of the Yashiro Commission are permitted to come and go as they please. You would then proceed to ask Ayaka regarding the shogun and the Vision Hunt Decree. Ayaka's plan at the moment is to try and reduce the harm that is being caused by this decree, by providing Vision bearers with safe refuge, or manufacturing counterfeit Visions for them as a contingency measure. But the current problem with the counterfeit Visions is that the one providing them, Master Masakatsu, has been arrested recently by the Tenryou Commission. Now Ayaka tasks you to go to Hanamizaka and look for a fireworks shop run by the Naganohara family, she says you will find someone who can help you there in rescuing Master Masakatsu.
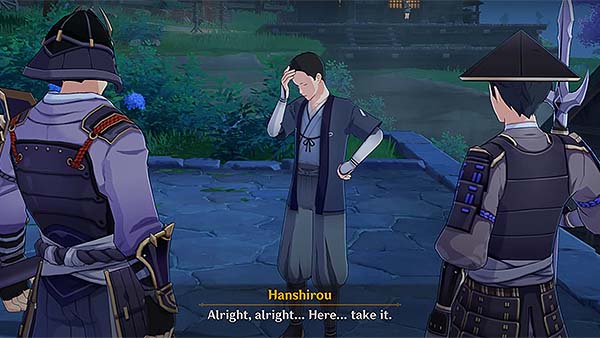
After discussing the plan with Ayaka, you will need to go to Naganohara Fireworks. Open your map and select the teleport waypoint that's nearest to the current objective to fast travel. As you make your way through the objective, you will stumble across an officer asking a civilian to hand over his Vision. Just as you were about to interfere, a lady tried to get your attention, she tells you to sit tight and watch for a moment. It turns out she swapped out the the real Vision with a fake one, so the officers weren't able to acquire this person's real Vision.
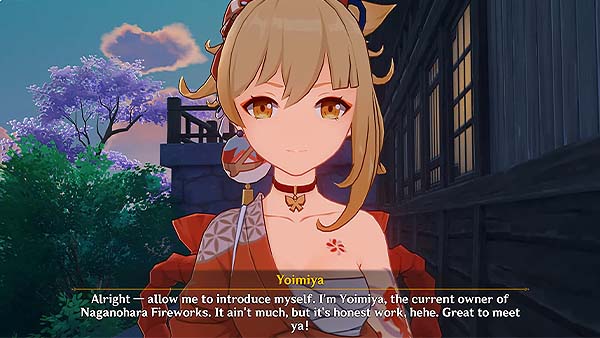
The lady then introduces herself as Yoimiya, the current owner of Naganohara Fireworks. The man she helped just now, Hanshirou, says that practically everyone in Hanamizaka knows Yoimiya, since she's the "Queen of the Summer Festival", and that without her fireworks, summer on Narukami Island just wouldn't be the same. You then tell Yoimiya about breaking out Master Masakatsu, she tells you that he's being held at the Police Station and that she's already surveyed the area and found a way in.
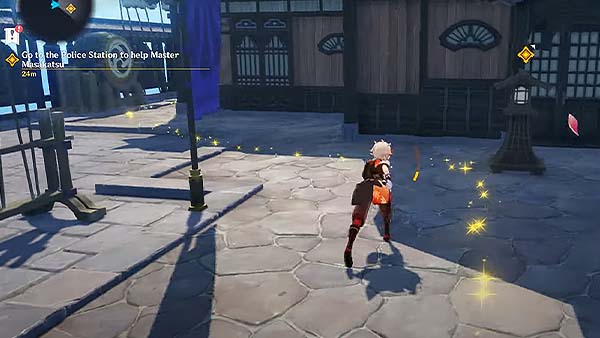
Now you should head over to the Police Station to help break out Master Masakatsu.
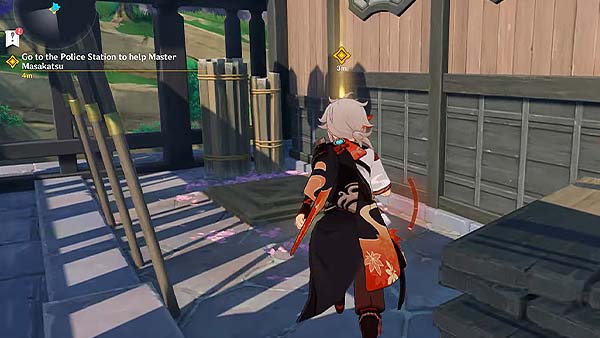
Once you reach the area, go at the back of the police station, you will see a glowing light indicating a Secret Passageway Entrance. Press interact to enter. This is just like a domain, you will see the mission "Police Detention Center" it will also show you the recommended party level, as well as recommended elements for this run.
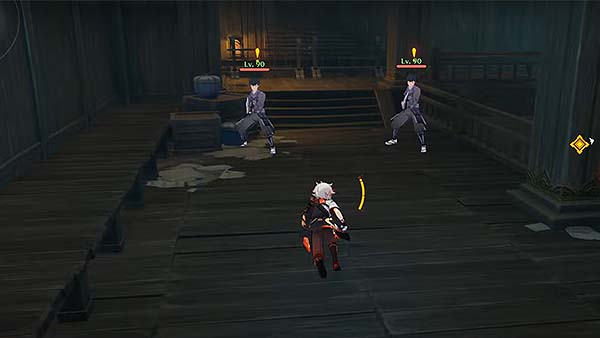
Once you enter the Police Station, Yoimiya will split up with you. Now you should follow the yellow icon, where it should lead you to Master Masakatsu's whereabouts, but first, you must make your way through the guards. Go up the stairs and turn left, there will be two Shogunate Infantry there, defeat them to advance.
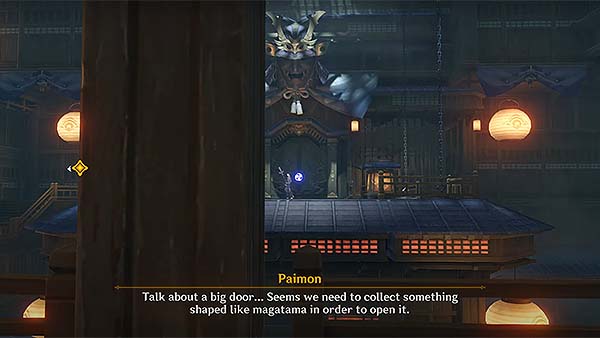
Continue following the path, the game will then show you a door, where Paimon says that you would need to collect something shaped like a magatama in order to open it.

When you reach the next room, you'll see four Shogunate Infantry and one Yoriki Samurai waiting, defeat all of them to open the door leading to the next area.
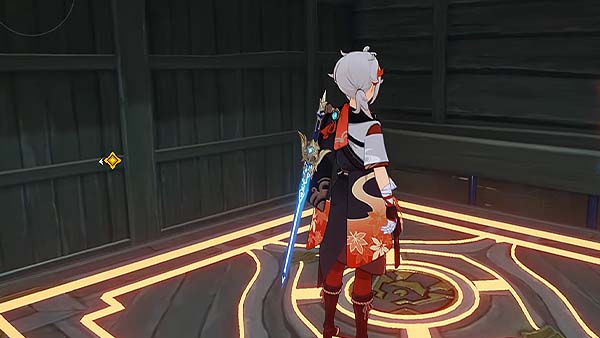
Go through the door and step on the platform on your right, it should activate and lift you up to the next floor.
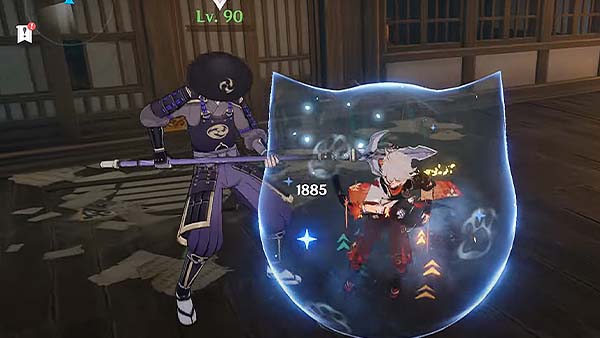
Once you've reached the next floor, head straight and defeat the Shogunate Infantry Captain to continue.
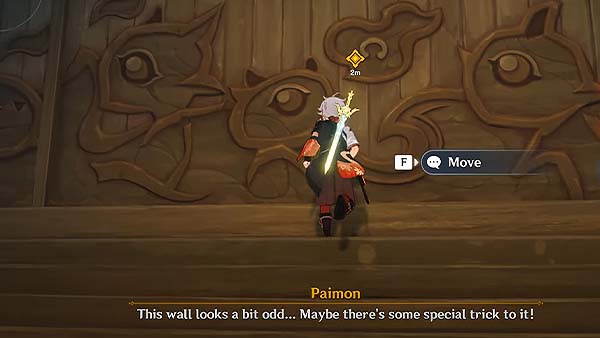
Then go towards the wall blocking your path and press interact to open it.
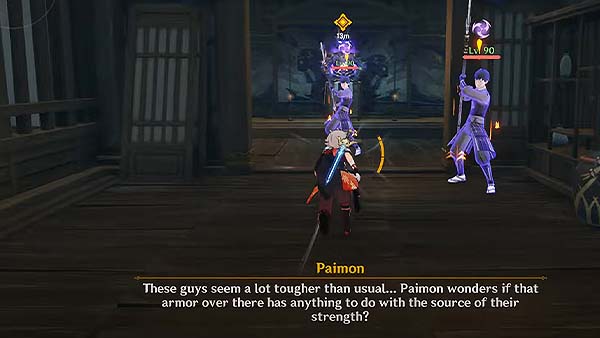
Two more Shogunate Infantry will be waiting, you will also notice the enemies have a light purple barrier surrounding their body which increases the enemy's attack.
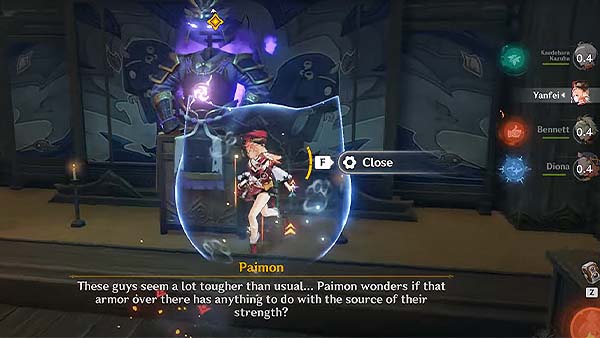
There is a Samurai Armor with the Electro Symbol, that is the source of their power, go towards it and press interact to turn it off.

Once you've defeated the two, enter the next room, you'll see a locked chest in the middle, and five officers guarding it. Defeat all the enemies in the area to unlock the chest and open the door.
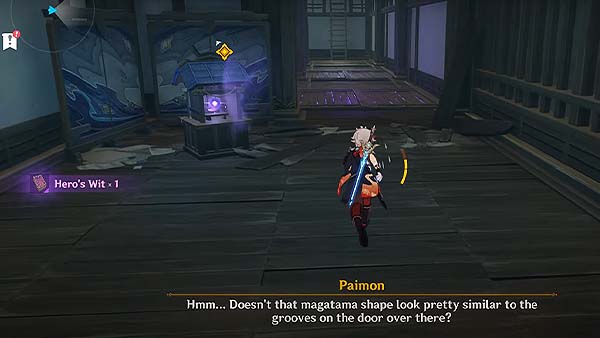
Go through the door, you will then see the magatama shaped item that you'd need to collect to open the locked door. Go towards it and press interact to pick up the amulet.
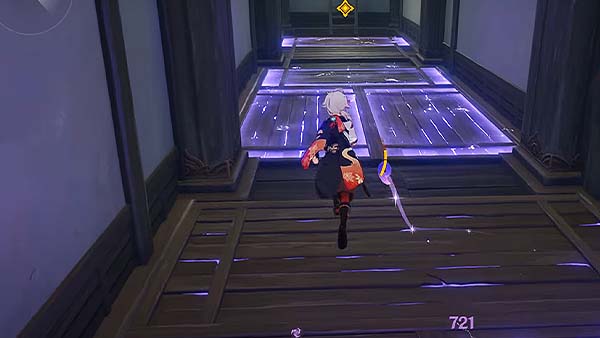
Once you've picked up the amulet, be carefull of the electric floor on the next area. You would have to time your movement correctly to avoid getting electricuted by the floor.
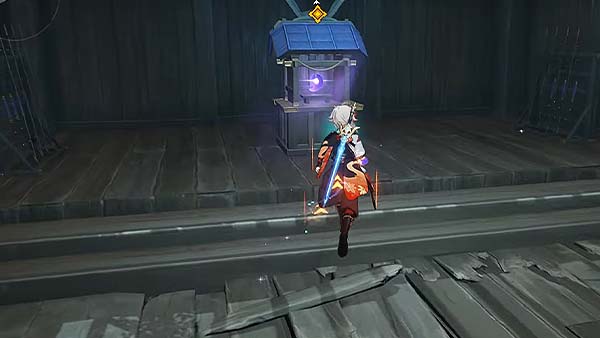
When you reach the end of the hall, climb up the ladder and continue following the path. When you reach the next area, defeat all the enemies inside the room. You will also see a magatama amulet on the right side of the room, go towards it and press interact to pick it up.
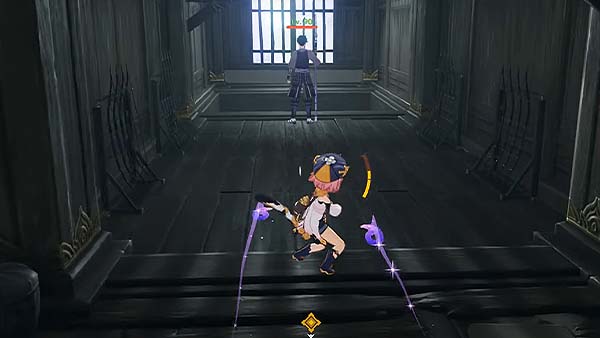
Once you've defeated all the enemies in the room, the door infront will open. Go through the door, turn right and you will see one Shogunate Infantry. Defeat him and then jump down to the next area.
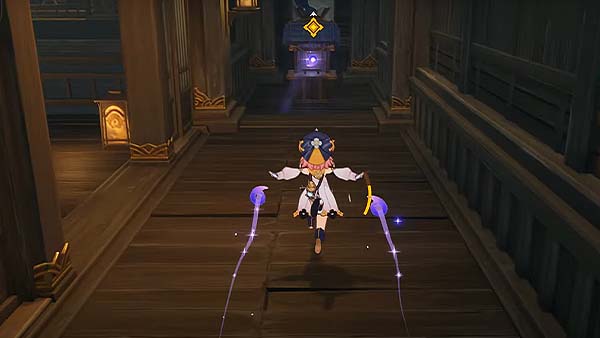
Continue following the path, you'll see another magatama amulet at the end of the hall, pick it up.
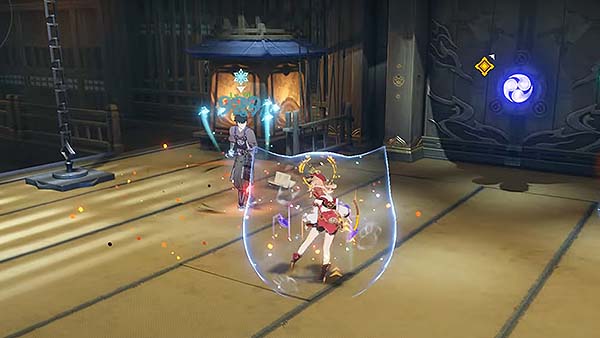
Now that you've obtained all three amulets, go up the stairs, you'll see one Shogunate Infantry guarding the door, defeat him to continue.
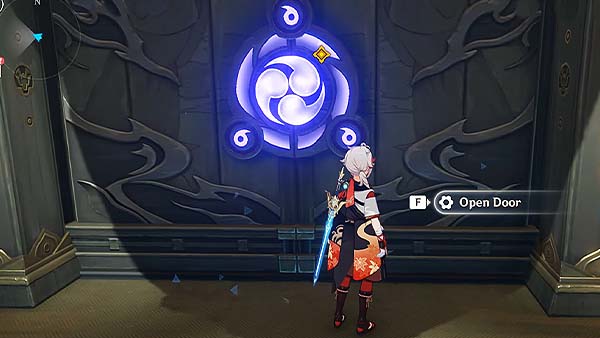
After defeating the enemy, just go towards the door, the amulets will automatically embed themselves on the grooves of the door, after that, press interact to open the door.
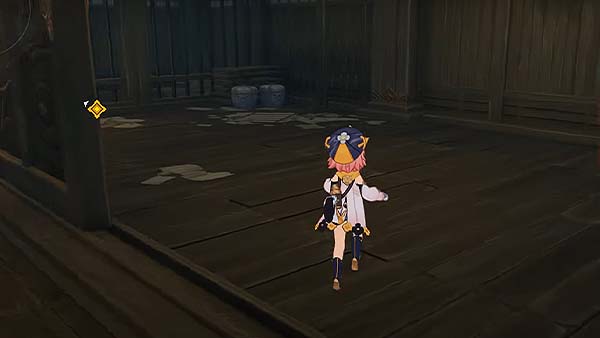
Go through the door and go towards the wall in front of you and press interact to open it. After moving that wall, turn right and open the next wall. Go through that and then turn left and move the wall back to open up your next path then head down the stairs.
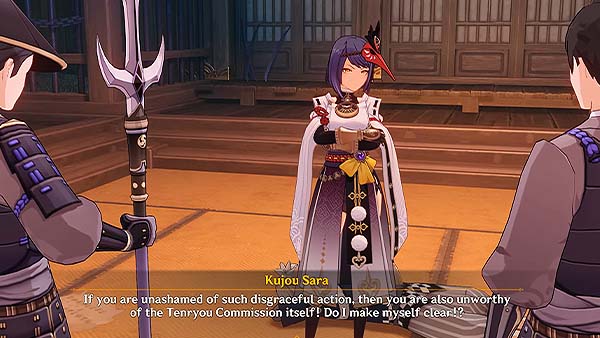
Now you've located Master Masakatsu with Yoimiya but you will see him being tortured by the prison guards. Kujou Sara, the adopted daughter of the Kujou Clan of the Tenryou Commission, whose also a general in the Shogun's Army, will show up in the scene. She then scolds the guards and says that torture is strictly against military regulations.
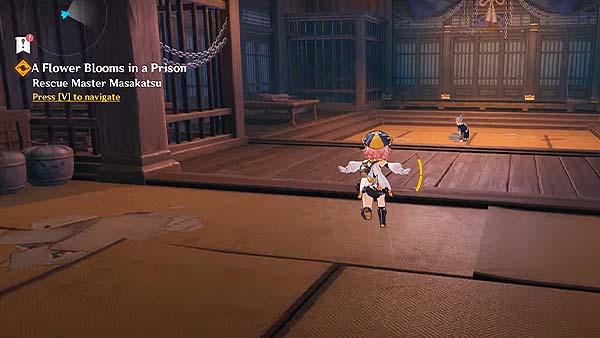
Yoimiya will proceed in distracting the guards with her fireworks, this is your chance to rescue Masakatsu. Approach Masakatsu and rescue him.
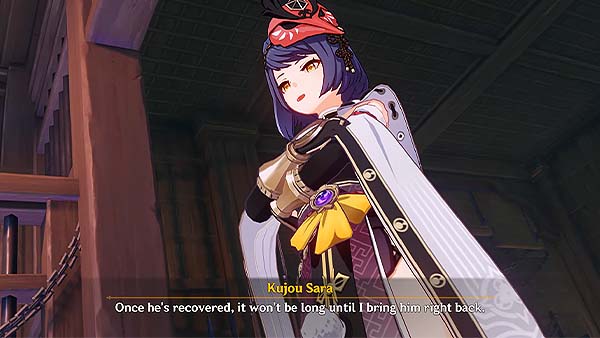
When you reach Masakatsu, you'll see that he's in a serious condition and needs immediate medical attention. Kujou Sara then interrupts and tells you to leave before she let her judgement get the best of her. She say's that once Masakatsu has recovered, she'll have him back at the prison, to which Yoimiya replied that she'll do all she can to keep that from happening.
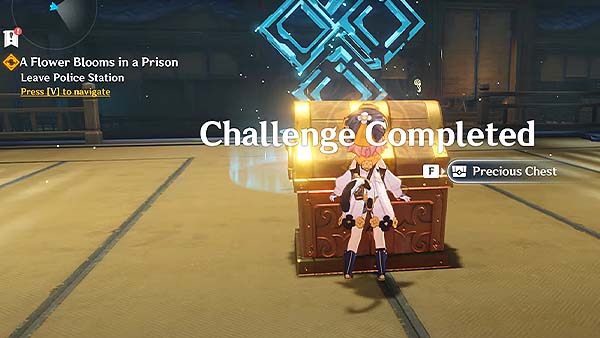
After rescuing Masakatsu, a Precious Chest will spawn and the game will prompt that you've completed the challenge. Now you must leave the Police Station.
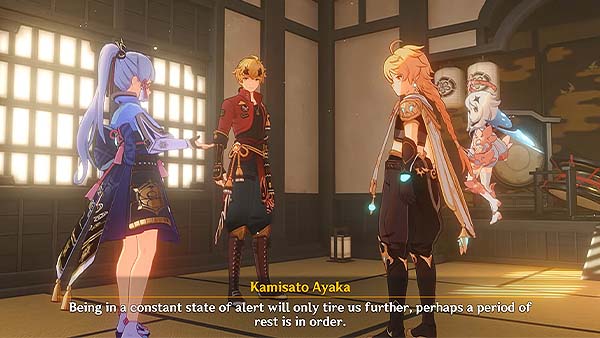
After leaving the Police Station, head over to Komore Teahouse and discuss to Thoma and Kamisato Ayaka the events that happened. Thoma says that there's no need to rush to ready the next plan since things seem to have taken a turn for the better at least. Not only did you rescue Master Masakatsu, but their list of allies appears to be growing, and the number of samurai out enforcing the Vision Hunt Decree seems to be waning. Now with the Tenryou Commission busy with preparations, everyone should have a little more breathing room than usual.
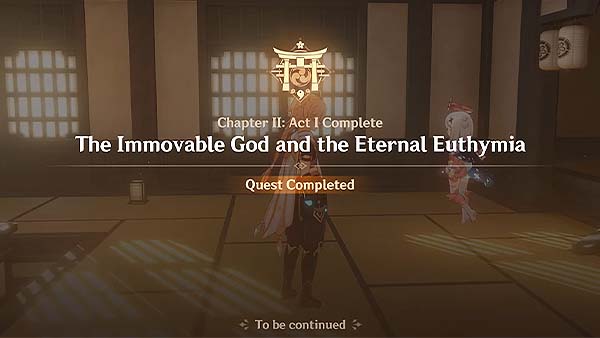
After your conversation with Thoma and Ayaka, the game will prompt that you've officially finished the quest The Immovable God and the Eternal Euthymia.
The next main quest after this is called Stillness, The Sublimation of Shadow.
Trivia & Notes:
Trivia and notes go here
