The Outlander Who Caught The Wind is an Archon Quest in Genshin Impact. Archon Quests cover the main story of the game that follows the adventure of the Traveler and Paimon as they set off on a quest to search for the Traveler's lost twin. As players progress, Archon Quests requires a certain level Adventure Rank (AR) to be unlocked in order to continue through the act.
General Info
- Act: Prologue: Act 1
- Required AR: n/a
- Previous: n/a
- Next: For A Tomorrow Without Tears
- Bosses: Stormterror
NPCs & Characters
Bosses
- Stormterror
Items
Reward/s:
- Adventure EXP: 3,075
- Primogems: 180
- Mora: 22,125
- Character EXP: 10,625
- Sweet Madame: 10
- Teyvat Fried Egg: 10
- Recurve Bow: 1
- Enhancement Ore: 28
- Anemoculus: 1
- Traveler's Handy Sword: 1
- Otherworldly Story: 1
- Amber: 1
- Kaeya: 1
- Lisa: 1
Enemies
- Large Pyro Slime
- Pyro Slime
- Anemo Slime
- Hydro Slime
- Hydro Abyss Mage
- Hilichurl
- Hilichurl Fighter
- Hilichurl Shooter
- Stormterror
The Outlander Who Caught The Wind Walkthrough
This is the first main quest in Genshin Impact that you will unlock once you've finished watching the opening cutscene where you choose your Traveler. The first few parts will serve as a tutorial as it will teach you some of the basic gameplay mechanics, as well as introducing some of the main characters.
Related Objectives and Rewards
The following rewards listed below are provided after completing each objective related to the Archon Quest: The Outlander Who Caught The Wind.
Wanderer's Trail
- Description: You start off the game with learning the basic controls on how to move your character as well as climbing obstacles while traveling with Paimon.
- Adventure EXP: 225
- Primogem: ??
- Mora: 975
- Other Rewards: Character EXP x500
Bird's Eye View
- Description: You begin your journey in Starfell Valley, exploring the land and seeing its sights together with Paimon.
- Adventure EXP: 225
- Primogem: 20
- Mora: 975
- Other Rewards: Character EXP x500
Unexpected Power
- Description: As you advanced, a Statue of the Seven appeared on the horizon ahead of you. At Paimon's suggestion, you go to investigate.
- Adventure EXP: 250
- Primogem: 20
- Mora: 1,100
- Other Rewards: Character EXP x575, Sweet Madame x10, Teyvat Fried Egg x10
Forest Rendezvous
- Description: Unexpectedly, the power of Anemo within the statue of the Seven resonated with you. You decided to begin your investigation with the Anemo Archon of Teyvat's Seven Archons. As such, the first order of the day is to reach the land under the Anemo Archon's protection: Mondstadt.
- Adventure EXP: 250
- Primogem: ??
- Mora: 1,100
- Other Rewards: Character EXP x575
Wind-Riding Knight
- Description: As you were making your way towards Mondstadt, a girl stops you. She later introduces herself as Amber, an Outrider for the Knights of Favonius.
- Adventure EXP: 275
- Primogem: 20
- Mora: 1,200
- Other Rewards: Character EXP x625, Amber
Going Upon the Breeze
- Description: The girl's name is Amber, and her duty as an Outrider is to escort you to Mondstadt. However, she has another task attend to first, which is to clean out the hilichurls that have been wandering around outside the city.
- Adventure EXP: 275
- Primogem: 20
- Mora: 1,800
- Other Rewards: Recurve Bow x1, Character EXP x925, Enhancement Ore x1
City of Freedom
- Description: With your help, the problem was resolved quickly. Led by Amber, you reach the city of freedom- Mondstadt
- Adventure EXP: 250
- Primogem: 0
- Mora: 1,625
- Other Rewards: Enhancement Ore x7
Dragon Storm
- Description: The usually-peaceful Mondstadt was suddenly assailed by a dragon. This is the Stormterror that Amber spoke of, and was the gigantic creature that you encountered in the forest earlier.
- Adventure EXP: 275
- Primogem: 20
- Mora: 2,400
- Other Rewards: Character EXP x1,250, Enhancement Ore x2
Knights of Favonius
- Description: You repelled Stormterror with some difficulty. Kaeya of the Knights of Favonius witnessed the battle, and you were invited to make a trip to the Knights headquarters.
- Adventure EXP: 225
- Primogem: 0
- Mora: 1,950
- Other Rewards: Character EXP x1,025, Enhancement Ore x9
Winds of the Past
- Description: You meet up with Amber at one of the abandoned temples, this is where the game emphasizes Amber's Pyro ability, as well as different elemental reactions. You will then enter and explore the temple and destroy the Dragon's Breath, the source of the Stormterror's power.
- Adventure EXP: 275
- Primogem: 20
- Mora: 3,000
- Other Rewards: Character EXP x1,550, Enhancement Ore x3
Crash Course
- Description: You meet up with Kaeya at one of the abandoned temples, this is where the game will teach you more about the different elemental reactions, as well as utilizing Kaeya's Cryo abilities, you will then enter and explore the temple to destroy the Dragon's Breath, the source of the Stormterror's power. A strange red-haired man will appear at the end.
- Adventure EXP: 275
- Primogem: 20
- Mora: 3,000
- Other Rewards: Character EXP x1,550, Enhancement Ore x3, Traveler's Handy Sword, Kaeya
Sparks Amongst the Pages
- Description: You meet up with Lisa at one of the abandoned temples, this is where the game will teach you more about the different elemental reactions regarding Lisa's Electro abilities, you will enter and explore the temple to destroy the Dragon's Breath, the source of the Stormterror's power.
- Adventure EXP: 275
- Primogem: 20
- Mora: 3,000
- Other Rewards: Character EXP x1,550, Enhancement Ore x3, Anemoculus x1, Otherworldly Story x1, Lisa
Wanderer's Trail
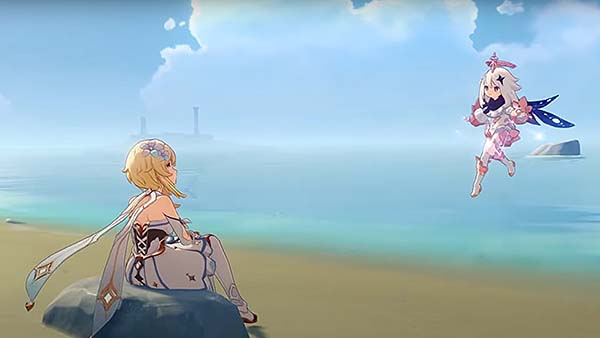
Once you've finished watching the opening cutscene, your chosen Traveler wakes up in a mysterious land you would get to know as Teyvat. This is also where you would meet Paimon, a rather talkative companion who would accompany and guide you throughout the game. Once you're done talking to Paimon about your story, she would suggest that you start looking for the Statues of The Seven, it will help you in tracking down your missing twin. This will also serve as your tutorial for the game. The game will then prompt you to follow Paimon. It'll also show you the basic controls like how to look around, move your character, how to dodge and sprint, how to open the Shortcut Wheel, etc.
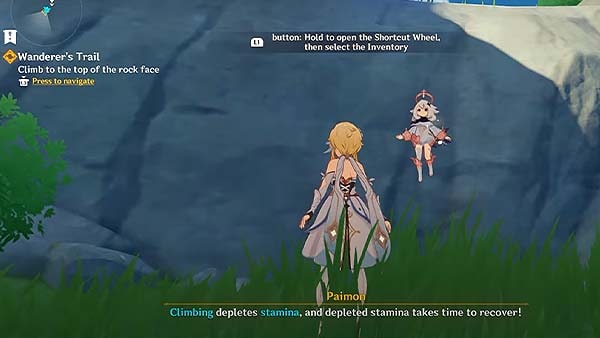
You can then proceed to follow Paimon or go to where the yellow icon is. Once you've reached where Paimon is, you would see that your path ends there, which you will then have to climb. Climbing is a character movement that depletes stamina, which takes time to recover. Always be mindful of your stamina especially when climbing, gliding, or swimming. Once your stamina bar completely goes empty, it will cause your character to fall or drown. When climbing or gliding, falling from high places will inflict a large amount of damage to your HP, for swimming, however, your character will die if your stamina is completely depleted, so you should take note of that. Once you've finished climbing the rock face, the game will prompt that the objective is completed. You will receive rewards such as Character EXP and Mora. Your next objective Bird's Eye View will begin shortly after.
Bird's Eye View
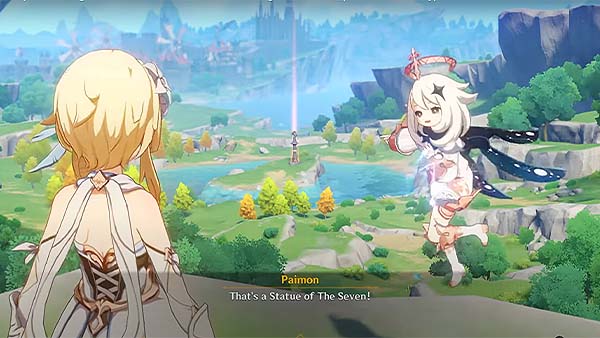
The next objective will prompt you to follow another yellow icon, there are consumables along the way so don't forget to pick them up whenever you can. Once you've reached your destination, a cutscene will occur where it'll show you a great view from being at the top of a mountainside. You will see a Statue of the Seven from the scenery, as Paimon points it out as well and explains that there are a few of these scattered across the land to show the Seven's protection over the world.
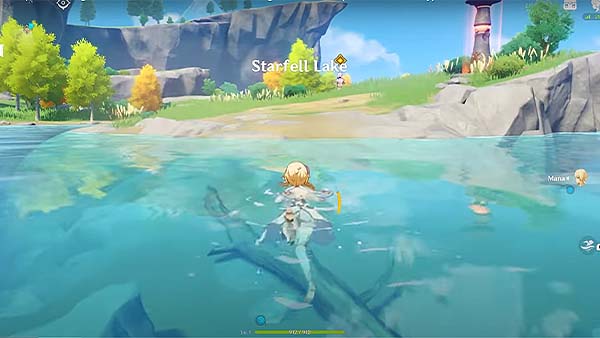
You will then proceed to follow Paimon down the slope of the mountain and head on to Starfell Lake where you will spot a Statue. Paimon will then begin to tell you that you can swim right over, remember to be mindful of your stamina always, but since this isn't that far off a swim, you have nothing to worry about.

Once you've reached the statue another cutscene will occur. Your character will then touch the statue and receive the power of Anemo. You will also uncover a portion of the map whenever you touch one of these statues, so always be on the lookout for them. Paimon will then suggests that you keep heading west from here so that you'll eventually reach Mondstadt, the City of Freedom. Mondstadt is also the city of wind, since they worship the God of Anemo. Paimon suggests to go there because since you got the power of Anemo, you might be able to discover some clues there. After that short dialogue, the game will tell you that you've finished the objective. You will also receive rewards from completing this objective. Your next objective Unexpected Power will begin shortly after.
Unexpected Power
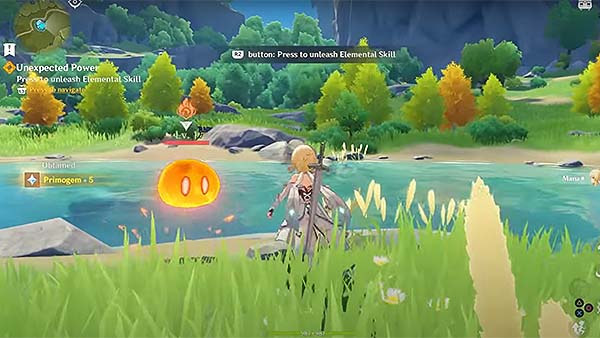
The next objective will begin with Elemental Lifeforms known as Pyro Slimes to spawn from the ground. These are low level enemies and this is where the game will prompt another tutorial on how you can use your newfound power.
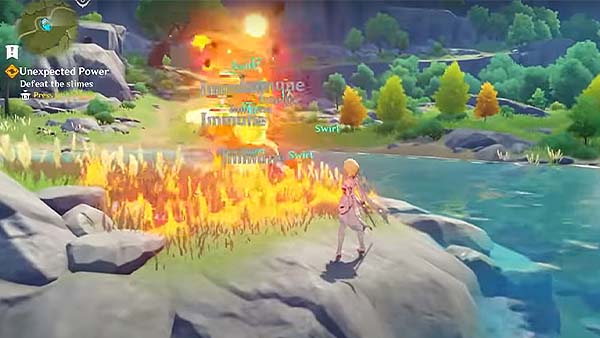
Since you've acquired the power of Anemo, you can unleash an Elemental Skill or Elemental Burst. Both of these have different effects depending on the element of your opponent, yourself, and your chosen character besides the Traveler. But you will get there later on. Once you've defeated the slimes, the objective is over, rewards will always be given after an objective is completed, then, the next objective Forest Rendezvous will begin shortly after.
Forest Rendezvous
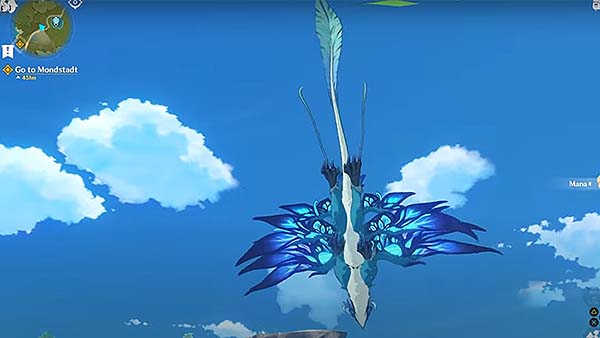
Your next objective will be to head to Mondstadt, but as you were heading there, a mysterious flying dragon just flew past you. Your objective then changes to follow the dragon headed to the forest.
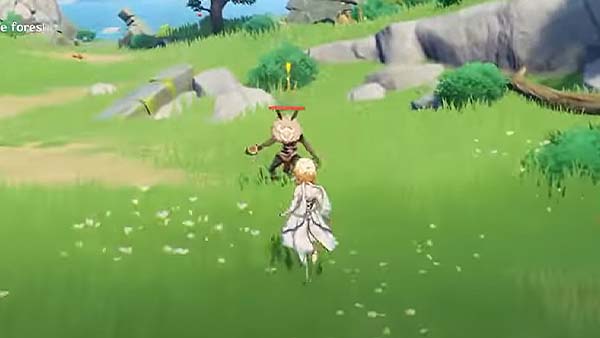
You might encounter a few enemies along the, such as a Hilichurls, you can identify a hilichurl as a monster wearing masks. Some wield different weapons and elemental powers. At this time, the enemies you encounter are still at low level so you would be able to handle them easily. A guide about combat knowledge will prompt on the screen when you start attacking an enemy.
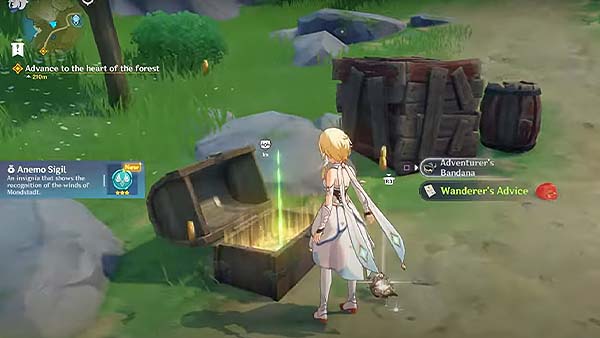
Some enemies are usually guarding a treasure chest, so be on the lookout for them. Once you cleared all the enemies in the area, you may unlock the chest and reap its rewards.
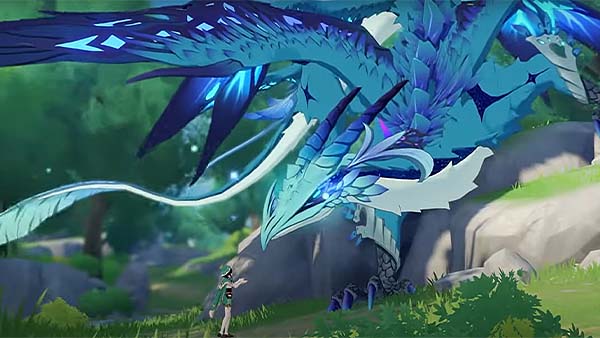
Once you've reached the forest a cutscene will occur where you've caught up with the dragon and see a stranger trying to communicate and calm the dragon down. Unfortunately, upon touching the Statue earlier, the Traveler's new found powers seems to have alerted the dragon. Both the dragon and stranger fled the scene, leaving behind a crimson crystal.
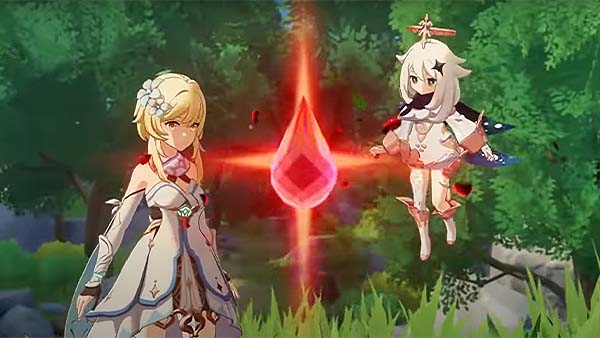
You would then proceed follow Paimon and climb the rock face to investigate the crimson crystal left behind the scene. Paimon decides it's best to keep it around for now since it's dangerous if it's left out there. Once that's done, the objective is over, and the next objective Wind-Riding Knight will begin shortly after.
Wind-Riding Knight

Once you leave the forest and start heading towards Mondstadt, you will be halted by a stranger, who later introduces herself as Amber, an Outrider for the Knights of the Favonius. Amber then explains that she's out there because a large dragon has been sighted around Mondstadt recently. She tells you it's best to get to the city as soon as possible, and she will help escort you there.
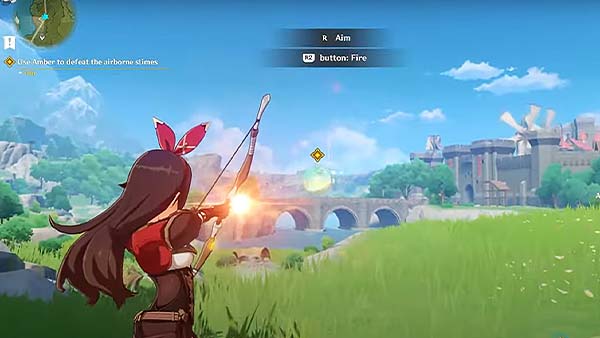
After the short dialogue, the objective will begin, with Amber officially joining your party. The game will prompt that you switch to Amber to take down the airborne slime floating in front of you. This type of elemental slime is also known as an Anemo Slime. This will serve as another tutorial on how to use a different character's moveset, as with Amber, since she's using a Bow as a weapon, she specializes in long-ranged attacks. You would then have to aim at the Anemo Slime and shoot it with your arrows, then it will unlock a chest for you.
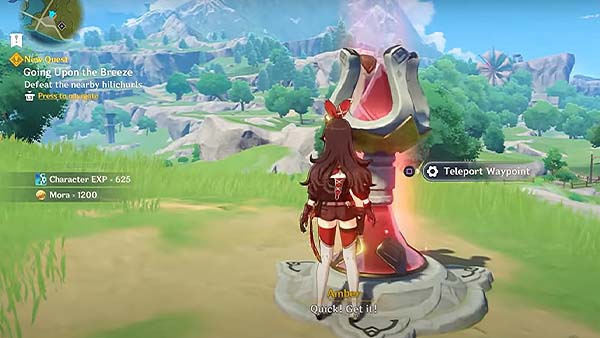
After that, you will just have to follow the yellow icon, where you will need to climb up a few slopes of rocks to reach a Teleport Waypoint. Once you've reached the waypoint, the next objective Going Upon the Breeze will start shortly after.
Going Upon the Breeze
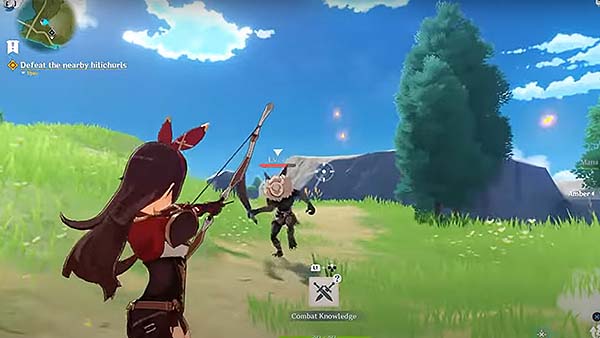
The next objective will begin with Paimon spotting a Hilichurl at the top of the mountain. The game will then prompt you to defeat the nearby Hilichurl. After defeating the said enemy, Amber will then proceed to tell you that these monsters have been getting too close to the city recently, and that her next task is to clear out the nearby Hilichurl camp.
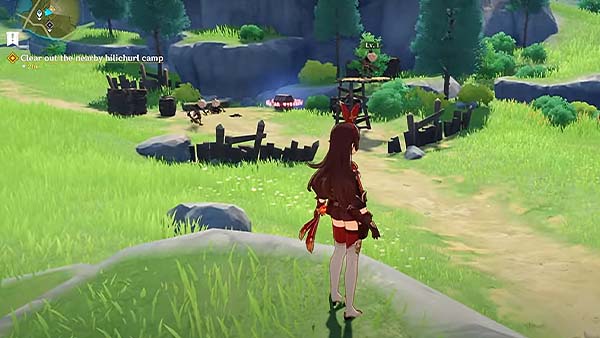
Once you've spotted the camp, you should then proceed in eliminating the Hilichurls inside the camp. Once that's done, the locked chest will be unlocked. But before you could open it, a cutscene will occur. This is where Amber tells you about the recent appearances of the Hilichurs ever since the dragon - Stormterror, has been sighted around the city. She then suggests that she'd make sure to escort you safely to the city.
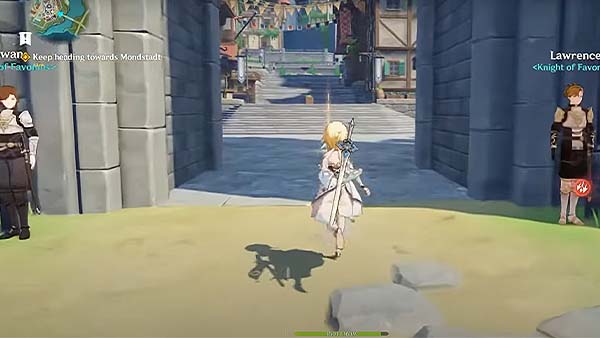
Just keep heading towards the city til you enter the gates, once you've entered the city, the next objective City of Freedom will begin shortly after.
City of Freedom
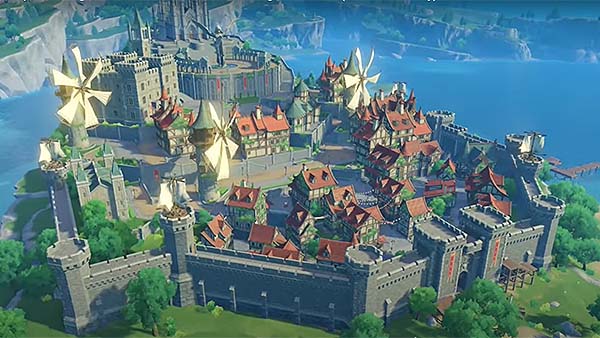
Once you've entered Mondstadt, a cutscene will occur where it'll show you the beautiful scenery of the city of Mondstadt, the City of Freedom. Amber introduces the city of Mondstadt, as well as explaining why people aren't as cheery, everyone's been put out of place by the Stormterror recently. But she assures that everything will be fine, as long as the Acting Grand Master of the Knights of Favonius - Jean, Defender of Mondstadt, is protecting the city.
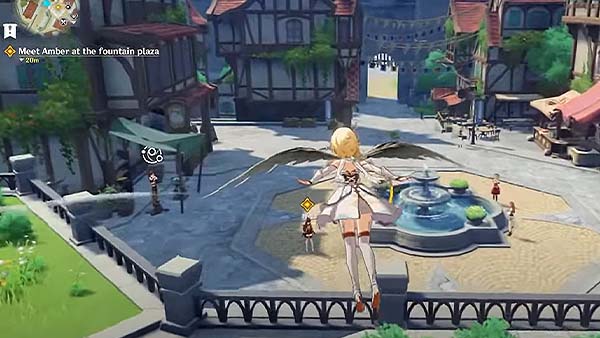
Before Amber takes you to the Knights of Favonius Headquarters, she wants to give you a present for helping her in clearing out the Hilichurl Camp. She then tells you to follow her, you'll then be headed to the city's high ground. Once you've reached the high ground, Amber will be giving you a Wind Glider. The Wind Glider is used to ride the wind, and people of Mondstadt love using them too. You will be able to use the Wind Glider for the rest of the game. After giving you the Wind Glider, the game will prompt a tutorial on how to use it. You will have to glide through the city and meet Amber at the fountain plaza. Once you've reached her, the next objective Dragon Storm will begin shortly after.
Dragon Storm
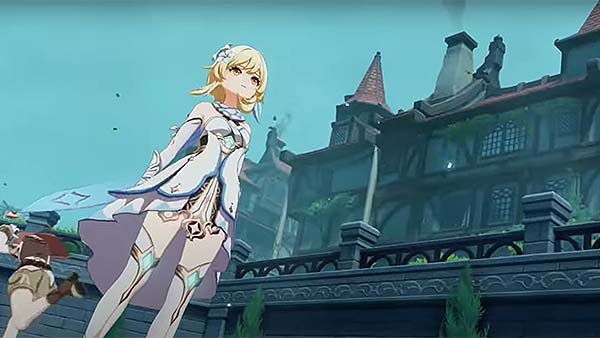
This next objective will begin with a cutscene where the Stormterror attacks the city of Mondstadt. The Stormterror uses its powers to send out multiple tornadoes which caught your traveler, you were then sprung out of the sky, where you find yourself flying, instead of gliding.
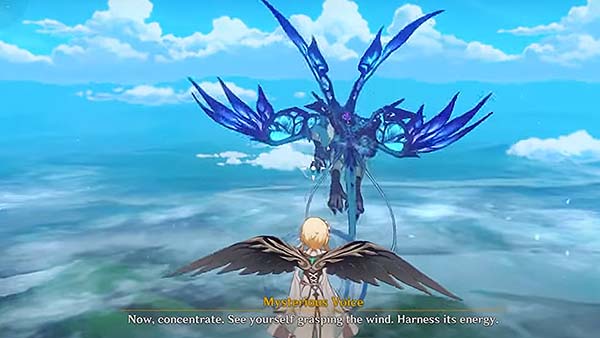
After the cutscene, you will find yourself staying afloat with just the Wind Glider, and then a mysterious voice tells you that they have lent you their powers to be able to fly, using the power of a thousand winds. You were then tasked to concentrate and harness its energy. The gameplay here is different, where you would have to maneuver around the sky and start shooting wind energy towards the Stormterror. Once you're able to wear the dragon down, another cutscene will occur, where the Storterror flees the scene yet again. You then head down towards the city.
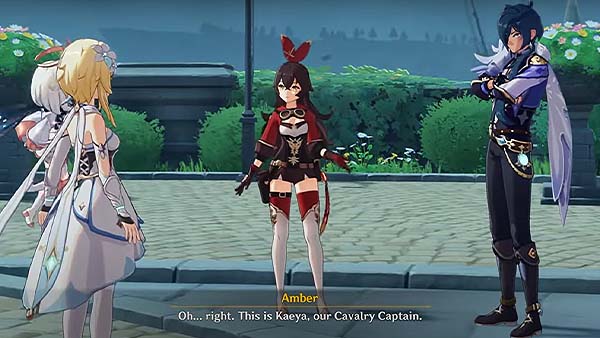
Your performance in battling the Stormterror impresses the Cavalry Captain of the Knights of Favonius, Kaeya, which Amber will then introduce shortly. Kaeya would seem suspicious at first, but then thanks you for your hard work, since fighting the dragon was no small feat. Even the Acting Grand Master of the Knights of Favonius, Jean, formally invites you to the Headquarters. Once you reach the Headquarters, the Next objective Knights of Favonius will begin shortly after.
Knights of Favonius
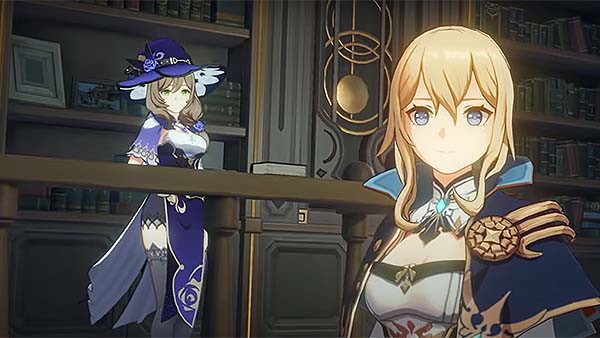
This next objective will begin once you enter the Knights of Favonius headquarters. A cutscene will occur, this is where you'll meet the Acting Grand Master of the Knights of Favonius, Jean, and the Knight's Mage Librarian, Lisa.
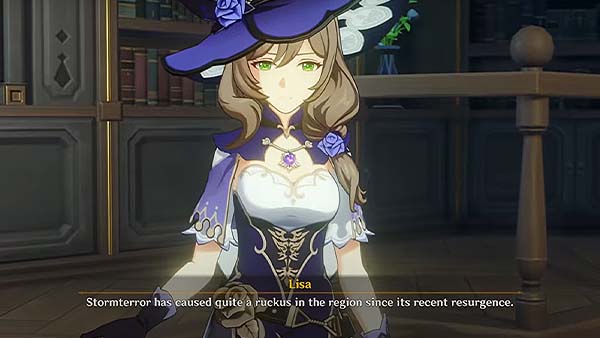
Lisa then begins to explain how the Stormterror has caused so much trouble for the city, and that Mondstadt's elemental sphere and ley lines are in trouble.
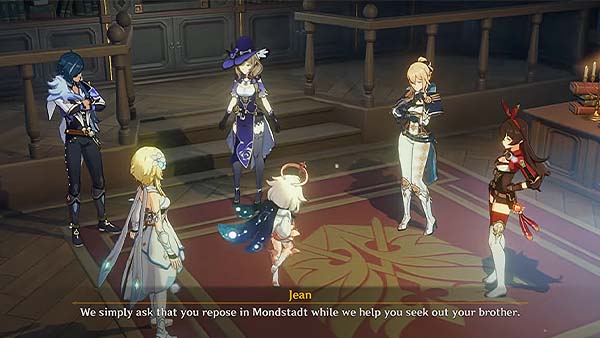
Jean then asks if you could stay in Mondstadt while they help you seek your missing twin. You would then be tasked to help out in tracking down the source of the Stormterror's power. Lisa has been able to reveal this using her power of detection magic. Lisa explains that the sources of power are located at the abandoned Four Winds' Temples. Jean says that your objective is to deal with three of the four temples.
After the cutscene, the next 3 objectives can be played at any order, this is for you to unlock the characters Kaeya and Lisa, as well as taking care of the 3 Four Winds' Temples that was discussed. After finishing the next few objectives, The Outlander Who Caught The Wind will finally be concluded.
Winds of the Past
This objective will also serve as another Tutorial for Amber's moveset and also teach you more about some of the gameplay mechanics.
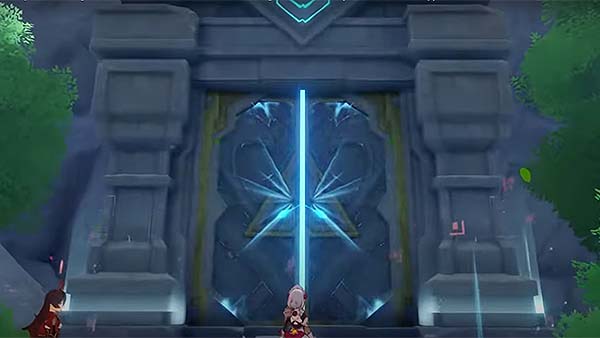
This objective will start once you meet Amber at one of the deserted temples of the Four Winds. She then explains that these temples have been left to waste for years, and that the people of Mondstadt almost never come here, there's also a chance that a monster nest and Hilichurl camp may be spotted inside. After the short dialogue, you can start going towards the temple and press the button that will prompt to enter.
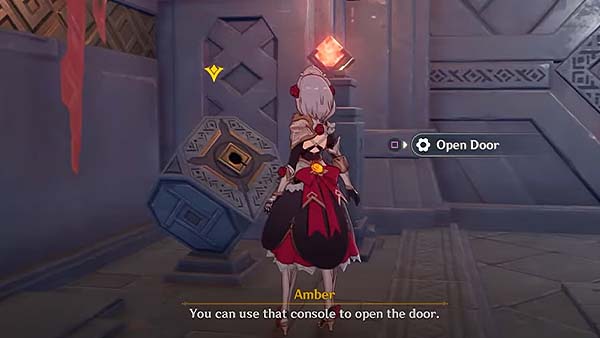
Once you enter the temple, there should be multiple "consoles" there that activates and opens doors. You will find these at any temples you enter throughout the game.
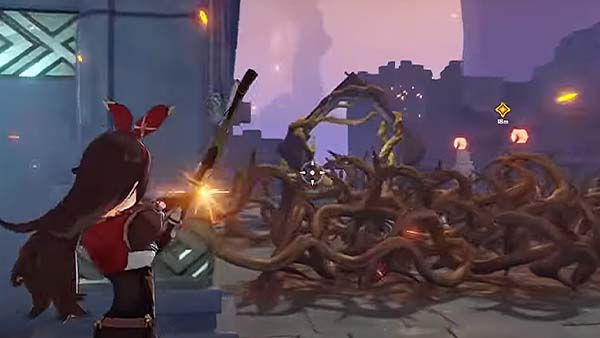
After opening the door, there should be a yellow icon visible on your map, you just have to follow it. There are certain obstacles along the way, like wooden branches blocking your path, you can use Amber's pyro ability to aim and shoot at the branches, this will cause the branches to burn, it will take a few seconds but you can then proceed after that.
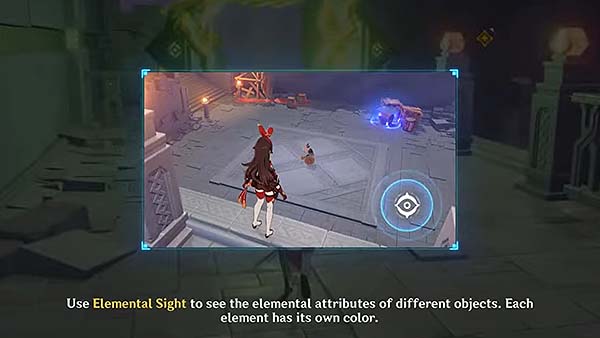
The Door of Resurrection will be activated at the end once you've burned down the branches. The game will then prompt that you can use Elemental Sight to see the elemental attributes of different objects and that each element has its own color. The color Green symbolizes Dendro, which can be ignited by Pyro. Some opponent's shield are also attributed to Dendro, which can be ignited with Pyro Skills, rendering the opponents defenseless.
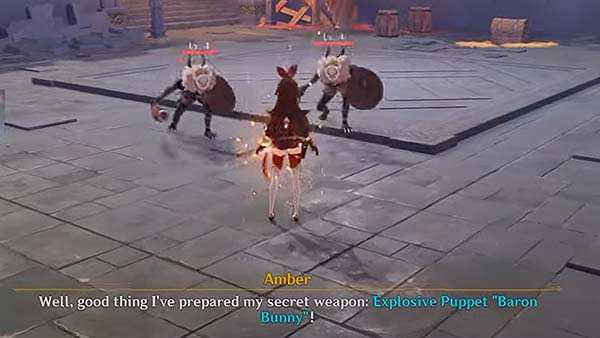
You can then proceed to go down the ledge. You will see there a Hilichurl guarding chest. Defeat the first Hilichurl, the chest you see should be unlocked and it should also trigger an alarm where you'll hear the horn. This alarm will spawn two more Hilichurls, the game will prompt on how you could use Amber's Elemental Skill, which is the "Explosive Puppet: Baron Bunny". This skill is helpful as the puppet draws your enemy's attention, you can focus on other things while your opponent's being distracted with the puppet or strike them down while their attacks aren't focused on you. After a few seconds, your puppet will also explode, damaging anyone near it while applying Pyro damage. Once that's done, you can then proceed to continue following the yellow icon, which will lead you to another room.
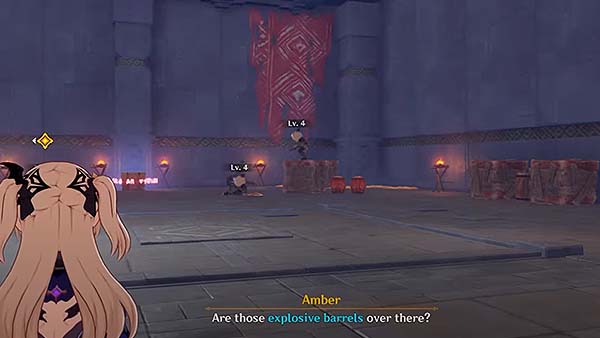
Once you enter the other room, you'll see a bunch of Hilichurls guarding another chest, but you will also be able to spot some explosive barrels lying around. Triggering these explosive barrels could deal damage to nearby enemies, so use it to your advantage. But be careful, if you're too close, you might get caught in the explosion. Defeat the remaining Hilichurls in the room and the door should open, leading you the path you should take.
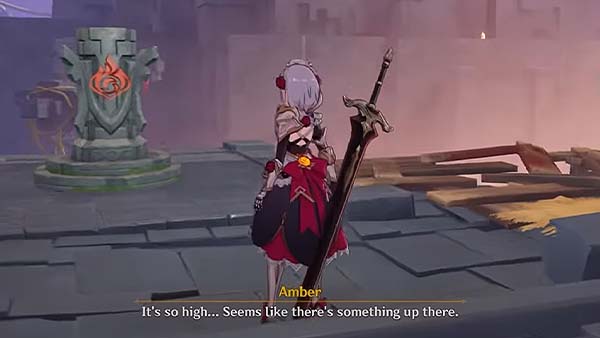
When you step outside the room, you'll see that your next objective is too high up, and it looks like you won't be able to go there through normal means. You should be able to see an Elemental Statue called "Pyro Monument", it should have the symbol of fire. You can use Amber's pyro ability, aim down and shoot the statue and it should trigger a wind current that will help you glide up to your next objective.
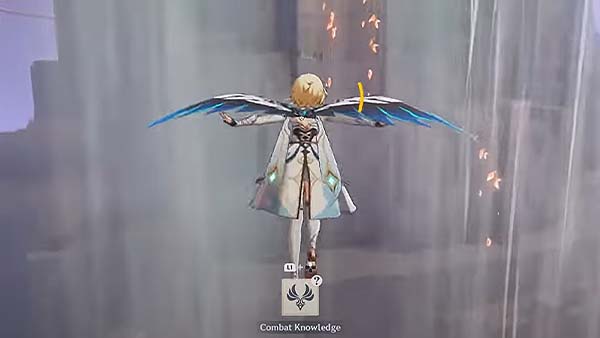
You just have to jump twice at the wind current to open your Wind Glider, then the wind current will take it from there.
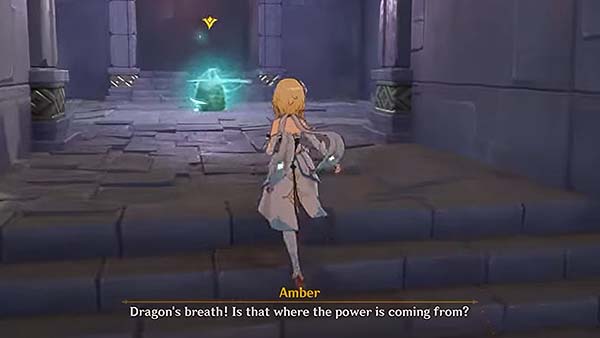
Once you've reached the top, just continue heading towards the yellow icon, you should be able to see a stairs, go up and you will see a rock that's glowing, they call this the Dragon's Breath, it's where the Stormterror's power is coming from. Head towards it, and smash by pressing the melee button. It should trigger a dialogue after that.
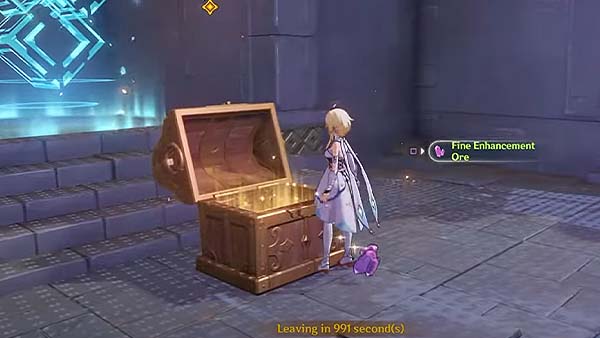
After the short dialogue, a Precious Chest should appear, open the chest to reap its rewards. The game will also prompt that this temple is finished, a timer will be set just below the screen, this timer indicates how long you have before you are sent out of the temple, during this time, you can go out by heading at towards the blue symbol behind the chest, or you can freely explore the temple, you can go back to areas that you think you might have missed opening a chest or picking up items.
Crash Course
This objective will also serve as a Tutorial on utilizing Kaeya's Cryo abilities as well as elemental reactions that you will encounter during this quest.
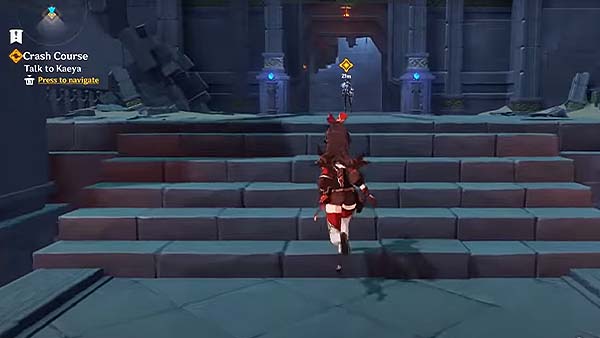
This is pretty much the same to what you did when you went to meet Amber to take care of one of the abandoned temples, the objective will start once you meet Kaeya and start talking to him. After a short dialogue with Kaeya, you can then proceed to enter the temple. Once you enter the temple, you would see Kaeya standing from afar, go towards him and it should trigger a dialogue where he tells you how the Knights of Favonius conquers their adversaries. Once that's done, you'll be able to switch to Kaeya during this run, even if you have 4 slots full of characters, an extra slot for Kaeya will be included.
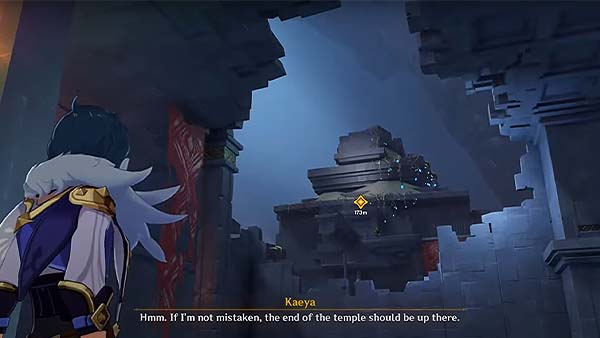
You would then continue heading straight towards the gate, another Door of Resurrection should be activated. The camera will then zoom in to where you should go, just like before, it's at the top of the temple.
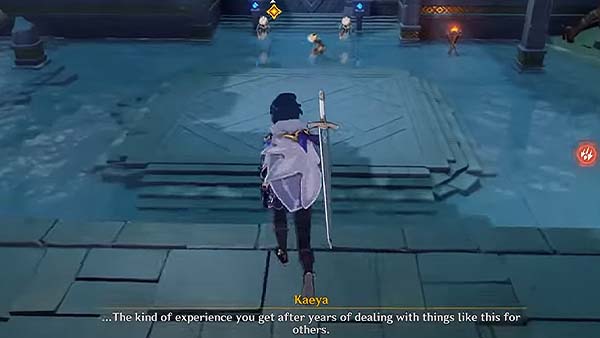
Next is to head down the stairs. You will see a couple of Hilichurls guarding another chest, but this time, there's a body of water.
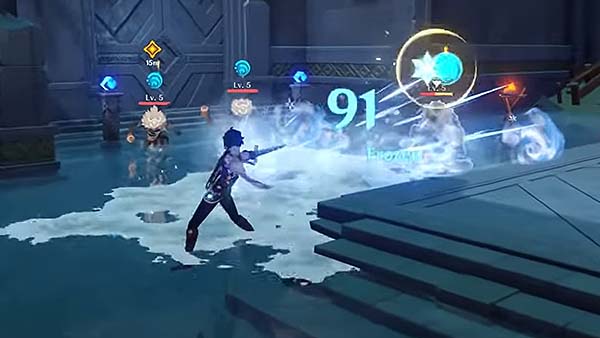
The game will prompt that when there's water around and it's touching an opponent, they will get the Wet reaction. It will also explain that Cryo abilities can freeze water, so if you're battling Hydro opponents, or just opponents that are exposed to water, you can utilize this elemental reaction to gain an advantage in battle. You will see the elemental reaction at the top of the opponent's head indicating what elemental reaction is affecting them. Finish off the remaining Hilichurls at the room, a door will open and then you can proceed heading towards the objective.
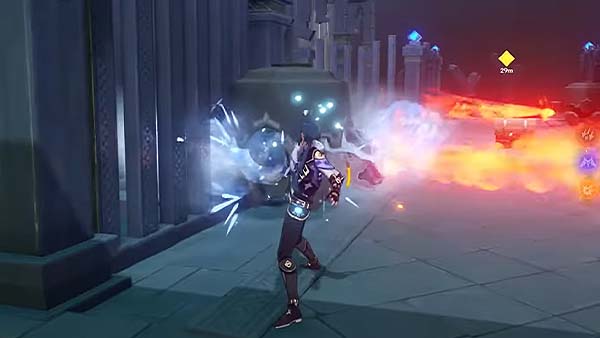
The next room you enter will have flaming traps where a device shoots out burst of flames from across the room, it looks like there's no way across, but you can actually use Kaeya's cryo ability to hinder this mechanism.
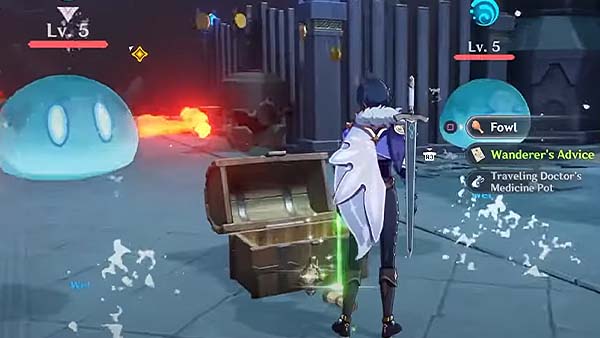
Once you disable the mechanism with your Cryo ability, you will see a chest in the middle. Opening this chest will yield rewards, but also spawn 2 Hydro Slimes. This would work to your advantage since Hydro Slimes are already wet, you can instantly freeze them with Kaeya's elemental skill and make quick work of them. After that, you should see another flaming trap, disable this and continue going down the stairs.
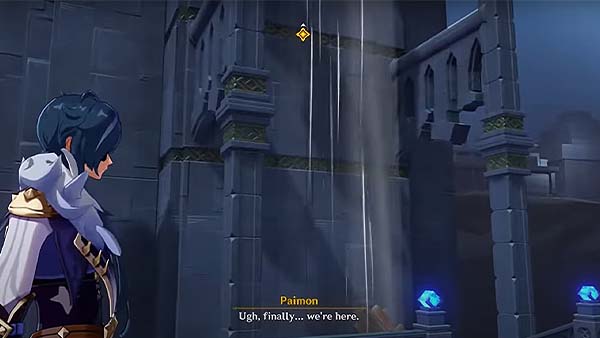
You will see your objective is just above, there's another wind current where you would just have to use your Wind Glider to go up.
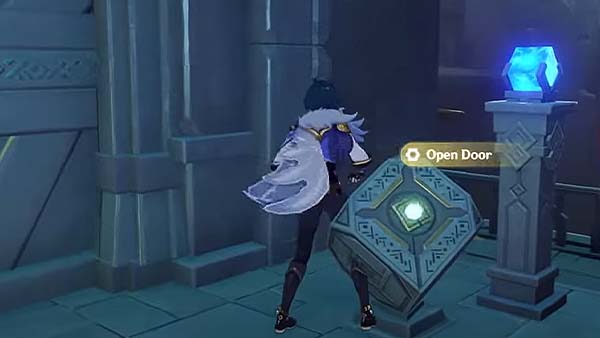
Once you've reached the top, you will see another one of these "consoles" go towards it and activate it to open the door in front of you.
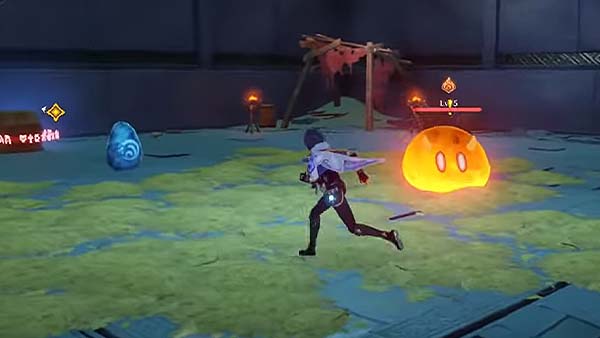
Once the door opens, head inside the room, you will see a Large Pyro Slime guarding a chest. You will also see a rock with the Hydro Symbol on it, if you attack that, water will come pouring down, and can wet your opponent. And since your opponent is a Large Pyro Slime, the reaction will be different, they will get the elemental reaction Vaporize, which will weaken their attacks. Once they're wet, you can utilize your Cryo ability to freeze them. After some time, four more Pyro Slimes will spawn at the area. Eliminate the rest of the slimes, another door should open and the chest will be unlocked.
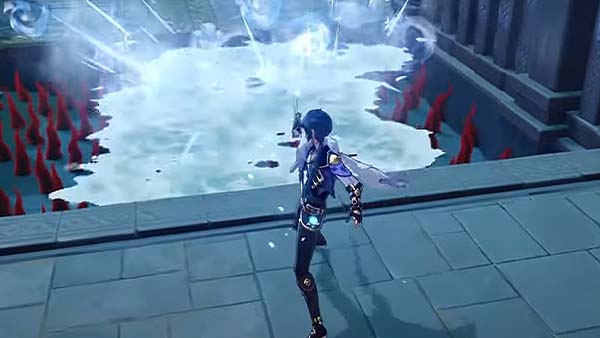
Now go up the stairs towards the door, once you enter, another trap is waiting. There are spikes underneath the water, which can be difficult to swim at. You can use Kaeya's Cryo ability to freeze the surface of the water, creating a safe passage across.
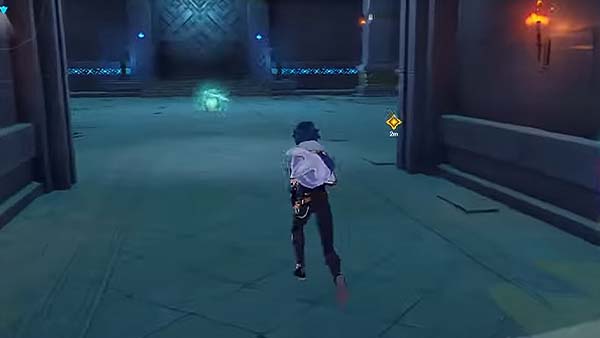
Once you make it through the traps, just head up the stairs and turn right, you should be able to see another Dragon's Breath within the room. Destroy it and it should trigger a short dialogue, and then a cutscene.
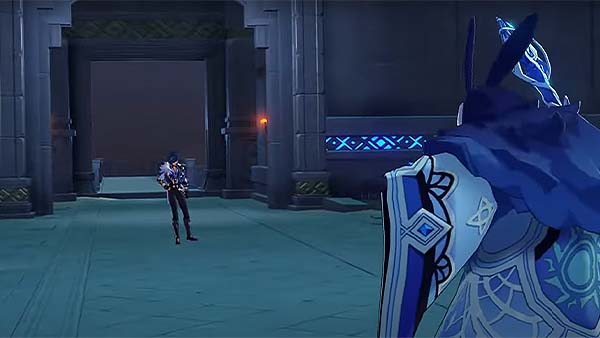
The cutscene will explain how you've managed to seize another temple from Stormterror's grasp. Kaeya tells you to go on without him while he continues investigating things on his end. You leave the temple, Kaeya wonders how Hilichurls were able to organize an ambush of this scale, considering their limited mental capacity, he thinks something else is behind all this. Then a Hydro Abysss Mage reveals itself from behind one of the Pillars.
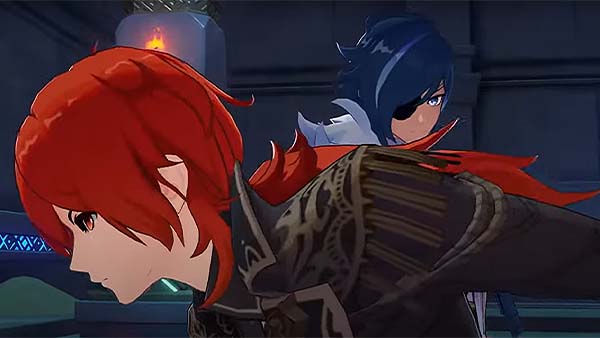
And as it was just about to attack Kaeya, a mysterious character with Pyro abilities dashes in takes down the Hydro Abyss Mage. It looks like Kaeya knows who this man is, he will later introduce himself as Diluc later in the game. After the cutscene, this temple is officially done, and you can head on to the last temple.
Once this temple is done, Kaeya will now be included in your party.
Sparks Amongst the Pages
This objective will also serve as a Tutorial on how to Utilize Lisa's Electro abilities, as well as different elemental reactions that you will encounter during this time.
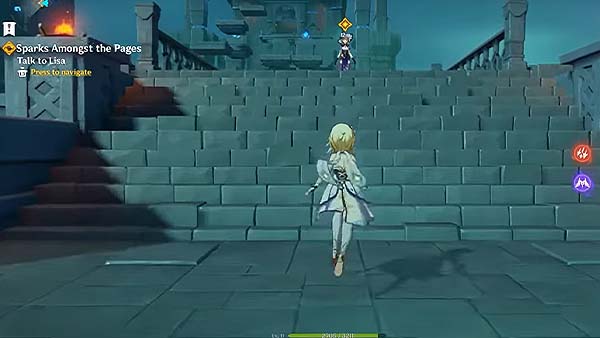
You start off by meeting Lisa at one of the abandoned temples, a short dialogue will occur, after that you can start heading towards the temple and enter. Once you've entered the temple, go up the flights of stairs, you will see Lisa standing in the middle, go towards her and another short dialogue will occur. This time, Lisa will officially be joining your party while you explore the temple. You can switch to Lisa anytime during this run, even if you have a full party, an extra slot for Lisa will be provided.
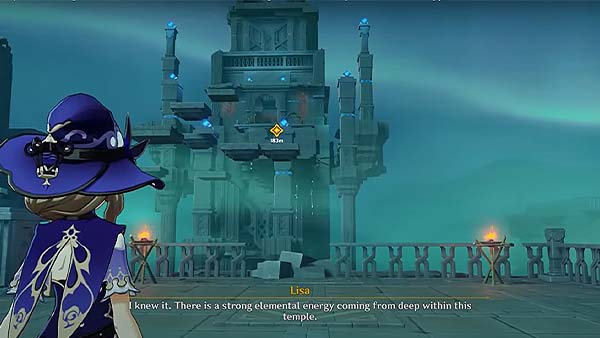
Once that's done, you will see the yellow icon, yet again, at the top of the temple. You would have to take a different path to get there.
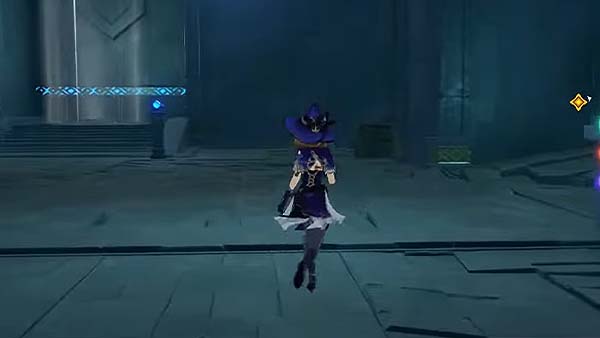
You should then turn to your left, you will see a Wind Current that will help you go up the platform and into the room, stand at where the Wind Current is and double-tap jump to open your Wind Glider, the rest should be familiar.
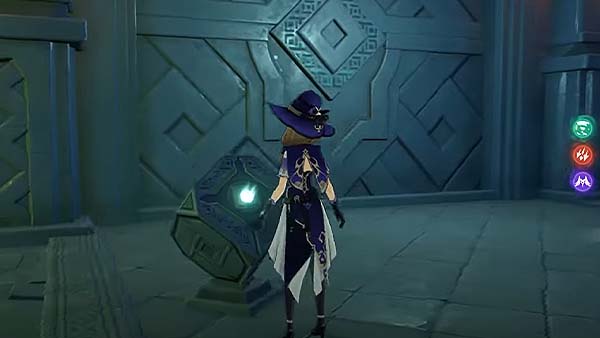
Once you enter the room, a Door of Resurrection should be activated, you will also see another one of these "consoles" interact with it to open the door in front of you.
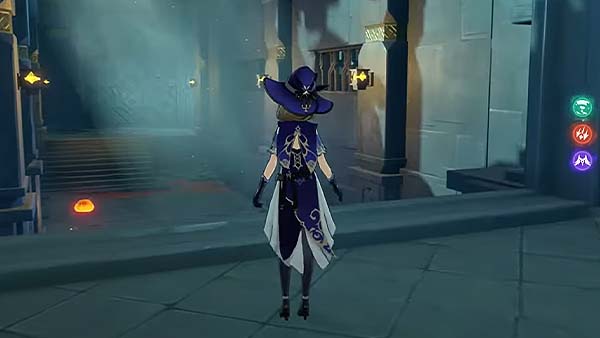
After opening the door, go down the stairs, you will see a Pyro Slime just crawling around at the hall. Lisa will then say "Leave it to me." You can use other characters but it is advisable you use Lisa to test out her moveset and abilities.
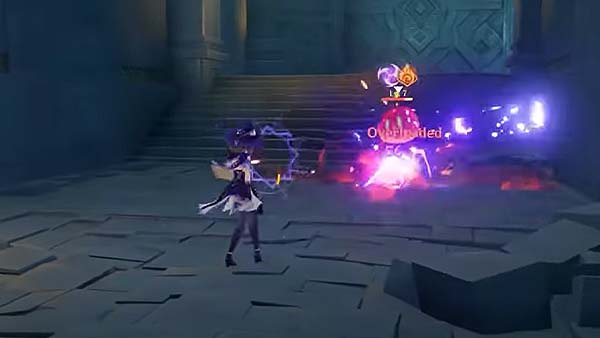
You will come to learn that using Lisa's Electro ability on a Pyro Slime will have the Overload reaction. Overload creates a massive explosion that deals Pyro AoE damage. Make use of this advantage if you want to make quick work of enemies.
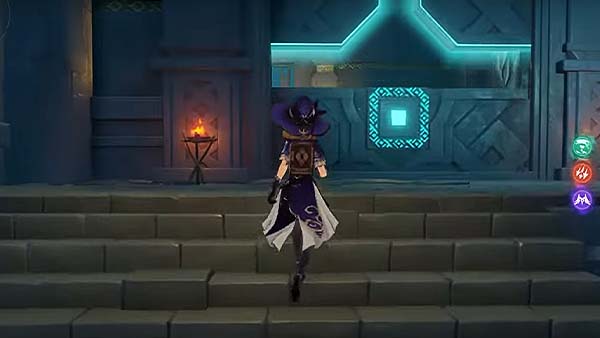
Once you've defeated the Pyro Slime, another door should open, go up the stairs and proceed to enter the door.
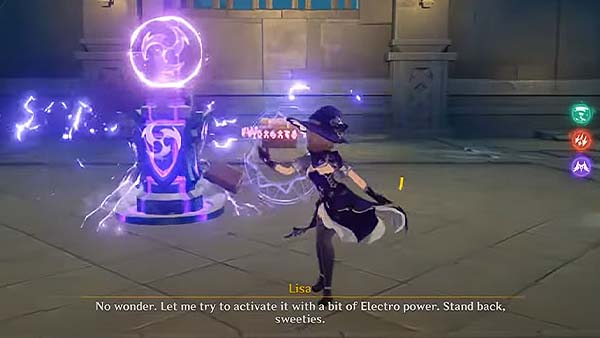
When you enter the room, you'll see a locked chest, and an Electro Monument, which is also an elemental statue. Use Lisa's Electro abilities to strike the statue, this should trigger a challenge.
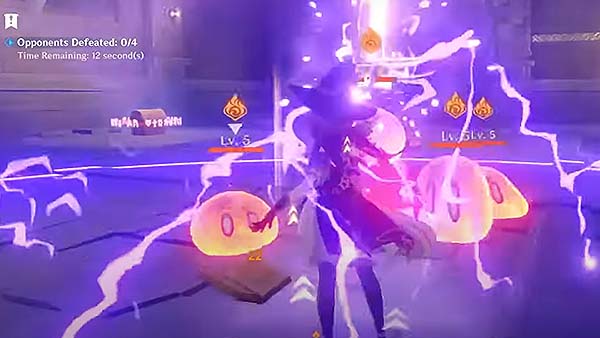
The challenge would be to defeat all 4 Pyro Slimes within 20 seconds. The tip here is to hold Lisa's elemental skill to charge, then release to deal an area attack that deals massive Electro damage. If you fail, however, you can strike the monument again to retry the challenge.
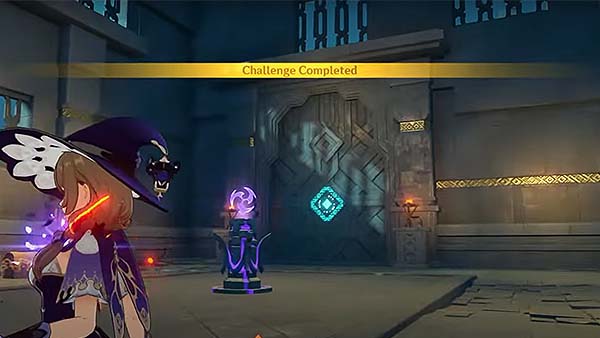
Once you've completed the challenge, the game will prompt "Challenge Completed" and have the camera focus on the door. The door then opens and the chest will be unlocked as well.
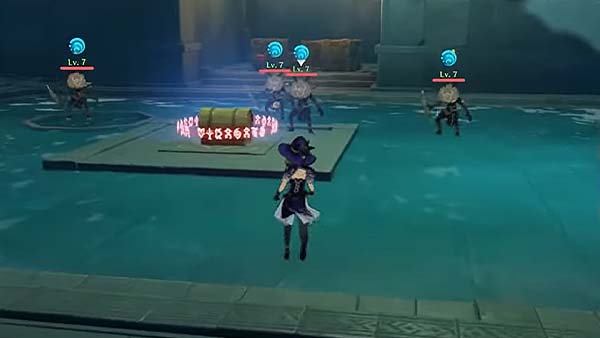
Head towards the exit and cross the bridge, you will then find yourself in a room with four Hilichurls guarding a locked chest, and the room is surrounded by a body of water.
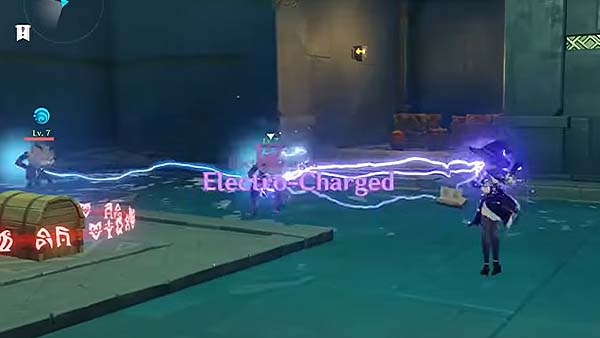
You should use Lisa for this, as using her Electro abilities to Wet opponents will give them the Electro-Charged reaction. Electro-Charged reaction deals ongoing Electro damage to the opponent. And as electricity arcs off of Electro-Charged beings, it will shock Hydro-affected enemies nearby. You should also take note that Electro attacks can electrify bodies of water. Electro-Charged water deals Electro damage to beings in the AoE. After taking care of the Hilichurls, the chest should be unlocked, and the door opens as well.
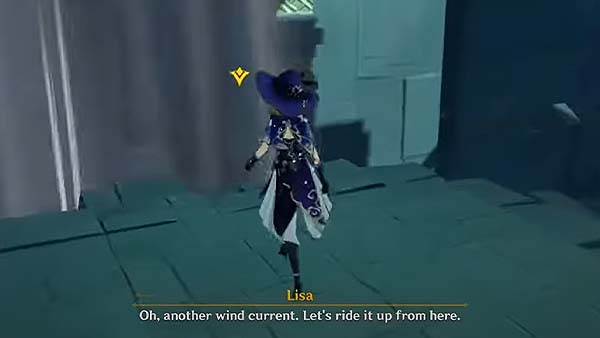
Head over to the exit and you will see another Wind Current, go towards it and double-tap jump to open your Wind Glider, the Wind Current should get you up the platform.
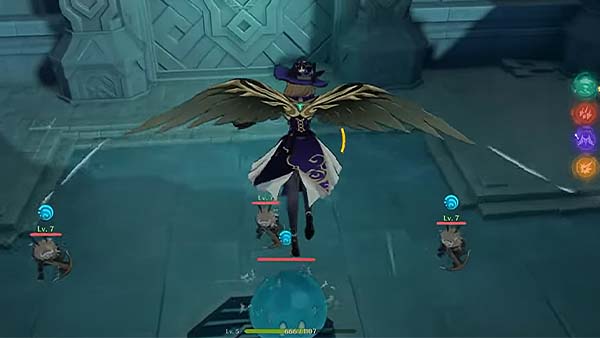
Once you get up the platform, another Door of Resurrection will be activated, and the door will open. Enter the door and head down the stairs, on the ledge you will see an area surrounded by water, with three Hilichurls and one Large Hydro Slime down the area.
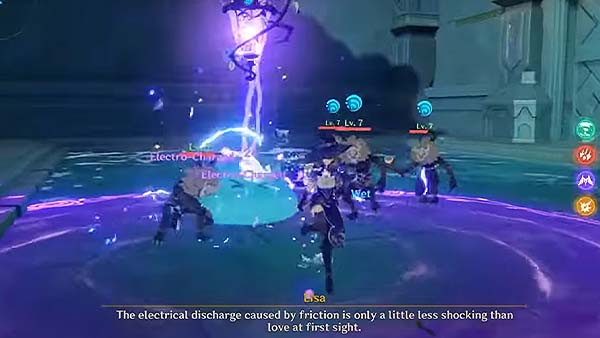
Defeat the enemies using Lisa's Elemental Blast, this ability continuously deal Electro damage to enemies near the AoE, it will also set off chain Electro damage between Elctro-Charged Opponents.
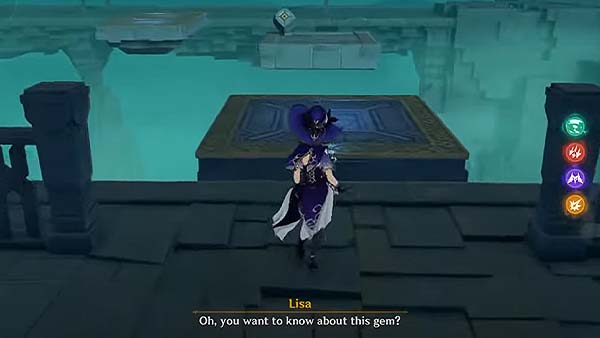
Once you defeat the remaining enemies, another door will open. Head towards the exit and you will see a moving platform. Wait for the platform to go near the edge of the ledge where you're standing at, and be careful not to fall. Once you're at the moving platform, wait for it to get to the other side, where you can see a "console".
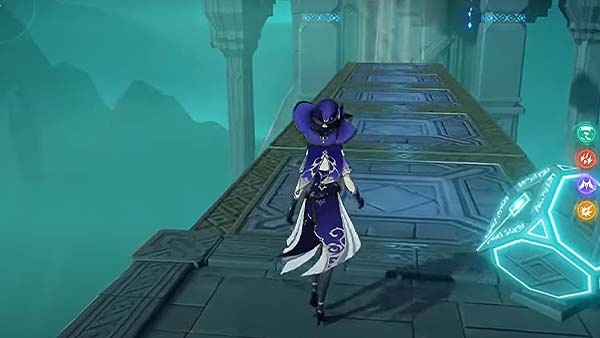
Get on top of the other platform on the other side and activate the console, this should trigger five moving platforms to form a bridge to get you close to a Wind Current.

Jump over the Wind Current and activate your Wind Glider to get on top of another platform above. Once you're at the top, you will see another moving platform, patiently wait for it to get near before you start getting on top of it. Once you're on top, wait for it to get to the other side and you can proceed. Another Door of Resurrection should be activated.
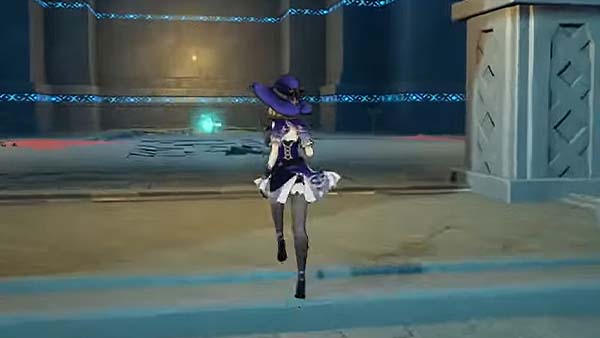
Go up the stairs leading to another room, you will see another Dragon's Breath, destroy it and a chest will spawn.
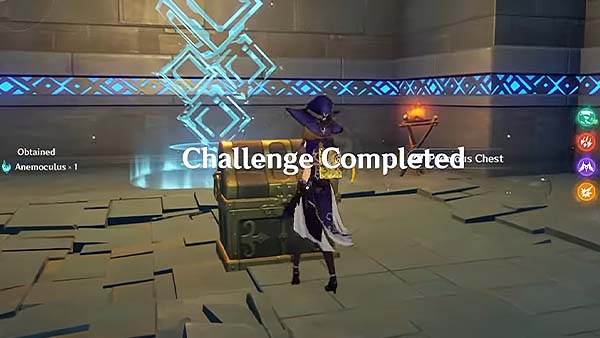
The game will prompt Challenge Completed. A dialogue will occur once it's done. Lisa then explains the Four Winds of Mondstadt, Dragon of the East, Lion of the South, Wolf of the North, and Falcon of the West, which are all affiliated with Barbatos, the God of Anemo. Lisa then reveals that the Stormterror's real name is Dvalin. Once this is done, a cutscene will occur showing the sky around Mondstadt starts to get clearer.
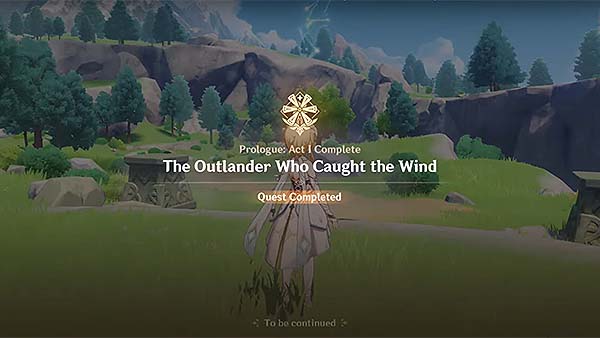
A dialogue with Paimon will then occur after the cutscene, after the short dialogue, the game will prompt that you've officially completed the quest The Outlander Who Caught The Wind.
Once the temple is done, Lisa will now be included in your party.
The next main quest after this is called For a Tomorrow Without Tears, but you will need to reach AR 10 first before you are able to proceed with this next main quest.
Trivia & Notes:
Trivia and notes go here
