Omnipresence Over Mortals is an Archon Quest in Genshin Impact. Archon Quests cover the main story of the game that follows the adventure of the Traveler and Paimon as they set off on a quest to search for the Traveler's lost twin. As players progress, Archon Quests requires a certain level Adventure Rank (AR) to be unlocked in order to continue through the act.
General Info
- Act: Chapter 2: Act 3
- Required AR: 30
- Previous: Stillness, The Sublimation of Shadow
- Next: n/a
- Bosses: La Signora, Raiden Shogun
NPCs & Characters
- Paimon
- Teppei
- Sangonomiya Kokomi
- Gorou
- Ookubo Daisuke (Sangonomiya Samurai)
- Koutoku (Swordfish II Provisional Squad Leader)
- Yoshihisa (Swordfish II Veteran)
- Herring Section 1 Squad Member
- Scaramouche
- Yae Miko
- Kujou Sara
- Sue Yoshitaka (Shogunate Samurai)
- Sayu
- Thoma
- Kamisato Ayaka
- Yoimiya
- Kujou Takayuki (Tenryou Commission)
- La Signora
- Kaedehara Kazuha
Bosses
- La Signora
- Raiden Shogun
Items
Reward/s:
- Adventure EXP: 5,600
- Primogems: 120
- Mora: 269,375
- Mystic Enhancement Ore: 51
- Hero's Wit: 25
- Funerary Mask: 1
- Memory of Violet Flash: 1
- Grand Narukami Shrine Omamori: 1
Enemies
- Nobushi: Jintouban
- Nobushi: Kikouban
- Kairagi: Dancing Thunder
- Kairagi: Fiery Might
- Thunderhelm Lawachurl
- Anemoboxer Vanguard
- Pyroslinger Bracer
- Fatui Electro Cicin Mage
- Hydrogunner Legionnaire
- Electrohammer Vanguard
- Fatui Mirror Maiden
- Pyro Slime
- Large Pyro Slime
- Blazing Axe Mitachurl
- Cryo Hilichurl Shooter
- Wooden Shieldwall Mitachurl
- Pyro Hilichurl Grenadier
- Shogunate Infantry
- Shogunate Infantry Captain
- Yoriki Samurai
Omnipresence Over Mortals Walkthrough
This is the eleventh main quest you will unlock in Genshin Impact, but you will have to finish the previous quest Stillness, The Sublimation of Shadow before you can proceed with this quest.
Related Objectives and Rewards
The following rewards listed below are provided after completing each objective related to the Archon Quest: Omnipresence Over Mortals
Sword, Fish, Resistance
- Description: At Sangonomiya Kokomi's invitation, you decide to visit Sangonomiya Shrine, the headquarters of the resistance army.
- Adventure EXP: 650
- Primogem: 0
- Mora: 31,125
- Other Rewards: Mystic Enhancement Ore x6, Hero's Wit x3
Those Who Yearn For the Gods' Gaze
- Description: You take up the post of leader of Swordfish II. Unexpectedly, Teppei has also received a promotion...
- Adventure EXP: 450
- Primogem: 0
- Mora: 22,000
- Other Rewards: Mystic Enhancement Ore x4, Hero's Wit x2
Delusion
- Description:The secret weapon and last resort of the resistance is, in fact, Delusions. Teppei's death ignites an unquenchable flame of rage within you...
- Adventure EXP: 450
- Primogem: 30
- Mora: 22,000
- Other Rewards: Mystic Enhancement Ore x4, Hero's Wit x2
The Servant's Path
- Description:Blinded by fury, you fall into a trap laid by Scaramouche. But as you are about to black out, you catch a glimpse of Yae Miko's form...
- Adventure EXP: 450
- Primogem: 0
- Mora: 22,000
- Other Rewards: Mystic Enhancement Ore x4, Hero's Wit x2
Proof of Guilt
- Description:You hurry to find proof of your claims to Kujou Sara that the Kujou Clan has betrayed the Shogunate within three days.
- Adventure EXP: 650
- Primogem: 30
- Mora: 31,125
- Other Rewards: Mystic Enhancement Ore x6, Hero's Wit x3
Blind Loyalty, Reckless Courage
- Description:The evidence of the Tenryou Commission's treason is in your hands. How will Kujou Sara's viewpoint change?
- Adventure EXP: 650
- Primogem: 0
- Mora: 31,125
- Other Rewards: Mystic Enhancement Ore x6, Hero's Wit x3
Duel Before the Throne
- Description: Kujou Sara storms towards the Tenshukaku in a fury. Realizing that this is your chance to meet the Raiden Shogun again, but an unexpected yet familiar figure greets you before the throne...
- Adventure EXP: 925
- Primogem: 30
- Mora: 44,000
- Other Rewards: Mystic Enhancement Ore x9, Hero's Wit x4, Funerary Mask x1
The Omnipresent God
- Description: Before the Raiden Shogun's martial might, you sense that initiating Yae Miko's plan may not be as easy as you thought. It might be best to leave the Tenshukaku and make further plans from there...
- Adventure EXP: 925
- Primogem: 30
- Mora: 44,000
- Other Rewards: Mystic Enhancement Ore x8, Hero's Wit x4, Memory of Violet Flash x1
Wishes
- Description:You did not betray the wishes that had attached themselves to you — the Vision Hunt Decree has been abolished by the Raiden Shogun. The turbulent waves have calmed for now. Time to go see Yae Miko.
- Adventure EXP: 450
- Primogem: 0
- Mora: 22,000
- Other Rewards: Mystic Enhancement Ore x4, Hero's Wit x2, Grand Narukami Shrine Omamori x1
Sword, Fish, Resistance
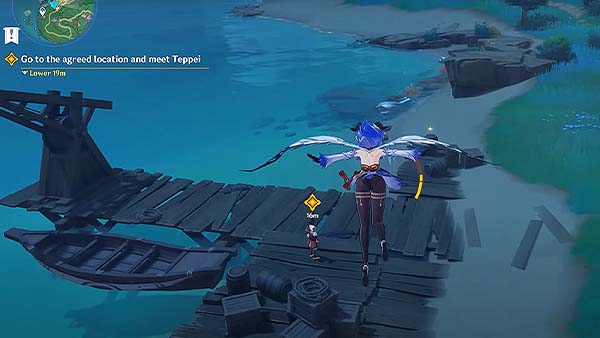
To start the quest, go and meet up with Teppei near Fort Fujitou. Open your map and select a waypoit nearest to the objective to fast travel. Once you reach the waypoint, continue following the yellow icon, it should lead you straight to Teppei, you'll see him by the shore at the pier.
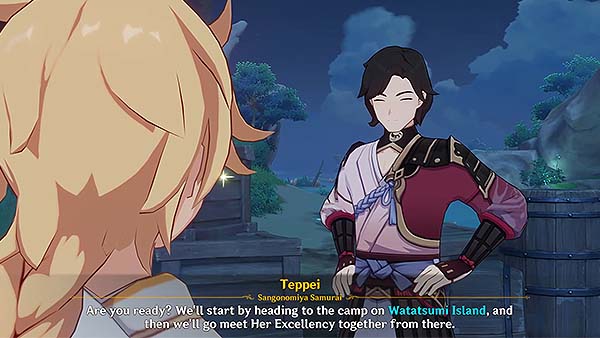
Teppei greets you and says that first you'll be heading to the camp on Watatsumi Island and then you'll go meet Sangonomiya Kokomi together from there.
After your conversation with Teppei, the game will prompt that you've officially started the quest Omnipresence Over Mortals.
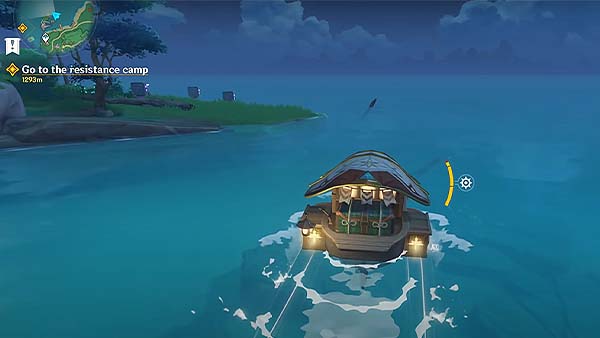
To get to the objective, you would need to summon a waverider and use it to sail across the ocean.
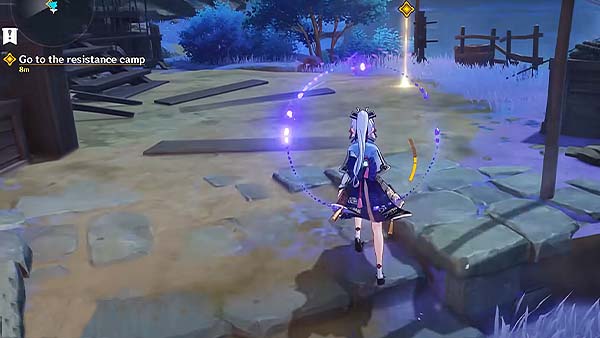
Once you reach Watatsumi Island, continue following the yellow icon and it should lead you to the resistance camp.
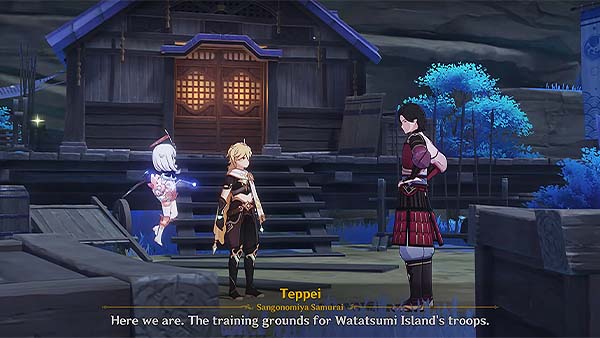
Once you reach the area, Teppei will welcome you to the training grounds for Watatsumi Island's troops. He says that as of right now, the resistance is predominantly made up of local soldiers from Watatsumi Island, some of them are fighting with the Shogun's Army in Tatarasuna and some of them are stationed here on the island to keep the locals safe. He also shared that he used to train on this island as well.
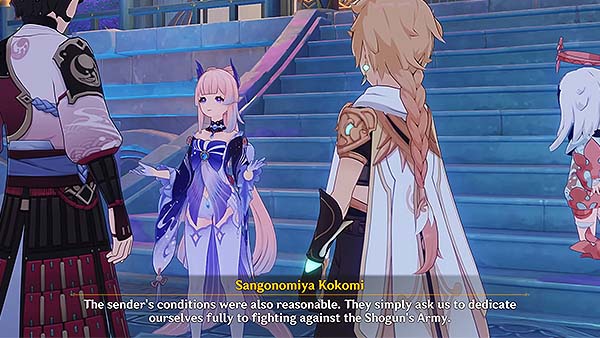
Teppei remembered that it's almost time for your appointment with Kokomi, now go and follow the yellow icon leading you to the Sangonomiya shrine. Upon arrival, you'll come across Sangonomiya Kokomi and one of the soldiers discussing about food supplies being the absolute top priority as of now, since the conflict with the Shogun's Army is getting more intense by the day, she says that they must prioritize the stability of the rearguard. She also explains that she's working on expanding the army since not long ago, someone wrote her a letter saying they want to support the Watatsumi Island resistance effort and to that end, the anonymous supporter also furnished the resistance with great deal of supplies. Thanks to them, the resistance can finally start recruiting troops on the scale the need to openly confront the Shogun's Army on the front line. She also explains that she is not without her doubts but these supplies are a much-needed lifeline for them, and the sender's reason were also reasonable since they only ask the resistance to dedicate themselves fully to fighting against the Shogun's Army, and whatever motives they may have, they are at least aligned with the resistance for now. With that being said, she reminds you not to let your guard down, and if you discover anything out of the ordinary, report to her at once.
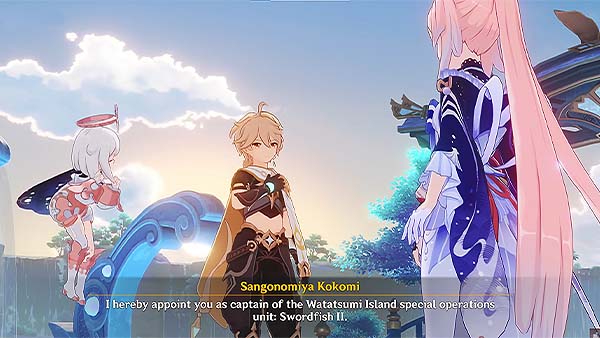
Sangonomiya Kokomi then appoints you as captain of the Watatsumi Island special operations unit: Swordfish II. She says that even though this appointment breaks with convention, she believes that with you wisdom, courage, and strength, you will be able to lead your team to victory. She then explains that the members of Swordfish II are currently on standby in a valley to the southwest, Ronins have been causing trouble down there lately and they need a special operations unit to eliminate them and stabilize the rear guard.
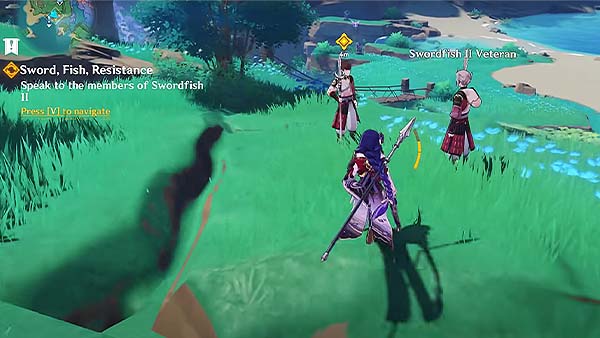
Now go to where the Swordfish II is stationed, just follow the yellow icon and it'll lead you to two Swordfish II members, approach and talk to them.
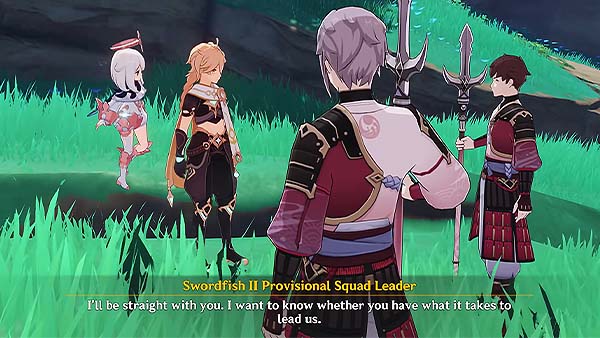
You were then greeted by the Provisional Squad Leader and says that Kokomi briefed them in advance about your arrival. He says the appointment letter is all in order, but he still has his doubts whether you have what it takes to lead their team. The Veteran then explains that thety were stationed here because of all the ronins causing trouble in these parts, if you can eliminate the ronins for them, they'll take that as a measure of your strength.
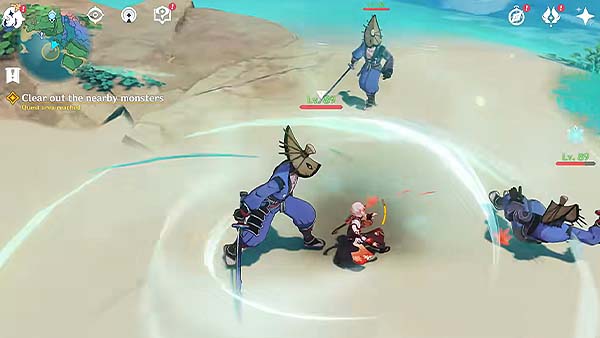
Defeat the ronins near the area.
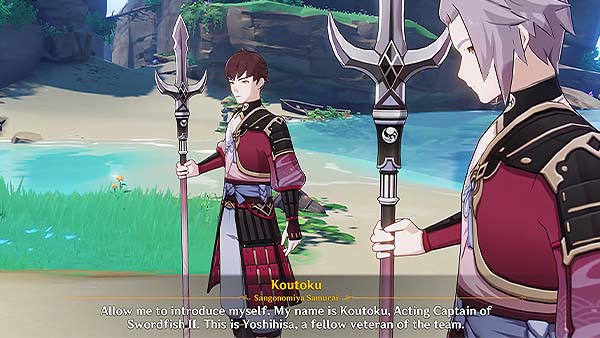
After clearing the area, the Provisional Squad Leader praises you and says that your abilities are admirable. He then introduces himself as Koutoku, Acting Captain of Swordfish II, he also introduces his fellow member, Yoshihisa, a fellow veteran of the team. He then formally cede the position of captain to you. Yoshihisa then informs you that the ronins' only remaining stronghold now is located at the shallows on the east side of the island.
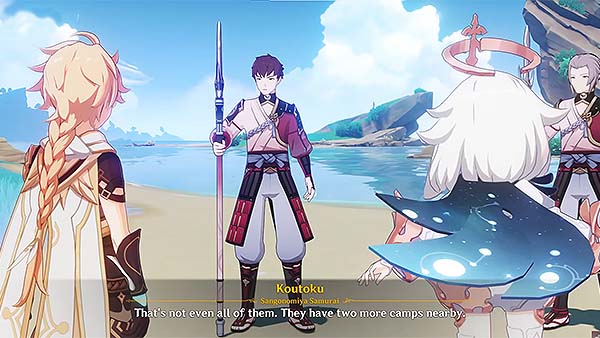
Follow the yellow icon to go to the ronins' remaining stronghold. Once you reach the area, Koutoku reminds you that there are two more camps nearby, and what you're seeing right now is not all of them. You then suggest that we attack all the camps at once. Even though it seemed risky, Koutoku agreed and says they'll rendezvous with you on completion.
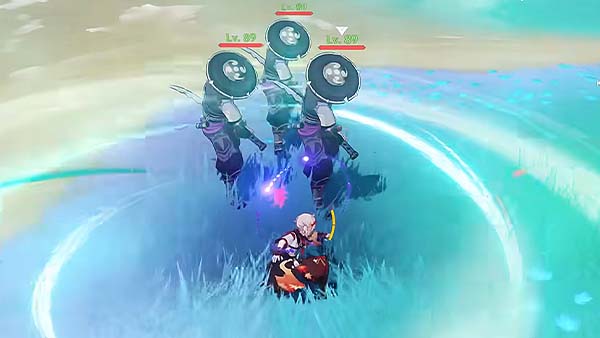
Defeat the ronins in the area to continue.
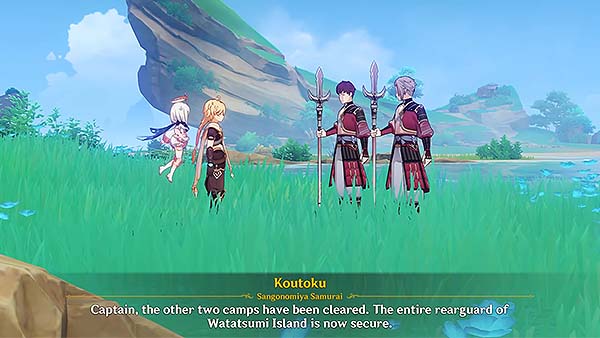
After defeating the ronins in the area, Koutoku briefs you that the other two camps have been cleared and the entire rearguard of Watatsumi Island is now secure.
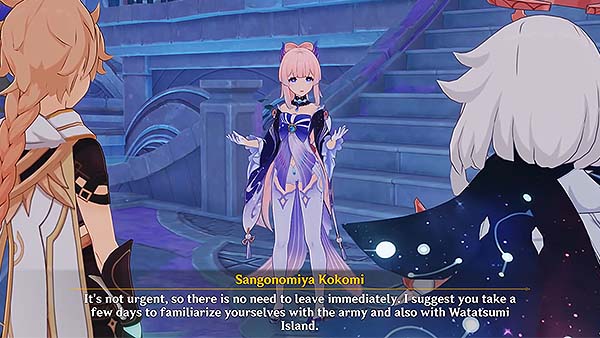
Now you must report back to Kokomi, open your map and select the teleport waypoint located inside the Sangonomiya shrine to fast travel. Once you reach the shrine, approach and talk to Kokomi. After telling her that you've taken care of the situation on Watatsumi Island, she says that for now she has to make sure that Ookubo keeps a close watch to prevent the ronins' resurgence. She then explains that she also gave Teppei an assignment and now he's taking part in a surprise attack against the Shogun's Navy, and since Teppei expressed his desires to be on the front line, she honored his wishes. Now she discusses that she will have a special mission for you. It's not urgent so she suggests that you take a few days to familiarize yourself with the army, as well as Watatsumi Island before doing the mission. You will then train with the Swordfish II for a few days.
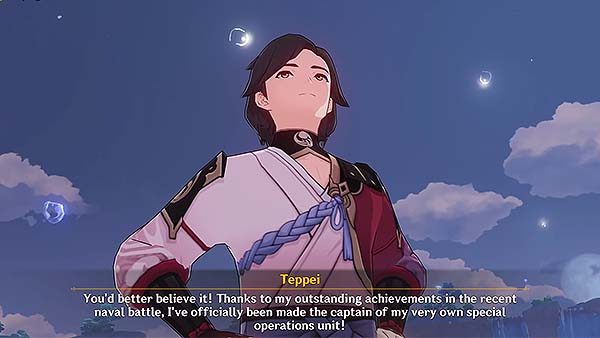
After that, you meet up with Teppei. He tells you news that he's officially been made the captain of his very own special operations unit, thanks to his outstanding achievements in the recent naval battle.
After your conversation with Teppei, your next objective Those Who Yearn For the Gods' Gaze will begin shortly after.
Those Who Yearn For the Gods' Gaze
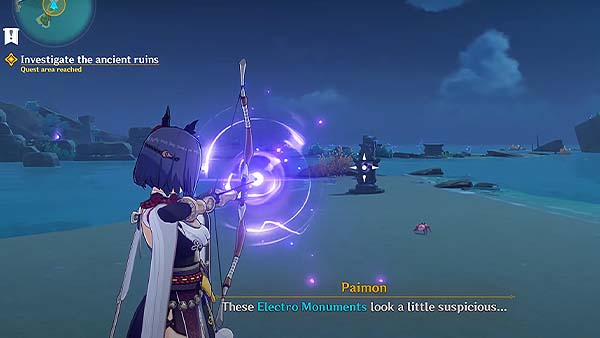
To start this next objective, you would need to investigate the ancient ruins. Open your map and select the teleport waypoint nearest to the objective. Once you reach the waypoint, continue following the yellow icon. Once you reach the area, you'll see three electro monuments. Use a Character that has electro abilities to activate the three monuments.
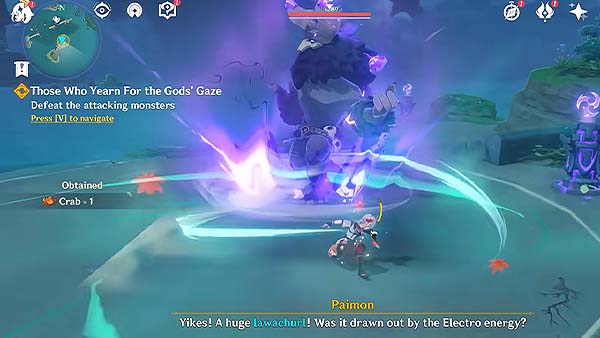
Upon activation, it will summon a Thunderhelm Lawachurl. Defeat this opponent to continue.
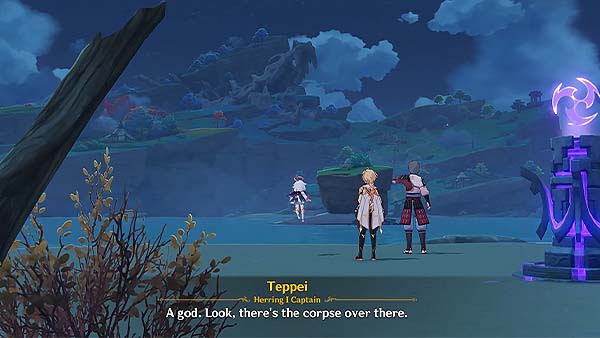
After defeating the Lawachurl, Teppei shows up at the ruins as well, he also didn't know you were the ones investigating the ruins. He says that he just got back from delivering some supplies to the front line and figured he'd stop by and clear any threats in this area on the way back. Paimon asks if Teppei also sensed something strange about the ruins, to where he replied that it could be that the Tatarigami is more palpable here and we're not that far away from Orobaxi's remains. He then points on a giant skeleton of snake at the mountains. He says that Orobaxi was the one who brought their ancestors from Enkanomiya up to the surface, and that's the origin of the Watatsumi Island you know today. The one who slain Orobaxi was the Raiden Shogun herself. Their ancestors regarded it as a guardian deity, but during the Archo War, Orobaxi invaded Yashiori Island.
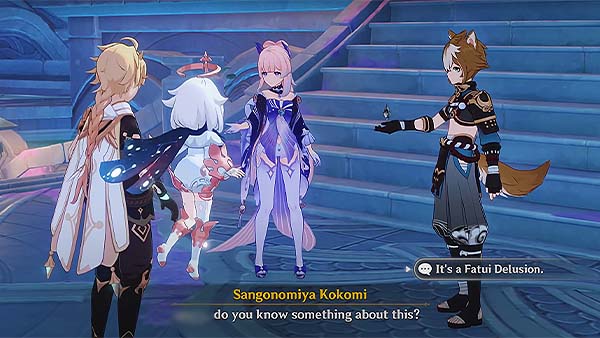
Now you should go back to Sangonomiya Shrine and report back to Kokomi. Open your map and select the teleport waypoint located inside Sangonomiya Shrine to fast travel. Once you reach the shrine, you'll see Kokomi and Gorou discussing about something, Gorou shares to you that some of the soldiers started showing symptoms of accelerated aging, he called some of them for quetioning and found out that they'd privately acquired some secret weapons from the anonymous sponsor. He says that they've been using these weapons secretly since getting hold of them. Kokomi says that they should put a stop to this. Gorou says that he's managed to acquire a weapon. He then shows you the weapon and you immediately recognize it, and tell them it's a Fatui Delusion, which brings all of you to a conclusion that your secret sponsor is the Fatui. Kokomi says that they should inform the whole army to cease using their Delusions right away.
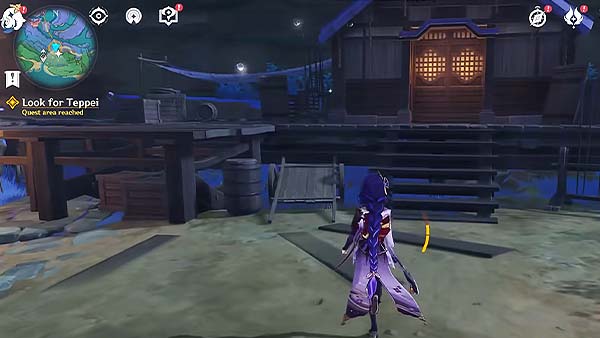
After your conversation with Kokomi and Gorou, you remember Teppei coughing excessively during your last encounter, you will now have to look for him to check if he's okay. Follow the yellow icon and it should lead you to Teppei, you'll find him at the right side of one of the houses at the resistance camp.
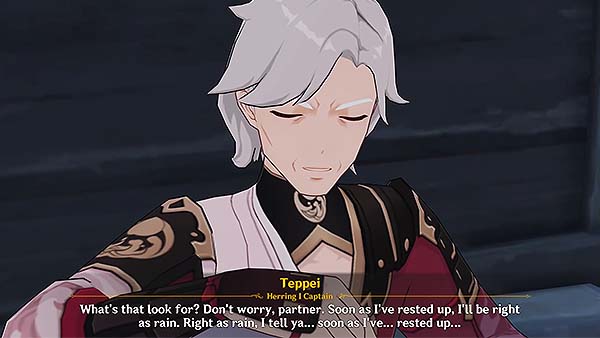
You'll see that Teppei has aged significantly, with his hair color now turned white. He then says that he's been using this mysterious weapon ever since you were made captain of the Swordfish II. He met with these mysterious people saying they were supporters of the resistance and gave him the weapon, saying that as long as he has the will to get stronger, the secret weapon will hear his calling. You then explain that the secret weapon he was using was called a Delusion, and that it drains the user's life force the longer he/she uses it. Despite feeling weak, Teppei still tries to comfort you saying that he'll be alright once he's rested up. He closes his eyes and saying he'll get better, with each word fainting, he slowly passes.
Your next objective Delusion will begin shortly after.
Delusion
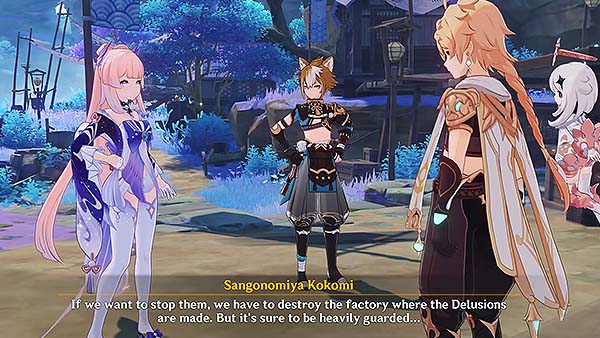
Just outside the resistance house, you'll see Kokomi and Gorou again, talk to them. Kokomi explains that she already put out the order to seize all Delusions. She says the vast majority are showing some loss of vitality but nothing serious but sadly, a few have been less fortunate. Gorou says he's planning to establish a dedicated field hospital to monitor the conditions of those who used a Delusion. He also explains that the soldiers are up in arms about the ban, knowing full well what it does to their health, they still intend to keep using them. Kokomi says she'll leave Gorou to deal with the situation since she will be going to the front line. You proceed to tell her your plans on confronting the Fatui directly but she objects the idea for it is too dangerous. She says the Sakoku Decree is still in force so their Delusions must be produced within Inazuma's borders. She says that destroying the factory where the Delusions are being made is the way to stop them. She suspects that the site is likely to be the cliffs near the ocean at southwest of Yashiori Island.
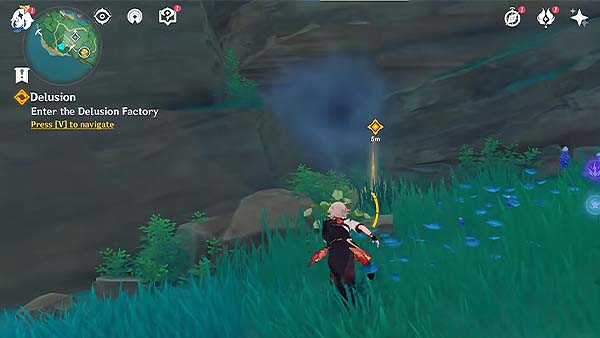
Now search for the olace where the Delusions are being made. Open your map and select a teleport waypoint that's nearest to the objective to fast travel. Once you reach the waypoint, continue following the yellow icon leading you to the quest area, you'll find the entrance to the Delusion Factory at the edge of one of the cliffs on the island. Go towards the entrance and press interact to enter.
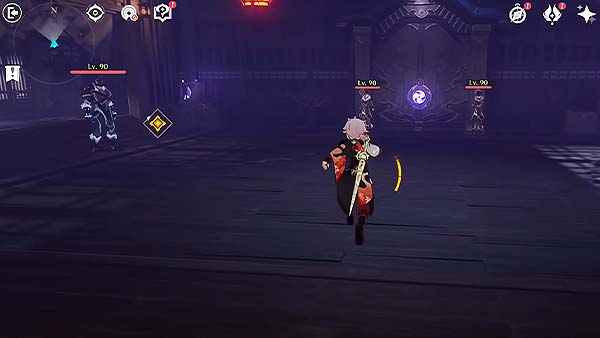
This will also act as a Domain run. It will show you the mission " Delusion Factory", the recommended party level, as well as the recommended elements you can use for this run. Once you enter, go straight and you'll enter a room, you'll see a big door with the magatama sign, you will have to find three magatama amulets to embed on the door to open it. One of the magatama amulet is just on the left side of the room. You'll also notice two Pyroslinger Bracers and an Anemoboxer Vanguard. Defeat the enemies in the room to continue.
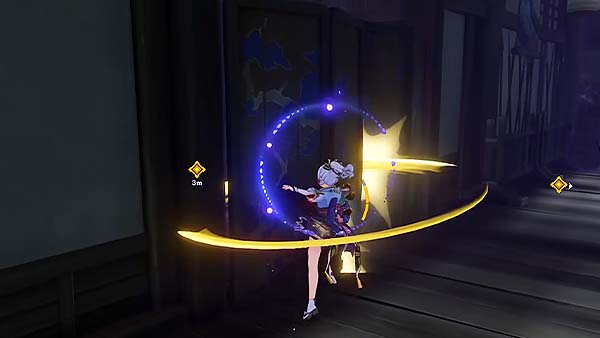
After defeating the enemies, grab the magatama amulet on the left side of the room. On the right side of the room, you'll see a shoji screen blocking your path, destroy this and step on the platform, it will take you to the next area below.
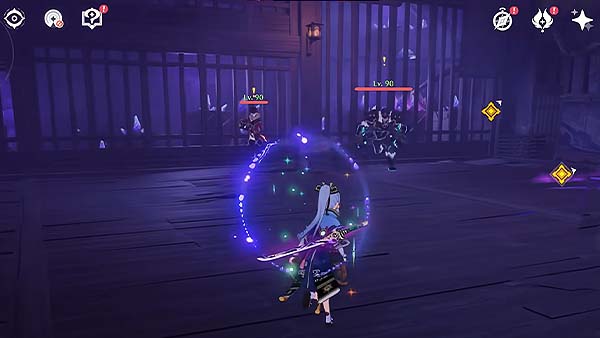
On the next room, the enemies waiting for you there are an Anemoboxer Vanguard, a Pyroslinger Bracer, and a Fatui Electro Cicin Mage. Defeat these enemies to continue. After defeating the enemies, grab the next magatama amulet located in front of the room.
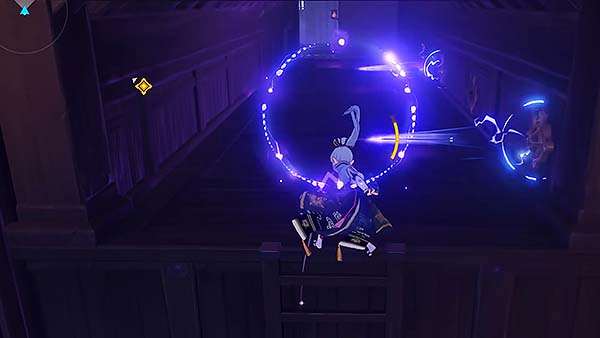
Go up the ladder on the left side of the room, but be careful, there are traps placed on your way ahead. The first trap is when you climb up the ladder. Attached on the walls are traps that shoot electro infused arrows. Observe the timing of when the arrows will shoot and move accordingly.
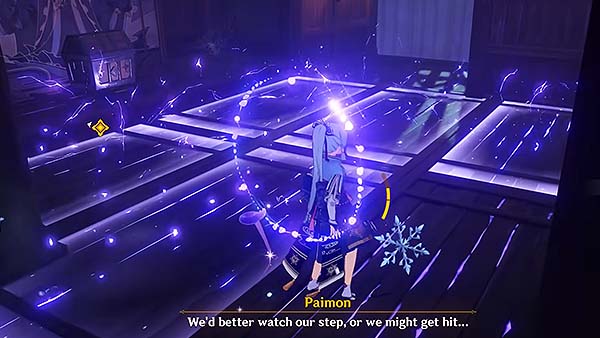
Once you get past the arrows, you'll have to watch out for the electric floors, you will also have to time your movement correctly to avoid getting electrecuted. Note that on the left side, there is an Exquisite Chest.
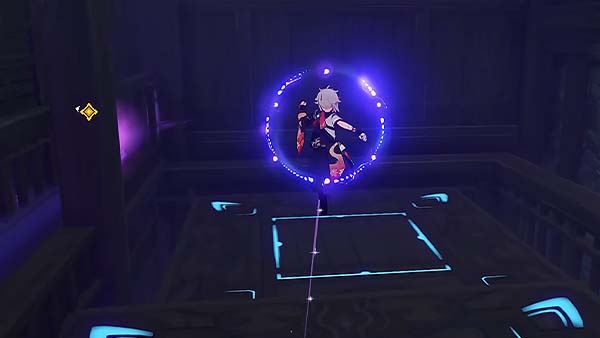
Once you get past electric floors, go through the door and get on top of the platform, the platform will then lift you up. When it has reached its peak, jump on the second platform, and then on to the next until you can reach the next area.
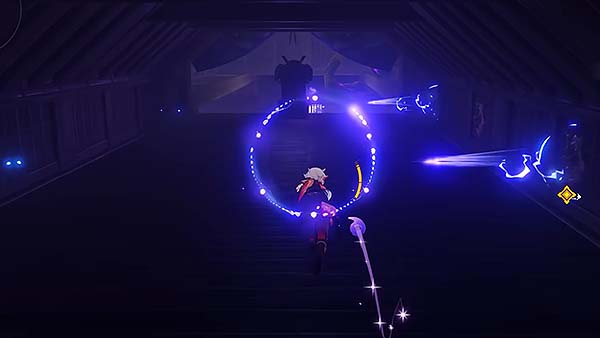
Once you reach the top, you'll encounter another electro infused arrows trap. Carefully make your way through and you'll see the last magatama amulet. Pick up the last amulet.
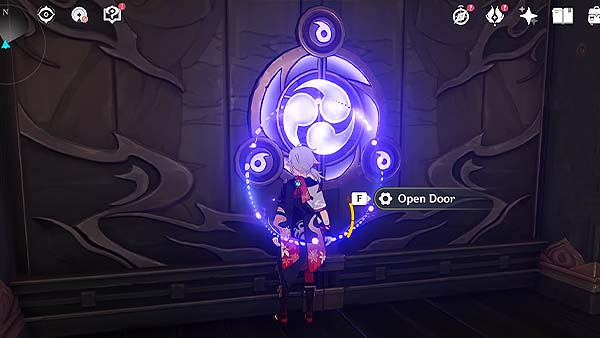
Jump down, and you should be back to where the giant door is, stand in front of the door and the magatamas will automatically embed themselves on the grooves of the door. Then press interact to open the door.
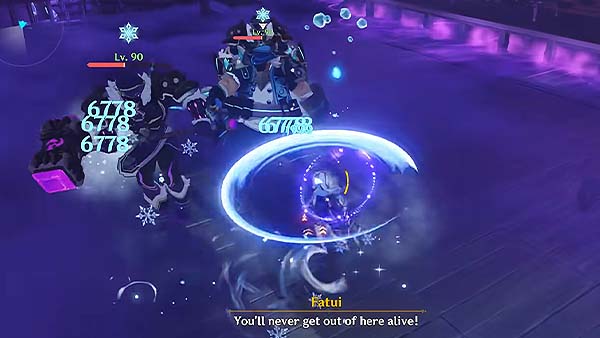
Go through the door, three types of Fatui enemies will spawn, an Anemoboxer Vanguard, a Hydrogunner Legionnaire, and an Electrohammer Vanguard. After defeating these three, a Pyroslinger Bracer and a Fatui Mirror Maiden will appear. Defeat all enemies in the room to continue.
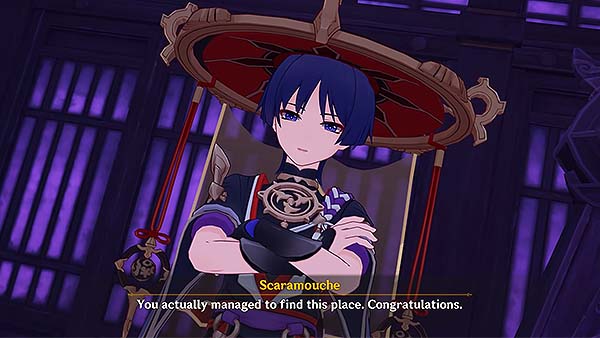
After clearing out the factory, you then stumble across a man named Scaramouche. He claims that he is not the mastermind of this whole operation and that he's simply following orders. He says that Delusions gives people the chance to fulfill their ambitions before they die, even if just temporarily, they get the feeling of controlling the world, trading their life for supreme power. He also says that Inazuma is a land of opportunity, it only looks impenetrable from the outside, but within the land, with a little effort, they were able to break them down.
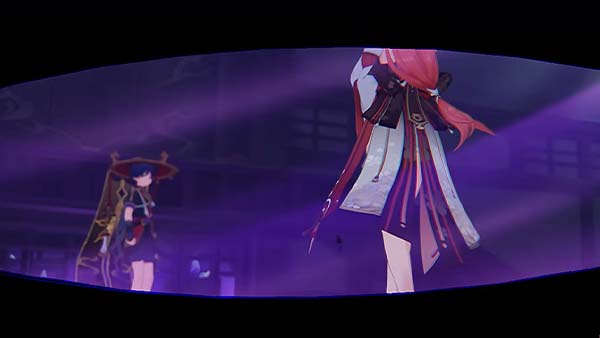
He then continues to mock your friend Teppei and you were angered by this, he then reveals that the facility is filled with the wrath of the gods, and it also feeds on your anger. Just moments before collapsing, you see Yae Miko walking in to the scene.
Your next objective The Servant's Path will begin shortly after.
The Servant's Path
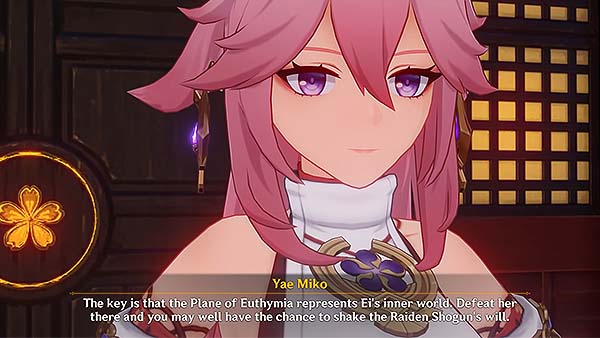
You wake up at the Grand Narukami Shrine, Yae Miko says that it took a lot of effort just to get you back here. She then explains that there is something you must do for her. She revealed that the true Raiden Shogun's name is Ei, the one that you met at the ceremony was just a puppet. It is said that she placed her consciousness inside her sword, where she remains in a meditative state free from all disturbances. The alternate realm that you went to when you fought her was called The Place of Euthymia, it is essentailly a world inside her mind. Yae Miko says the key to abolishing the Vision Hunt Decree and save Ei is you, you must defeat her inside the Plane of Euthymia and there might be a chance to shake the Raiden Shogun's will.
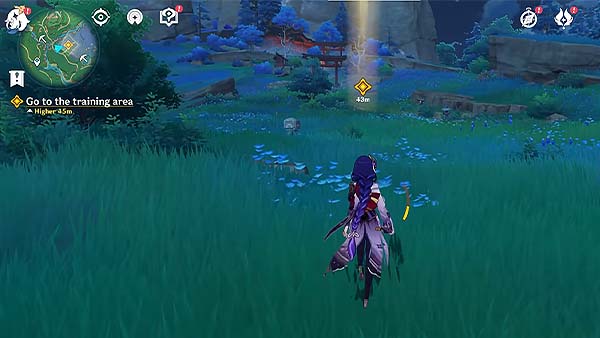
She then tells you she prepared a special program just for you called the Anti-Raiden Shogun Training. Open your map and select a teleport waypoint nearest to the objective to fast travel. Once you reach the waypoint, continue folowing the yellow icon leading you to the training area.
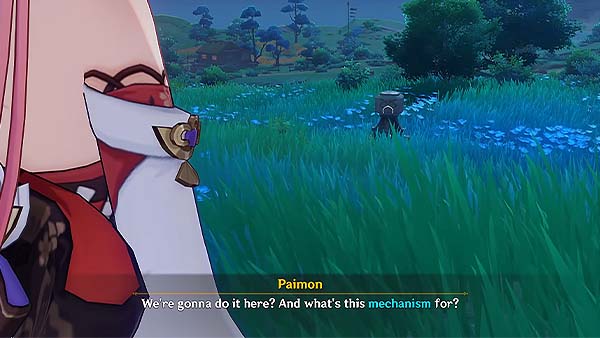
Once you reach the area, Yae Miko will explain to you that the mechanism you see was made to replicate the Raiden Shogun's attacks. Go towards the mechanism and press interact to start the challenge.
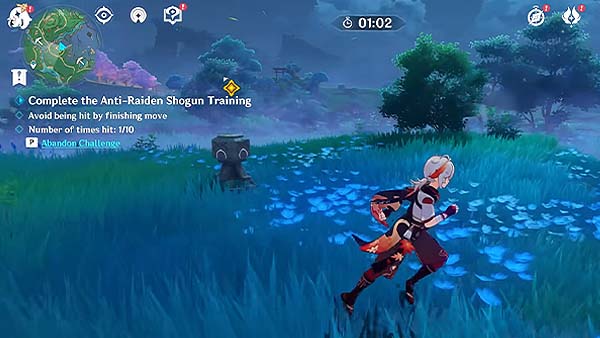
For this challenge, you would only need to hold out and dodge the Raiden Shogun's attacks. If you either get hit 10 times by the normal attacks or get hit once by the finishing move, you will fail the challenge.
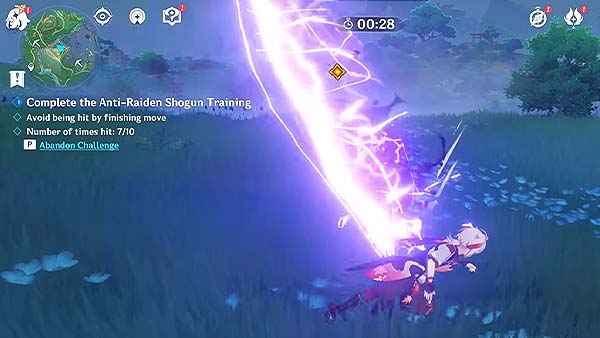
For the normal attacks, you would only need to time your dodge correctly and use the dodge's invinsibility frame to avoid these.
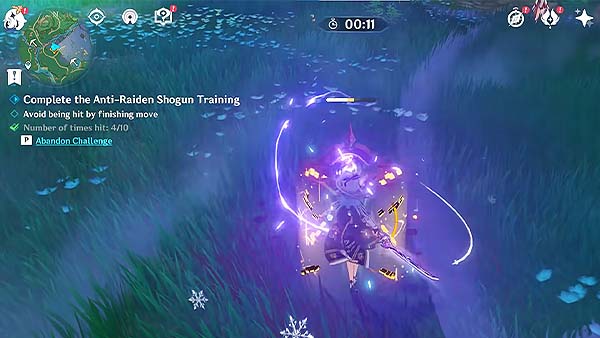
For the finishing move, you would need to destroy an electro catalyst that will be summoned, and once you destroy that, you will be able to stay safe on that spot when the attack launches.
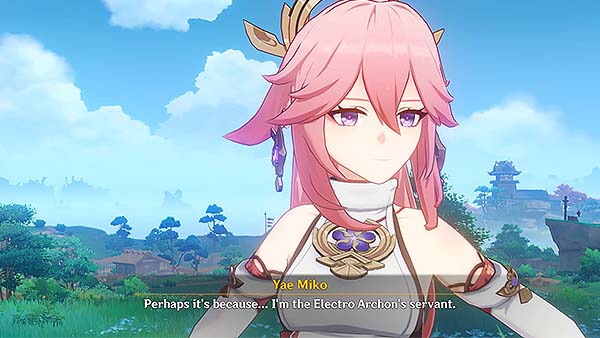
After completing the challenge, talk to Yae Miko. She will then reveal that she's the Electro Archon's servant, this explains why she knows so much about the Raiden Shogun and how she was able to replicate her attacks on the mechanism. She explains that they got separated because the Raiden Shogun started going down a path that became increasingly difficult for her to join on, and now it is her duty to save her drag her back out of her own head and into the real world.
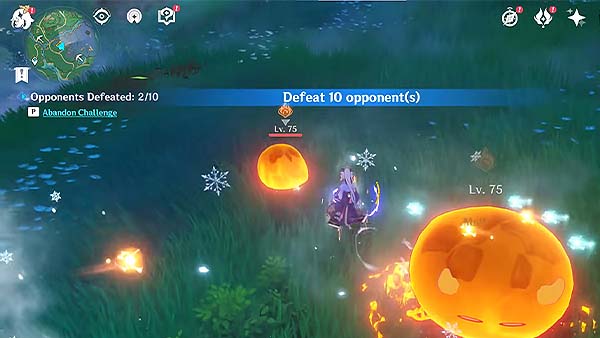
She then explains it's time for Anti-Raiden Shogun Training Phase 2. Go towards the mechanism and press interact to start the phase 2 of the challenge. You will have to defeat 10 enemies to complete this challenge.
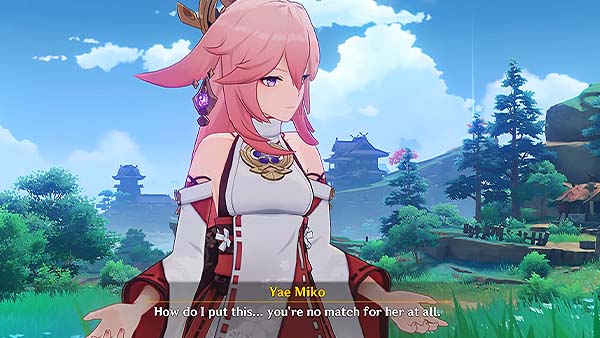
After defeating the enemies, talk to Yae Miko again. She explains to you that as of now, you have no chance of beating the Raiden Shogun, but do not falter, she says she has a plan and you're the most important part of it. She tells you that she'll explain more back at the shrine.
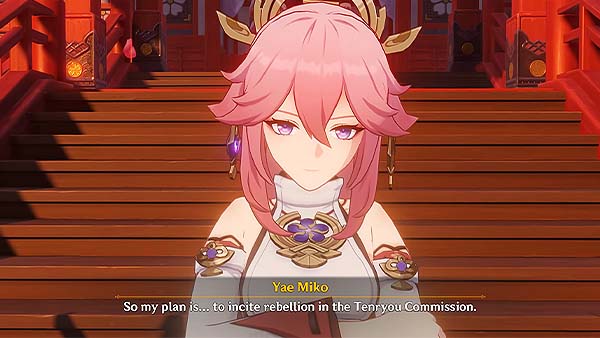
Return to the Grand Narukami Shrine and talk to Yae Miko. Open your map and select the teleport waypoint located inside the shrine to fast travel. Once you reach the shrine, Yae Miko will begin discussing the plan with you. She wishes to incite a certain someone to betray the Tenryou Commission, she reveals that certain someone is Kujou Sara, she was also the guest Yae Miko was talking about earlier.
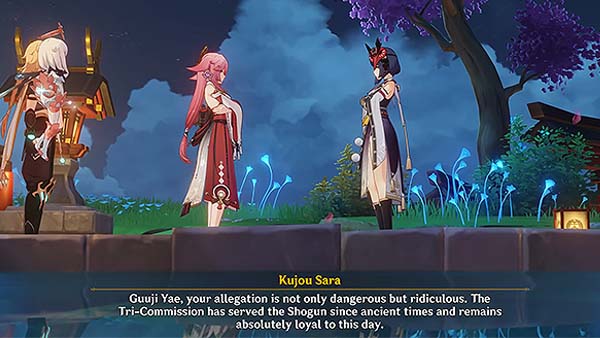
Kujou Sara arrives at the shrine and orders your arrest, Yae Miko stops and reminds her that use of force within the shrine is strictly forbidden. Kujou Sara orders her men to leave. Yae Miko explains to Kujou Sara that the Vision Hunt Decree is a trap and a part of the Fatui plot to bring Inazuma down to its knees, and the Kujou Clan of the Tenryou Commission are the ones keeping the truth from reaching the Shogun, meaning the Kujou Clan betrayed the Shogunate. Kujou Sara still seems doubtful about all this, Yae Miko asks her to come back in three days and evidence will be provided.
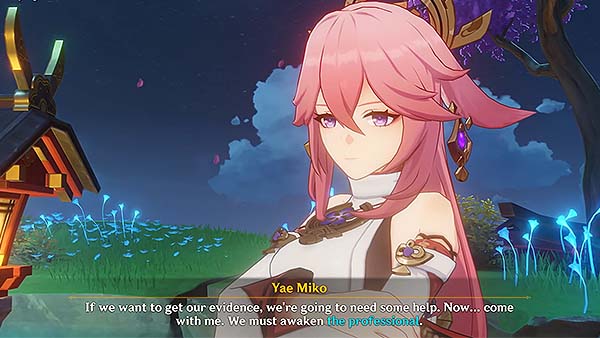
Kujou Sara leaves, Yae Miko explains to you that she only said she'll provide evidence in three days to somehow convince Kujou, and that changing someone's mind is a gamble to begin with. She says you can't expect to be in control of every last detail when it comes to this. To really get the evidence, she says she would really need some help, she asks you to come with her to awaken "The Professional".
After your conversation with Yae Miko, your next objective Proof of Guilt will begin shortly after.
Proof of Guilt
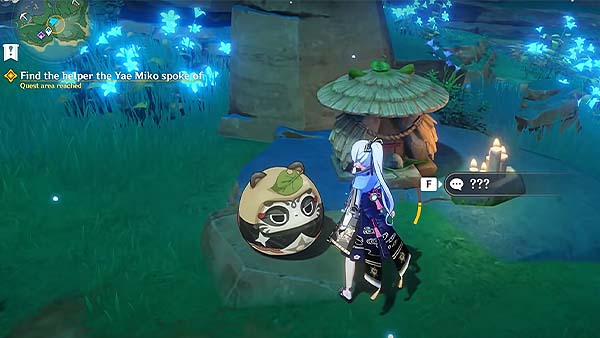
Go to Chinju Forest and find the professional Yae Miko was talking about. Open your map and select the teleport waypoint located at the Chinju Forest to fast travel. Once you reach the waypoint, continue following the yellow icon, you'll see a tanuki-like toy inside the quest area. Go towards it and press interact.
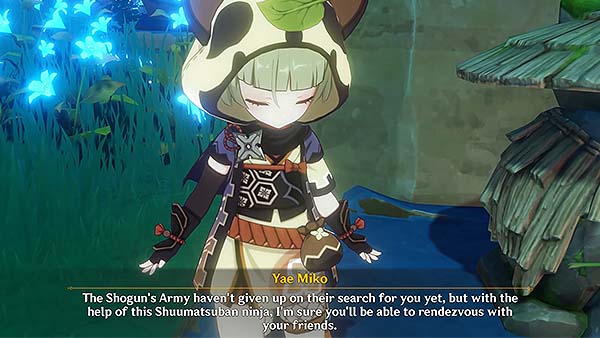
The Tanuki-like toy will transform into a human. Yae Miko introduces her as Sayu, member of thje Shuumatsuban, a genuine, bona-fide ninja. The Shuumatsuban belongs to the Yashiro Commission, a secret unit under Kamisato Ayato. Yae Miko explains that Kamisato Ayato and the Yashiro Commission are neutral parties so she doesn't have the right to give orders to the Shuumatsuban. However, convincing their most chronically lazy member to help is well within her abilities. She then gives you your task to go into town and find evidence of the Tenryou Commission's betrayal.
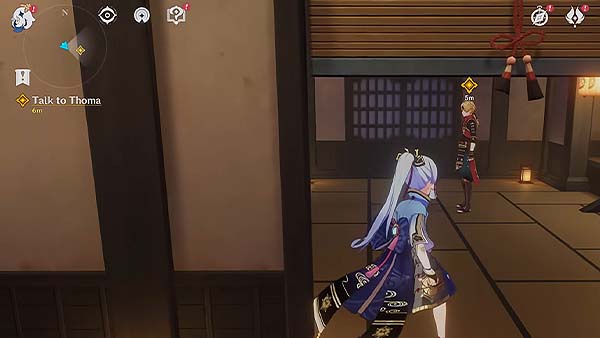
After the briefing, go to Komore Teahouse. Open your map and select a teleport waypoint located inside Liyue Harbor to fast travel. Once you've reached Liyue Harbor, follow the yellow icon leading you to Komore Teahouse. Once you enter the teahouse turn right and go inside the room where you'll see Thoma and talk to him.
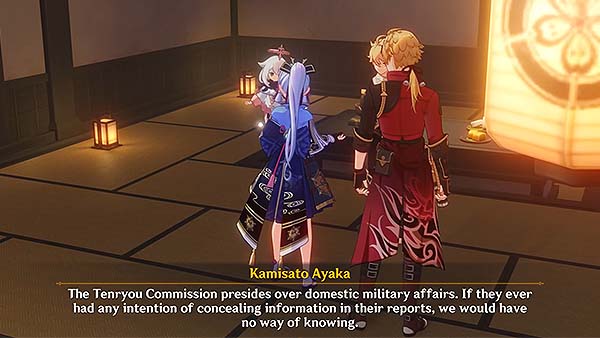
Thoma says he'll get someone to call Ayaka to come to the teahouse as well. When Ayaka arrives, you inform them about the current situation. Thoma recalls that the only person authorized to access the Tenryou Commission's reports and official documentation is Kujou Takayuki. The report must be heavily guarded as well. You then suggest a plan to distract the guards using the tactic you used when you saved Master Masakatsu back then, by using Yoimiya's fireworks. Ayaka thinks this might work, since the Statue of the Omnipresent God is right by the Tenryou Commission and if someone set off fireworks near the statue, the guards certainly wouldn't ignore it. While the guards are preoccupied, Sayu could infiltrate the Tenryou Commission and take the report as well as any other evidence she might find in the area.
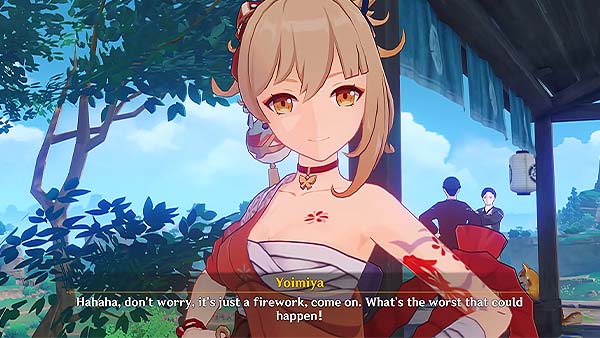
After discussing the plan with Thoma and Ayaka, you must now enlist Yoimiya's help. Exit the Komore Teahouse and continue following the yellow icon, it should lead you to Yoimiya. Press interact to talk to her. You then ask her for an extra-large firework you can use, she says that she just made one a couple days ago but it's so powerful that she hasn't tested it yet. She gives you the fireworks and you will now have obtained a Supersized Firework.
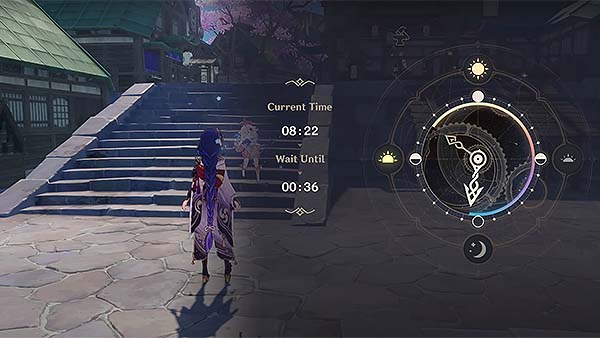
After getting the firework from Yoimiya, you will have to advance time to midnight, open the Paimon Menu and select Time. You can set the time from 00:00-05:00.
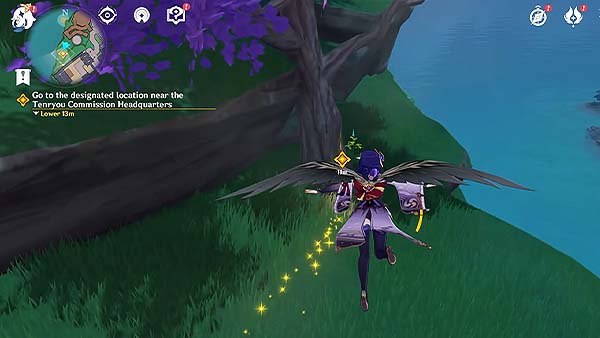
After waiting til midnight, follow the yellow icon and go to the designated location near the Tenryou Commission Headquarters, the location is beside a tree near a cliff.
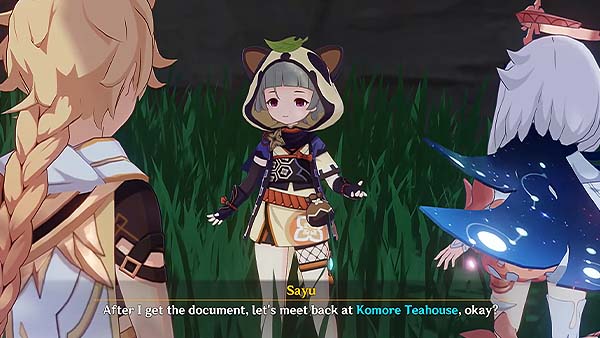
Once you reach the area, Sayu will explain to you that there's a lot of guards in the place, and that after she gets the document, you should meet her back at the Komore Teahouse.
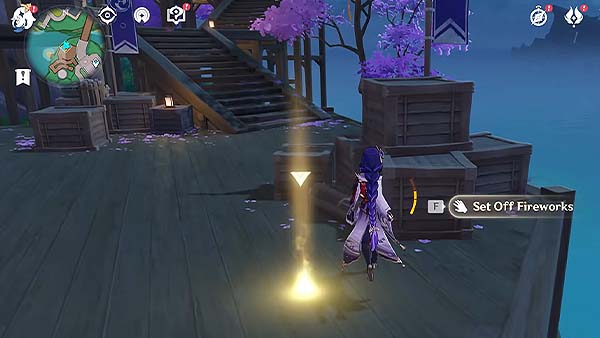
Follow the yellow icon, go towards the glowing light and press interact to set off the fireworks and distract the guards.
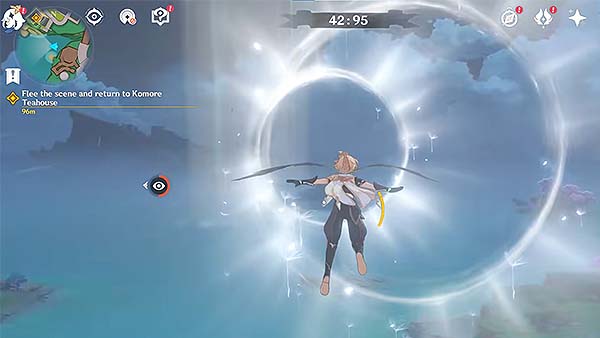
Once the fireworks are set, you would have to flee the scene. Turn around and jump off, use your Wind Glider to ride the rings that will help you accelerate.
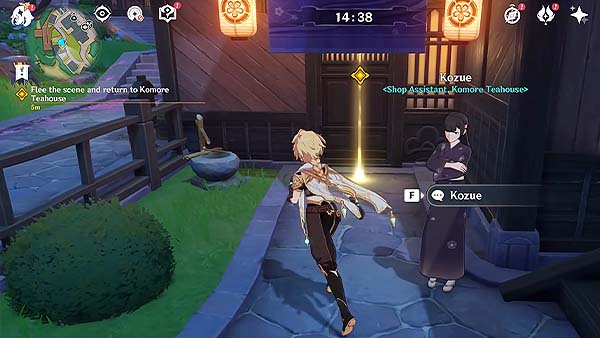
Following the rings should lead you back to the Komore Teahouse. Go inside the teahouse.
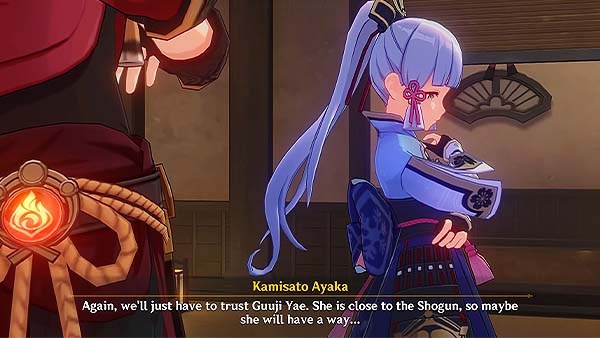
Go to the room on the right and report back to Ayaka about what happened. Now you wait for news from Sayu. After some time, Sayu was able to come back to the teahouse as well. She hands over a bunch of suspicious documents and then leaves to go to sleep. There is a sealed envelope that looks like an official report that the Tenryou Commission is preparing to present to the Shogun. Ayaka then tells you to bring the evidence back at the Grand Narukami Shrine and show it to Yae Miko, she trusts Miko will have a plan for the next step. She also says that she will be gathering some people to try and root out the rest of the Fatui in Inazuma.
After receiving the necessary evidence, your next objective Blind Loyalty, Reckless Courage will begin shortly after.
Blind Loyalty, Reckless Courage
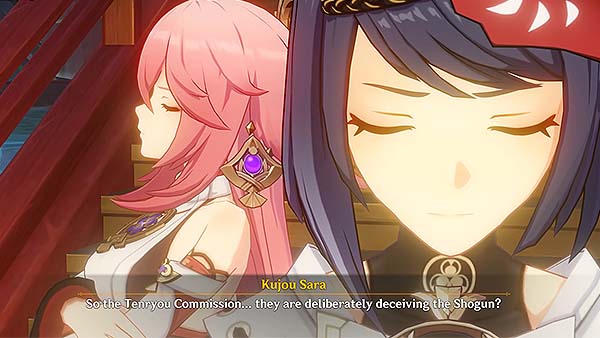
You will obtain the Official Tenryou Commission Document and Tenryou Commission Secret Letter. Head over to the Grand Narukami Shrine to deliver the evidence. Open your map and select the teleport waypoint located inside the shrine to fast travel. Once you reach the shrine, Kujou Sara seems to have made it back as well. You then show her the evidence. The letter contains no report regarding what's happening between the Shogun and the resistance, therefore stating that the Tenryou Commission is deliberately deceiving the Shogun. After examining the documents herself, she felt betrayed, and says that this is unforgivable. Kujou runs off and leaves the shrine.
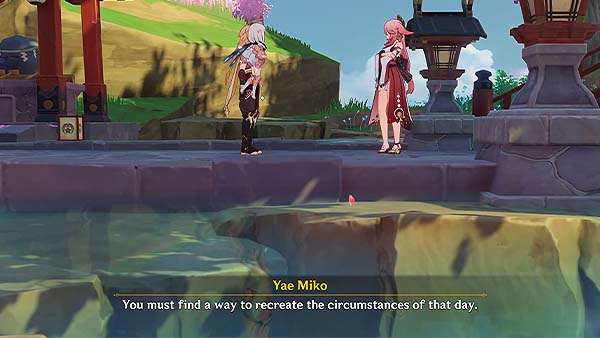
Yae Miko then discuss with you how you must find a way to recreate the circumstances on how you were able to get inside the Raiden Shogun's Plane of Euthymia. She says that if you can get the Raiden Shogun to open her heart to you once more before the Statue of the Omnipresent God, you might just have the opportunity you need. She then gives you a Grand Narukami Shrine Omamori as a farewell gift.
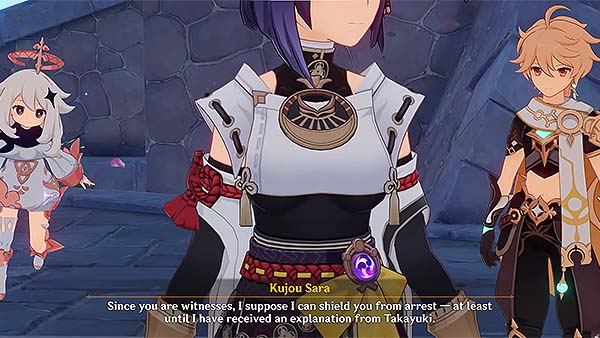
Go to the yellow icon to follow Kujou Sara to the Tenryou Commission Headquarters. Open your map and select the teleport waypoint nearest to the objective to fast travel. Once you reach the waypoint, continue following the yellow icon, it will lead you to Kujou Sara outside the entrance of the Tenryou Commission Headquarters. Kujou Sara says you've got guts to follow her all the way her, but since you're a witness, she can shield you from arrest for now until she has received an explanation from Takayuki. She also reminds you that if you turn out to be deceiving her about this matter, you will be arrested immediately and also be charged with one more crime.
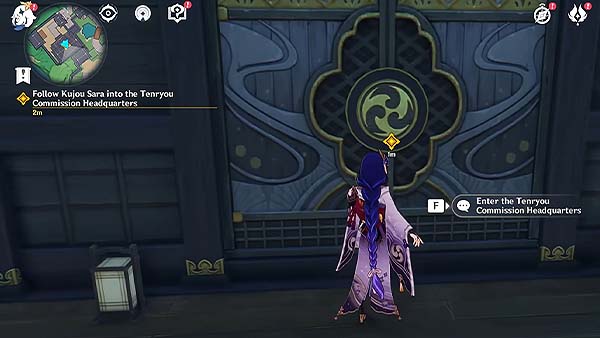
Follow her and enter the headquarters. This will act as a Domain run. You'll see the mission Tenryou Commission Headuarters and it will show you the recommended party level for this run.
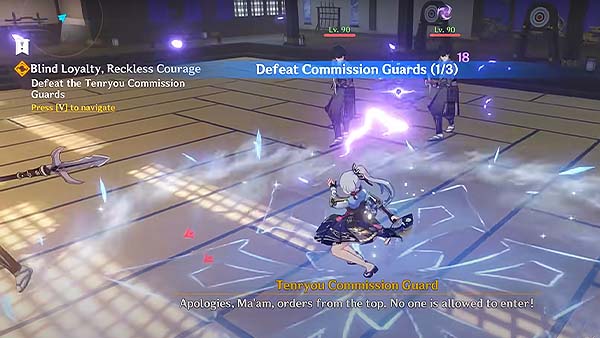
Once you enter the headquarters, you will immediately face off against a group of Tenryou Commission Guards, defeat all the commission guards in the room to continue.
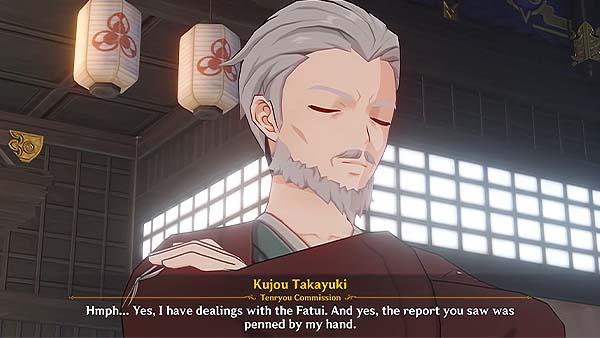
After defeating all the enemies, Kujou Takayuki will come out. Kujou Sara then confronted Takayuki about the evidence on the report to the throne and the letter to the Fatui. Takayuki willingly admits that he had dealings with the Fatui and those letters were penned by his hand. He says that the diplomats from Snezhnaya promised a very generous reward and all that they requested of him was to see that the Vision Hunt Decree was upheld. He explains that even under these circumstances, he is not betraying the Shogun. Kujou Sara decides that she's going to tell the Shogun the truth about all this. Takayuki says that the Shogun is at Tenshukaku receiving a Snezhnayan diplomat, a Harbinger by the name of Signora. Kujou Sara storms off and exits the Headquarters.
After that, the game will prompt that you've completed the domain. A Precious Chest will appear. You can then leave the headquarters after.
Your next objective Duel Before the Throne will begin shortly after.
Duel Before the Throne
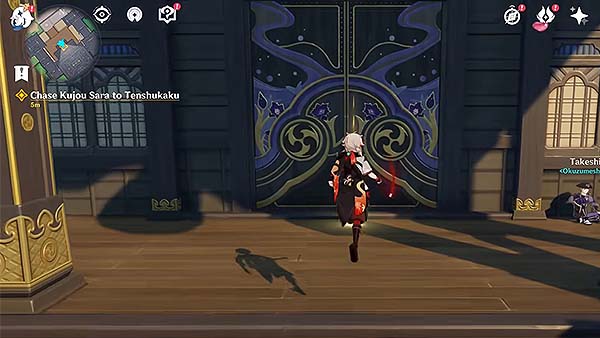
After leaving the headquarters, continue following the yellow icon to chase Kujou Sara to Tenshukaku. Once you reach the destination, go towards the door and press interact to enter. This will act as another Domain run. You'll see the mission "Narukami Island: Tenshukaku" and it will show you the recommended party level for this run.
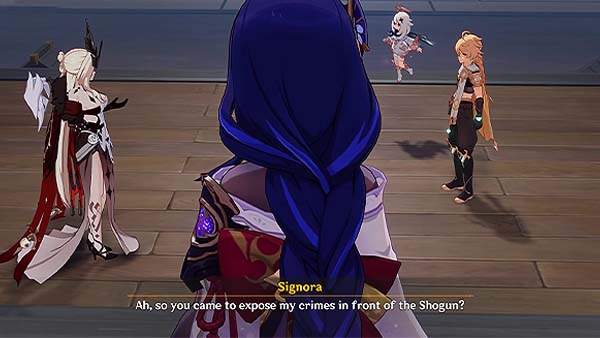
Once you enter, go towards the end of the room and talk to Signora. You will also see Kujou Sara unconscious on the ground. You then confront Signora about her crimes, she says that she's just a Snezhnayan diplomat and she has no idea what you're talking about. She then reminds you that you're Inazuma's most wanted criminal and suggests you consider your circumstances very carefully. To counter this, you challenge her to a duel before the throne, to which the Raiden Shogun accepts.
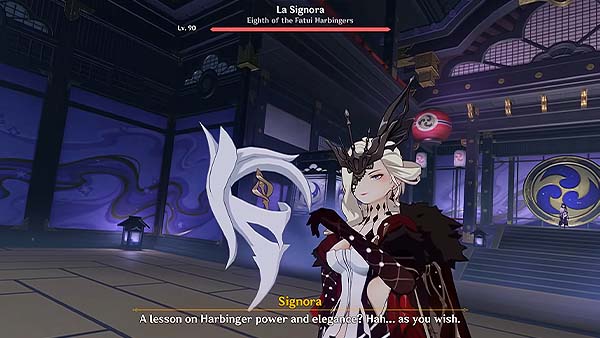
You must defeat Signora in a duel before the throne. This is a boss fight that has two phases. On both of these phases, you will need to keep an eye on your Sheer Cold and Blazing Heat Gauge. These gauges will slowly increase throughout the fight, and if you're standing on top of the ground where you see an icy terrain or burnt floor, the gauge will build up even quicker. When the gauge is maxed out, you will then take constant damage,

To counter this, approach one of the floating vials on the four corners of the room, standing near one will slowly decrease your gauge. Destroying one will completely clear out your entire gauge and will also remove the damaging effects on the ground on that corner. Do not worry about the vials running out for there will always be 2 vials that will keep respawning throughout the fight.
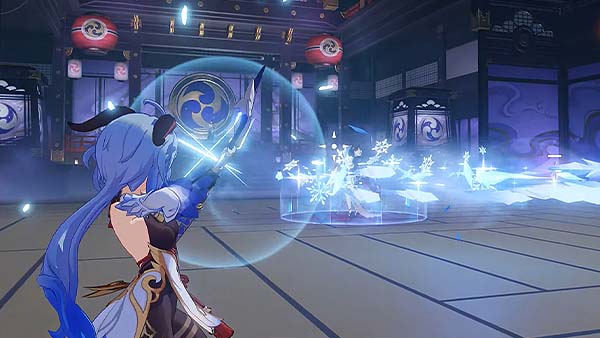
For the first phase, Signora will have 50% Cryo Resistance. You should also lookout for some of her abilities. Her first attack is where she summons a group of Ice Shards in a straight line, these are quick and linear and can be dodged easily. She will then hurl a Frozen Wheel of ice shards that travels in a circular arc, this attack is slow but homing and will always be used after her first attack. Glacial Missiles is where she summons 5 homing ice shards that shoots one at a time. These ice shards have strong homing so it can be difficult to time your dodge correctly
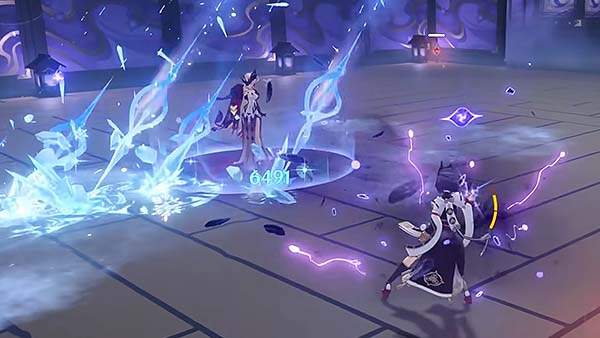
She will also rain down Hailstorm in a small area, there will be snowflake indicators on the ground before the attack hits, leaving Frosted Floor in the area that was struck. This is highly telegraphed, you can easily dodge this just by walking to the side.
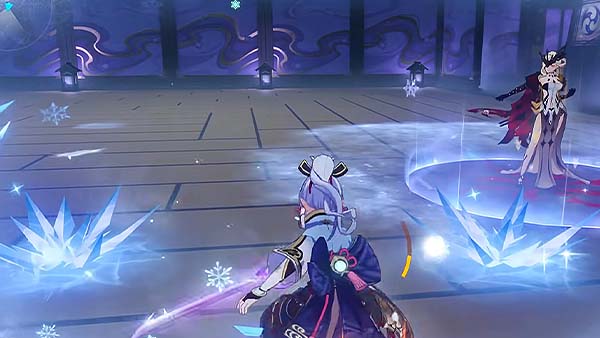
Her Ice Flower is where she imbues ice shards on the ground which will explode after a short period of time. Only the explosion will do damage, the projectile itself will not harm you, so when you see her toss out Ice Flowers, you will still have time to move away from them.

The Frozen Void is where she'll summon a spear above you, the spear will start spinning before it attacks you. Dodge when you see the spear spinning fast, this can be a bit tricky to dodge. Move away from the spear once it hits the ground, it will explode and leave and ice terrain on the ground.
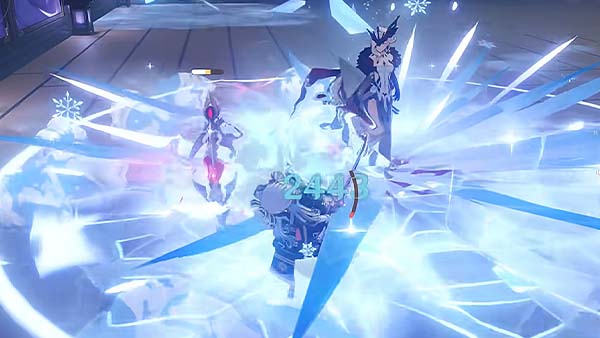
Snowfall Strike is where she'll teleport to your location and attack, releasing a small AoE burst of Cryo on impact. Get ready to dodge when you see her disappear, the attack comes out quick.
The majority of her attacks will leave an ice terrain on the ground that will stay there until you cleanse it with one of the floating vials.
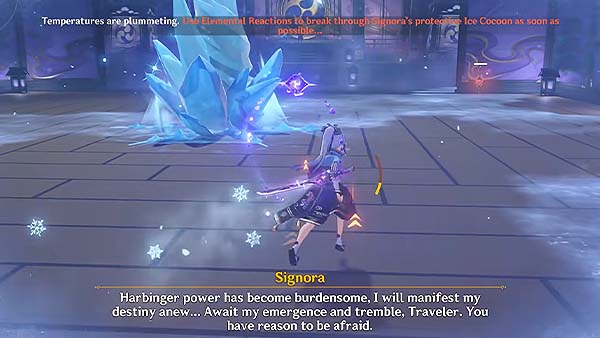
Once you've managed to shave off about 80% of her health, she will start summoning a Frozen Cocoon and encase herself within it. While she's inside the cocoon, your Sheer Cold gauge will accumulate faster, as she attacks you with her homing ice shards and other attacks mentioned before. You will need to break her cocoon to enter the next phase of this boss fight. Her cocoon is immune to Cryo, Hydro, and Physical, except from a Claymore. Crimson Lotus Moths will constantly spawn in the area, pick these up to imbue your attacks with Pyro and increase your damage application against her cocoon.
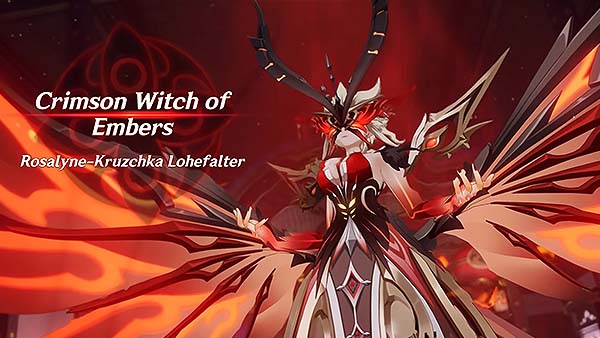
Once you break her cocoon, you will enter the second phase where she transforms into the Crimson Witch of Embers.
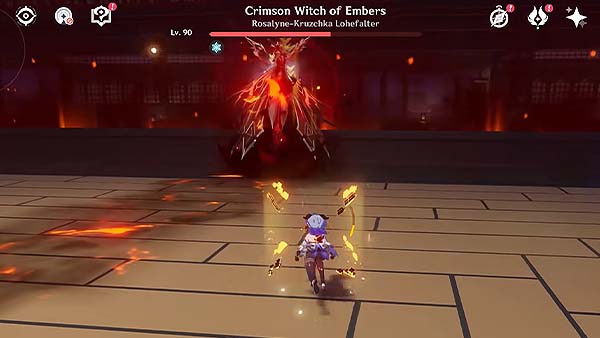
During this phase, Signora will have 70% Pyro resistance. She will also be utilizing Pyro-based attacks during this phase, and the Sheer Cold gauge will be replaced by Blazing Heat. All her attacks will cause the floor to be burnt, standing on top of it will build your Blazing Heat gauge, while also damaging your health.

Her most common attack during this phase is her Flaming Whip which has 4 variations. A single swing, a double swing back-to-back, a narrow frontal whip attack, and a long-ranged whip attack where her flaming whip splits into three. These are somehow easy to dodge since they are telegraphed, just keep an eye on Signora when she takes out her whip.
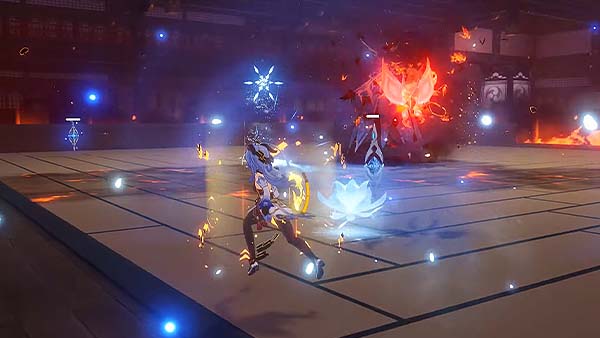
Another one of her common attacks is where she summons a slow homing Pyro Bird. This attack will stay on the field for a while and has very strong homing. You can run around the area to avoid this.
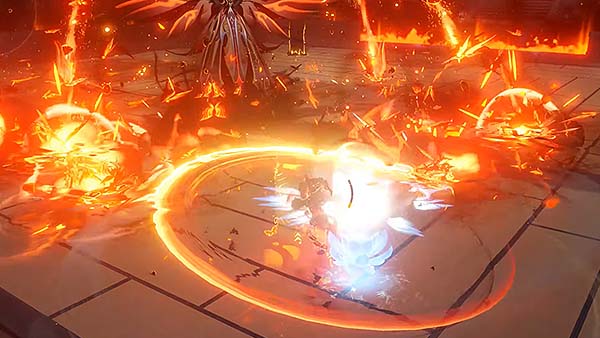
Keep an eye out for when she slowly charges up, this indicates that she will unleash a small flock of flaming birds in front of her. Once the flaming birds hit the ground, it will leave a molten floor. To avoid this, you can get close to her or simply move behind her. The range of this attack is small so n it will be easy to dodge.
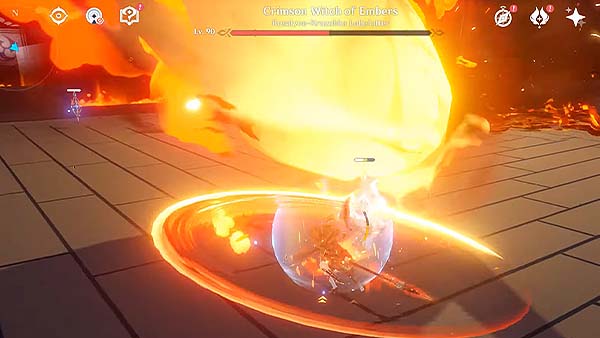
She also has another attack where she charges up, but this one takes longer than the previous attack. After charging up, she will then summon molten rocks that will rain down on the ground. These molten rocks do not hit the corners, so pick a corner and stay there until this attack is over. After raining down molten rocks, she will then immediately follow up with an attack where she shoots out a large flaming sphere towards you. You can completely avoid this just by staying at a far corner as well.
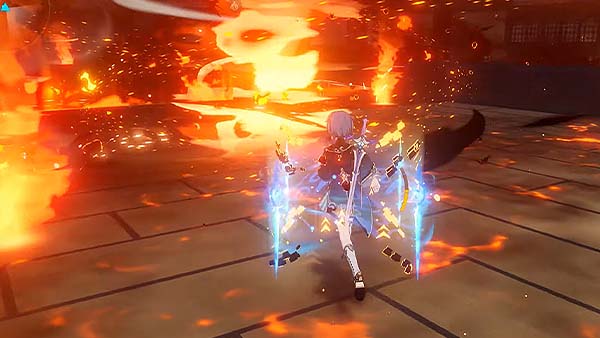
Her final attack is where she spins herself, forming a flaming tornado that will move around the arena. The flaming tornado will unleash 4 mini-tornadoes after every few seconds. You cannot damage her during this form, and she will usually use this attack once her HP is low or when the fight goes on for too long. She also does not go to a corner, but the small tornadoes can still reach you. You can counter this by staying at a corner where a near floating vial is in place to decrease your Blazing Heat gauge.
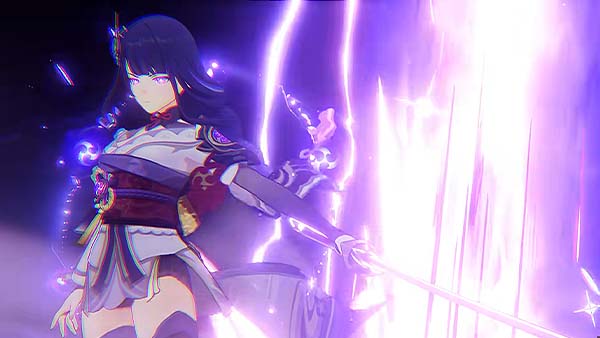
Once you beat Signora, a cutscene will occur. Signora will be surprised as to how you've managed to beat her. The Raiden Shogun then begins to walk down towards the both of you, you raise your sword but the Raiden Shogun ignores you and heads for Signora. Signora says that laying a finger on her will have consequences, The Raiden Shogun completely ignores this and executes Signora on the spot. As the victor of the fight, the Raiden Shogun acknowledges your honor and allows you to leave Tenshukaku alive.
The cutscene ends and your next objective The Omnipresent God will begin shortly after.
The Omnipresent God
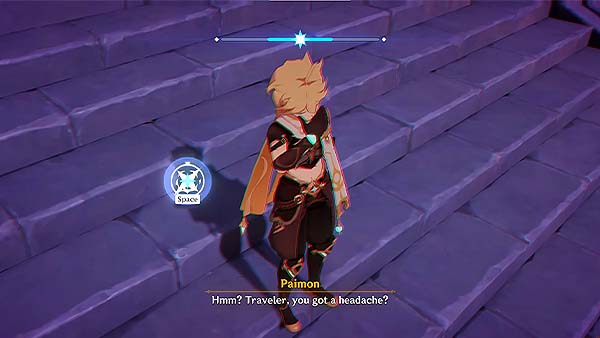
As you exit the place, you will notice that the screen becomes a bit hazy. You won't be able to run or dash during this part. As you head down the stairs, you will stop on your tracks as you feel a bit dizzy, a button will prompt for you to press to get rid of the headache. The headache will appear twice during this part.

As you reach the front gate, you will meet up with the resistance along with Gorou and Kazuha. They then stop as they see the Shogun's sigil appear behind you, and the Raiden Shogun appears. She attacks but Kazuha was able to activate his friend's Vision, helping him to stop the Raiden Shogun's attack. The rest of the group charges towards the Raiden Shogun, But knowing they were no match for her, you ran towards the Raiden Shogun and drew your blade to attack her first, transporting you to her alternate realm.
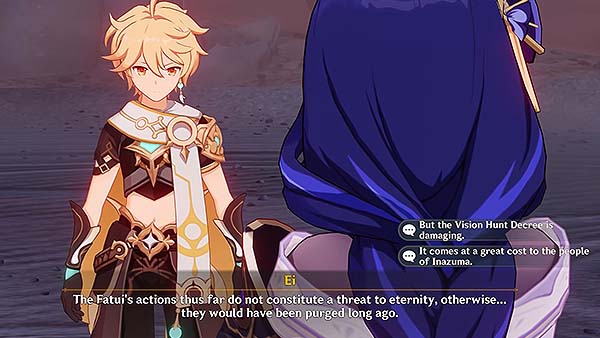
Upon arriving on her Plane of Euthymia, the Raiden Shogun explains that she knows what's been going on about the Vision Hunt Decree and what the Fatui is plotting, she simply doesn't care since the Fatui's actions do not constitute a threat towards her goals. You then tell her that you aren't here to debate with her ideas, but you're here to demolish them.
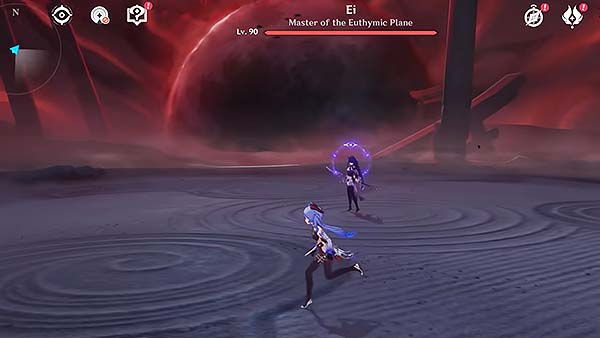
Now you'll have to defeat the Raiden Shogun, the Electro Archon herself. This fight is similar to when you fought her back in Chapter 2: Act 2: Stillness, The Sublimation of Shadow. The Raiden Shogun is immune to Electro damage.
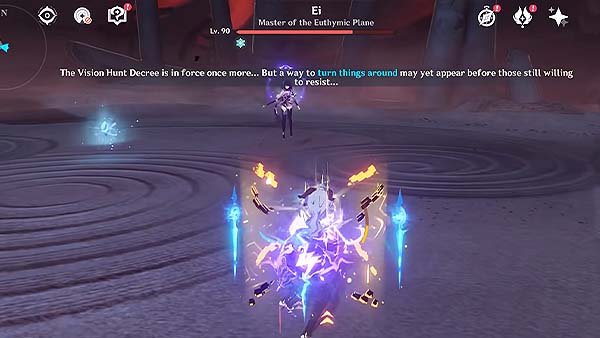
After you've managed to shave off about 25% of her HP, she will enact the Vision Hunt Decree where all party members, except for the Traveler, won't be able to use any Elemental Skills or Bursts. Note that even after this, all normal attacks, including ones which deal elemental damage, can still be used.
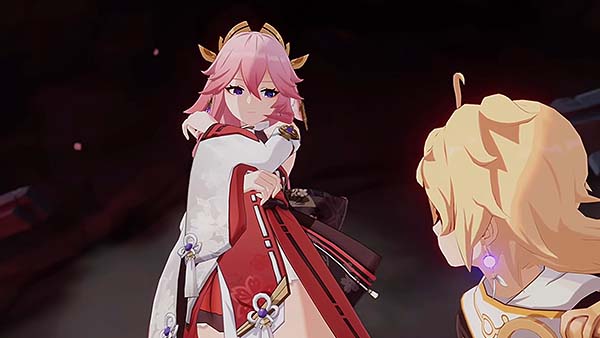
After some time, a cutscene will trigger. After exchanging blows, you remember the omamori that Yae Miko gave you as a farewell gift, you take it out and then Yae Miko appears in the Plane of Euthymia. The Raiden Shogun is surprised by this, and asked if this was Yae Miko's doing. Yae tells you to tap into the Visions embedded on the Statue to repel the Vision Hunt Decree that was enacted earlier.
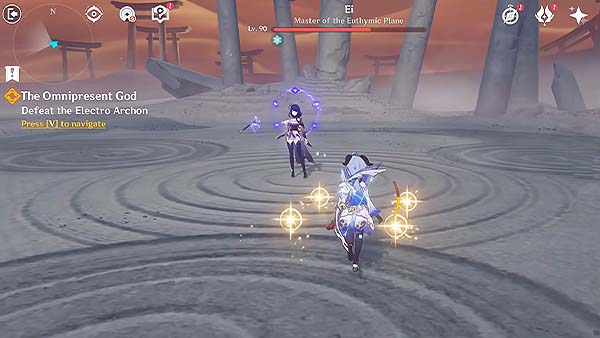
From here, all your characters will regenerate their HP automatically. You will have increased damage as well and you can use your Elemental Skills and Bursts again. You will see four glowing orbs revolve around you, and every time one of your character dies, it will use one of the orbs and it will automatically revive your fallen character at full health.
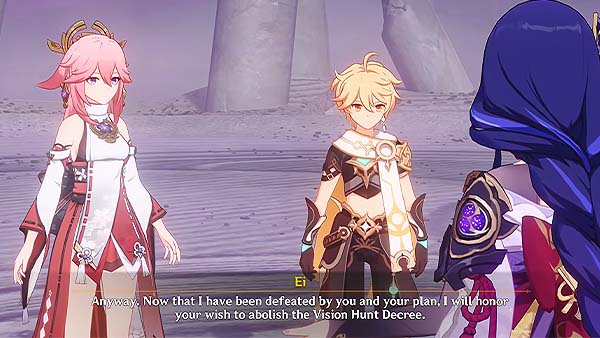
Defeat the Raiden Shogun to continue. Once you've beaten her, she concedes defeat but insists that she was only doing the right thing. Yae Miko tells her that she's doing more harm than good. The Raiden Shoguns says that now she's been defeated, she will honor your wish to abolish the Vision Hunt Decree.
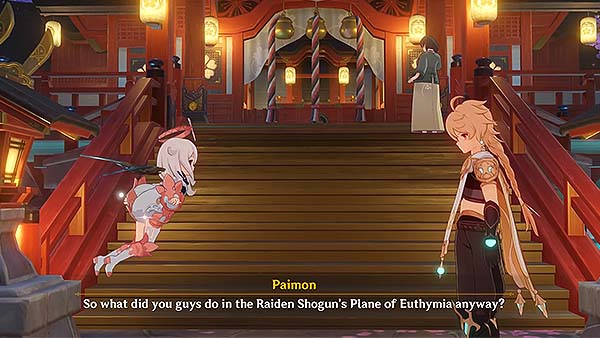
You then talk to Paimon once you come back to reality, you tell her how you and Yae Miko were able to convince the Raiden Shogun to abolish the Vision Hunt Decree.
After your conversation with Paimon, you next objective Wishes will begin shortly after.
Wishes
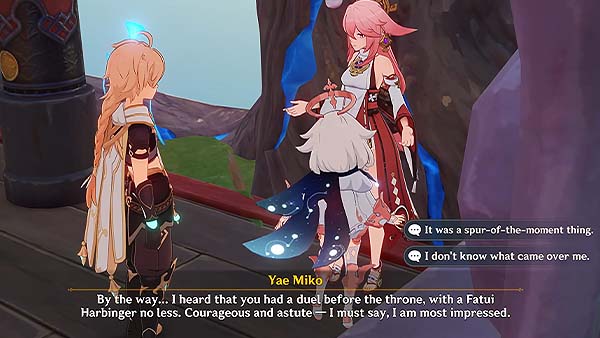
After your chat with Paimon, visit Yae Miko at the Grand Narukami Shrine, you should already be at the shrine after the previous objective. Approach yae Miko and talk to her. She then applauds you saying that she heard you had a duel before the throne with La Signora, and you were able to beat her. Defeating her head-on means that your strength exceeded her expectations. Paimon says that it feels good to finally stop a Fatui's plan for once and that you've prevented them from getting another Gnosis, but Yae Miko reveals that she gave the Gnosis to Scaramouche in return for your safety back then.
After your conversation with Yae Miko, the game will prompt that you've officially finished the quest Omnipresence Over Mortals.
Trivia & Notes:
Trivia and notes go here
