We Will Be Reunited is an Archon Quest in Genshin Impact. Archon Quests cover the main story of the game that follows the adventure of the Traveler and Paimon as they set off on a quest to search for the Traveler's lost twin. As players progress, Archon Quests requires a certain level Adventure Rank (AR) to be unlocked in order to continue through the act.
General Info
- Act: Chapter 1: Act 4
- Required AR: 28
- Previous: A New Star Approaches
- Next: Autumn Winds, Scarlet Leaves
- Bosses: Abyss Herald
NPCs & Characters
- Paimon
- Lan (Branch Master, Adventurer's Guild)
- Ganyu
- Barbara
- Dansleif (Bough Keeper)
- Rosaria
- Jean
- Razor
- Boreas
- Twin
Bosses
- Abyss Herald
Items
Reward/s:
- Adventure EXP: 2,750
- Primogems: 60
- Mora: 131,475
- Mystic Enhancement Ore: 25
- Hero's Wit: 13
- Guide to Freedom: 2
- Guide to Resistance: 2
- Guide to Ballad: 2
Enemies
- Cryo Hilichurl Shooter
- Hydro Samachurl
- Wooden Shield Hilichurl Guard
- Abyss Herald
- Hilichurl
- Hilichurl Fighter
- Hydro Abyss Mage
- Cryo Abyss Mage
- Ruin Hunter
- Electro Hilichurl Shooter
- Pyro Hilichurl Shooter
- Pyro Abyss Mage
We Will Be Reunited Walkthrough
This is the seventh main quest you will unlock in Genshin Impact, but you will have to reach AR 28 first and finish the previous quest A New Star Approaches, as well as finish the Story Quest Razor Act 1: The Meaning of Lupical and World Quest Bough Keeper: Dainsleif before you can proceed with this quest.
Related Objectives and Rewards
The following rewards listed below are provided after completing each objective related to the Archon Quest: We Will Be Reunited
Involuntary Sacrifice
- Description: You hear from Ganyu and Lan that the Treasure Hoarders of Mondstadt and Liyue have banded together and plan to get involved in some ruins associated with the Abyss Order. Fearing the chaos that the Treasure Hoarders might cause through their involvement, you take up the commission and investigate...
- Adventure EXP: 650
- Primogem: 0
- Mora: 31,125
- Other Rewards: Mystic Enhancement Ore x6, Hero's Wit x3
A Herald Without Adherents
- Description: After fleeing from those creepy ruins, you meet Dainsleif by chance. You follow him and begin your pursuit of the Abyss Herald through those ruins once more...
- Adventure EXP: 650
- Primogem: 0
- Mora: 31,125
- Other Rewards: Mystic Enhancement Ore x6, Hero's Wit x3
Dishonorable Trial
- Description: To investigate the plan that the Abyss Order's talisman speaks of, you decide to head to the Cathedral in Mondstadt to consult the members of the Church.
- Adventure EXP: 800
- Primogem: 0
- Mora: 38,100
- Other Rewards: Mystic Enhancement Ore x7, Hero's Wit x4
A Soul Set Apart
- Description: You continue searching for "the first Field Tiller," following the information you've obtained from Barbara and the Great Wolf King of the North...
- Adventure EXP: 650
- Primogem: 60
- Mora: 31,125
- Other Rewards: Mystic Enhancement Ore x6, Hero's Wit x3, Guide to Freedom x2, Guide to Resistance x2, Guide to Ballad x2
Involuntary Sacrifice
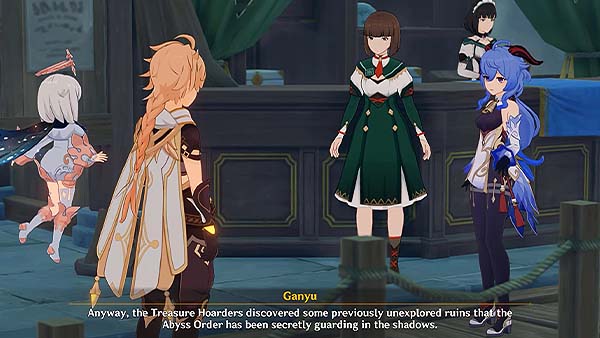
To start the quest, you need to be at Liyue Harbor. Go to the Adventurer's Guild Bulletin Board. A yellow trail should lead you there, you will also see Ganyu talking to the Branch Master there. Ganyu was explaining that they recently received intel from the Ministry of Civil Affairs, and that two big-time Treasure Hoarders in Liyue and Mondstadt are planning some big joint operation, and these two are known as "Big Sis of the South" and "Raptor of the North". She also says that with the major changes in Liyue recently, the Ministry of Civil Affairs and the Millileth already have their hands full at the moment, that's why she decided to come to Adventurer's Guild to post a commission.
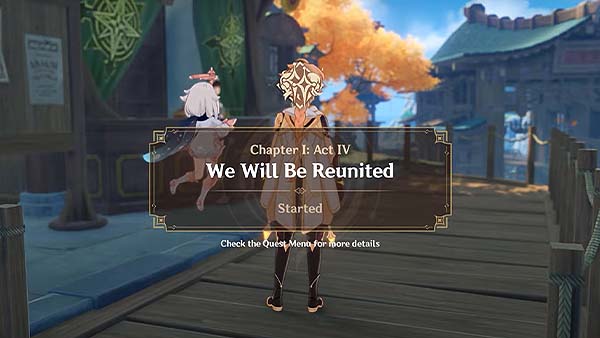
After your conversation with Ganyu and the Branch Master, Lan, the game will then prompt that you've officially started the quest We Will Be Reunited.
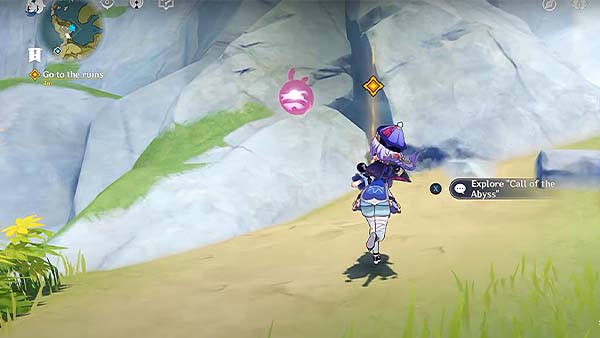
Now you will need to go to the ruins. Open your map and select the Clear Pool and Mountain Cavern Domain, since that is the nearest teleport waypoint you can fast travel to that is nearest to the objective. Once you reach the waypoint, proceed in following the yellow icon that'll lead you to the ruins. When you reach the entrance, press interact to enter and "Explore "Call of the Abyss"".
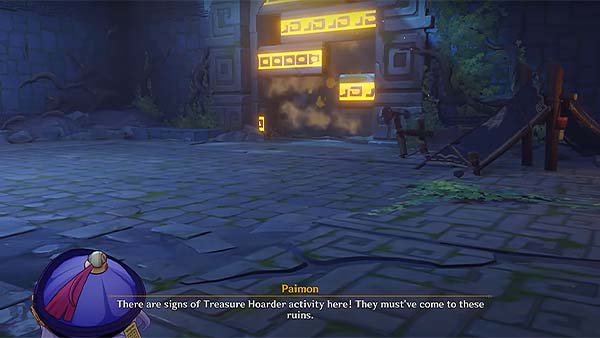
When you're inside, just go up the stairs, a door on your right will automatically open.
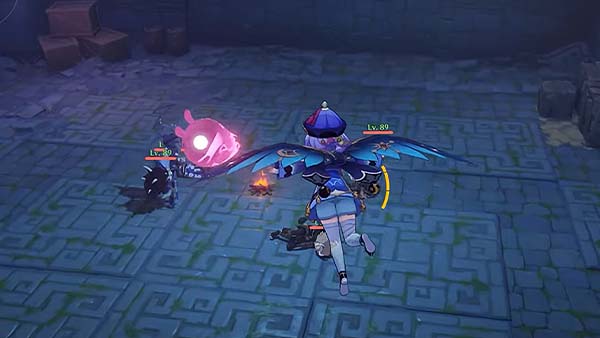
From there, you will have to glide across to reach the next area. Once you land, go straight, and you will see from the edge that there are a bunch of Hilichurls down at the next area. Defeat the Hilichurls to open the door and advance.
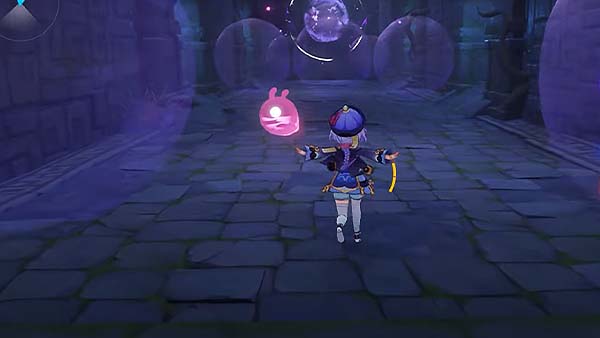
When you proceed to the next room, there will be bubbles that spawn from the end of the hall. There are gaps on the sides of the narrow hall, try to observe the pattern to see how you can get through the bubbles.
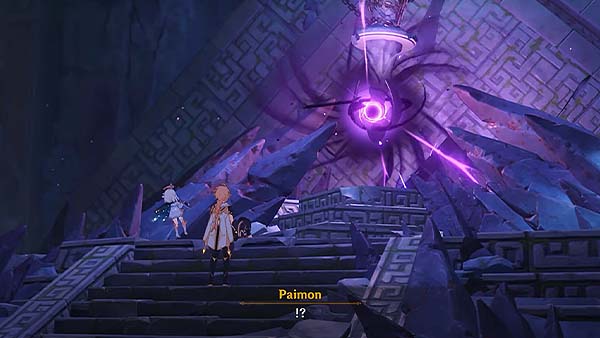
When you reach the end of the hall, glide down and head straight, then turn left at the corner and go upstairs. A cutscene should occur. You will discover a room with a deceased thief beside what looks like a hanging Statue of the Seven. Paimon suggests that you get out of there and report back to Ganyu and Lan, then the ruins started shaking.
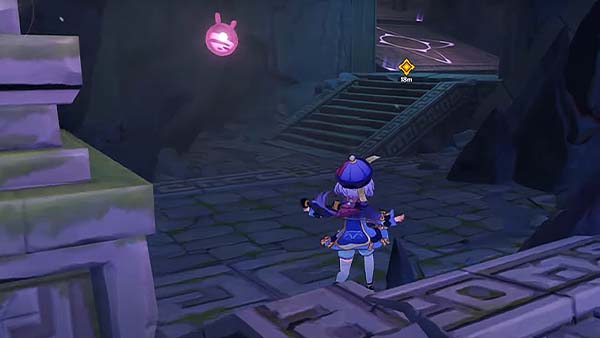
Now you will need to flee the ruins. Follow the yellow icon, since you're facing the statue, go to your left, you should see a path leading to a stairs.
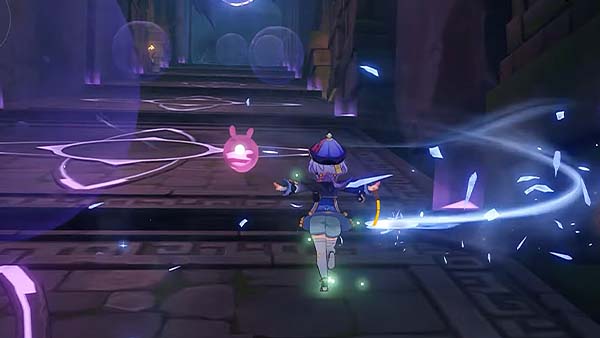
When you go up the stairs, there will be another one of those bubble patterns. Just like before, you will have to observe the pattern and gaps of the bubbles and go to either side of the hall to hide.
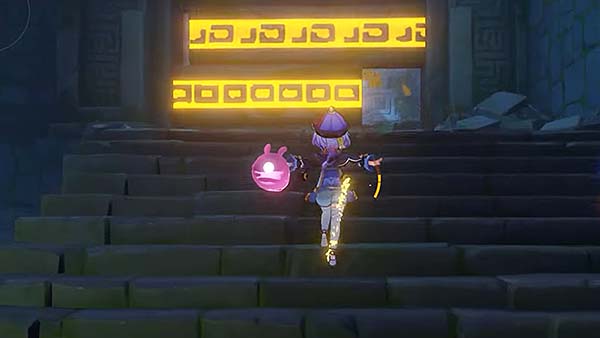
When you reach the end of the hall, the floor will crumble. Go to your right and follow the path of the the stairs, it should lead you to a door that will open once you go near it.
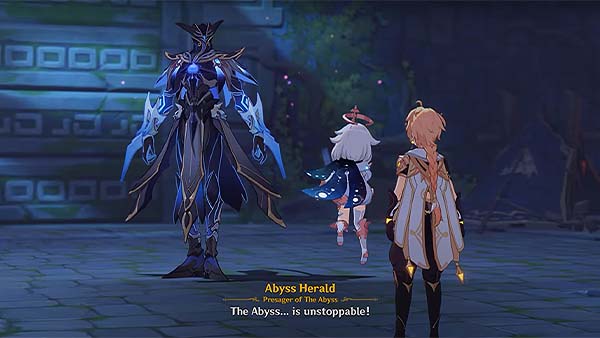
Entering the next area, you will see a tall creature and introduces itself as the Abyss Herald. You will then have a short battle with the Abyss Herald, after dealing a small amount of damage to him, a dialogue will occur, he says that the power you wield seems familiar, and proceeds to say that you're the "one". He then suddenly leaves the ruins. Paimon also suggests that you leave the place as well before something even more dangerous shows up.
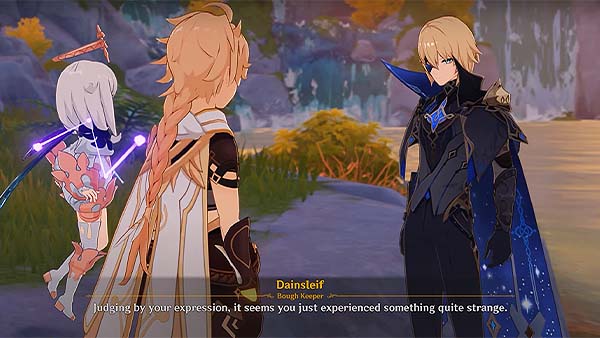
After leaving the ruins, you'll see Dainsleif outside. He said he's been on the Abyss Herald's trail and didn't expect to find you here as well. You then tell him about the strange hanging statue of the seven inside the ruins, as well as the deceased thief. He then says that maybe it hasn't gone too far yet and maybe we can still catch up.
After your conversation with Dainsleif, your next objective A Herald Without Adherents will begin shortly after.
A Herald Without Adherents
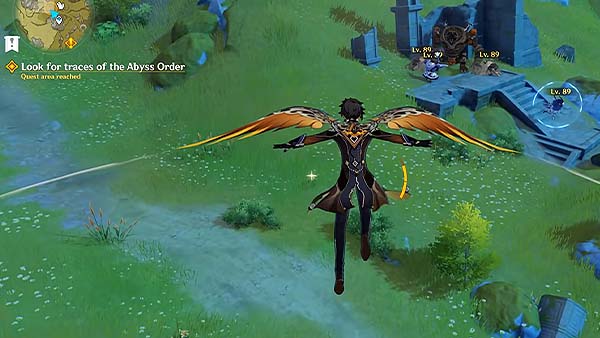
To start this next objective, you would need to find and talk to Dainsleif again. Open your map and select the teleport waypoint nearest to the objective to fast travel. When you reach the waypoint, follow the yellow icon, it should lead you to a ruin where you'll see Abyss Mages, Hilichurls, and an inactive Ruin Guard. Defeat the Abyss Mages and the Hilichurls to continue.
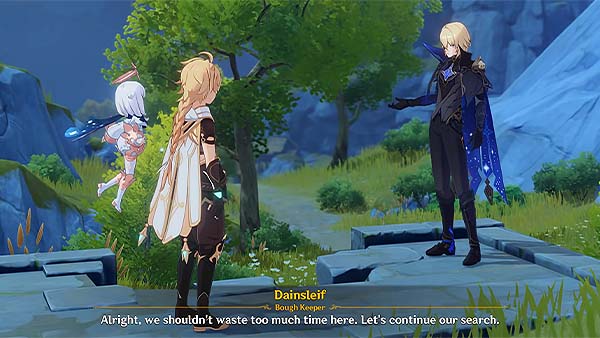
After defeating the enemies, Dainsleif explains that the Abyss Mages seems to be searching the remains of the Ruin Guard for a certain valuable object to take back to the ruins, he also says that he's got a feeling that whatever object they're looking for is of major importance to the entire Abyss Order. Dainsleif then says that you should continue your search, now you will continue looking for traces of the Abyss Order. Follow the yellow icon presented on your map, it should lead you to another ruin.
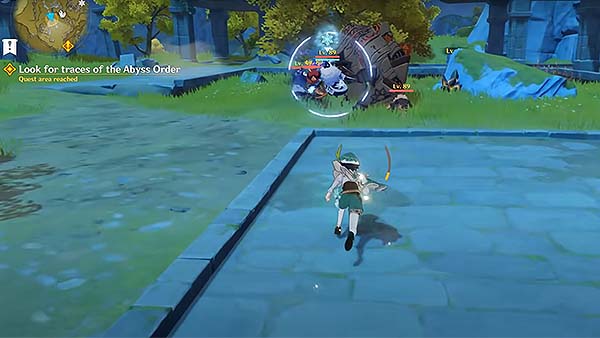
Just like before, you'll see Abyss Mages searching for something valuable around the ruins, accompanied by a couple of Hilichurls. The Ruin Hunter will be activated once you go near enough. Defeat these enemies to continue.
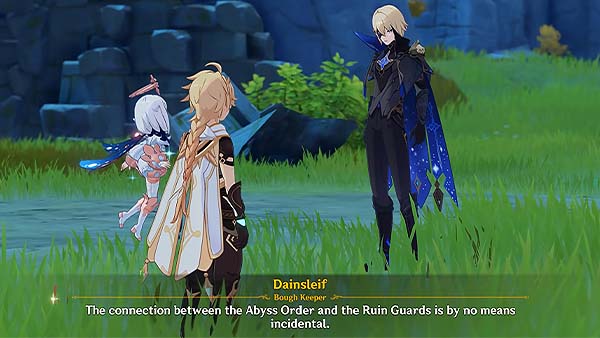
After defeating the enemies, Paimon says that whenever you find an Abyss Mage hideout, there;s often a bunch of Ruin Guards roaming around the area too. Dainsleif says that this is no coincidence. He also explains that the Abyss Order and the Ruin Guards both originated from an ancient nation that was destroyed 500 years ago, that nation was called Khaenri'ah. You will then reveal that you had memories of that nation. After listening to your story, He says that he will tell you more of what you want to know as you continue your search.
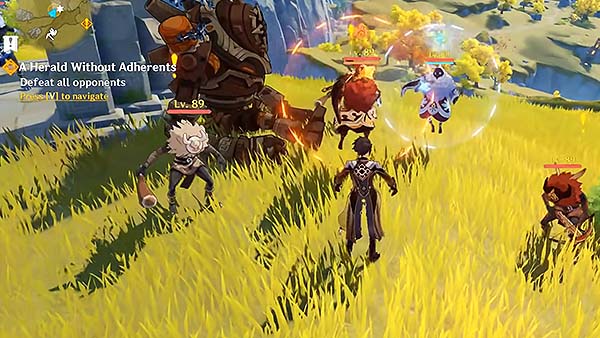
Continue looking for traces of the Abyss Order, follow the yellow icon presented on your map. Once you reach the area, you'll see Abyss Mages and a Ruin Guard. Dainsleif tells you the history of the Ruin Guards, and now even after knowing their sad existence, he tells you all that remains of them now is the danger they pose so you should destroy them all. Defeat all the enemies in the area.
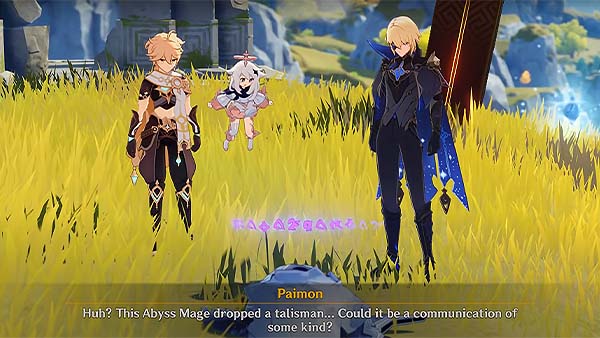
After defeating them, one of the Abyss Mages will dropped a talisman, it would seem that the talisman is connected to the Abyss Herald. Dainsleif was able to interpret the message, he says that the Abyss seems to be carrying out a large operation, and the keyword here is "Loom of Fate."
After your conversation with Dainsleif, your next objective Dishonorable Trial will begin shortly after.
Dishonorable Trial
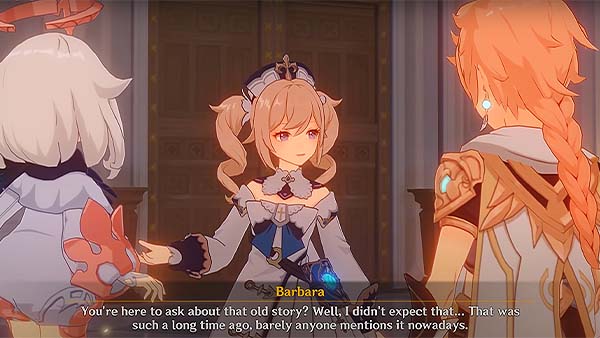
To start this objective, you would need to go to the Cathedral back in Mondstadt. Open you map and select the waypoint inside the city of Mondstadt to fast travel. Once you reach the city, head over to the Cathedral. Enter the Cathedral and talk to Barbara. Paimon asks her if the Church has ever lost a Statue of the Seven, Barbara says that it happened once a long time ago, it just disappeared one night without a trace. Nearly every member of the Church joined the search but it was never found.
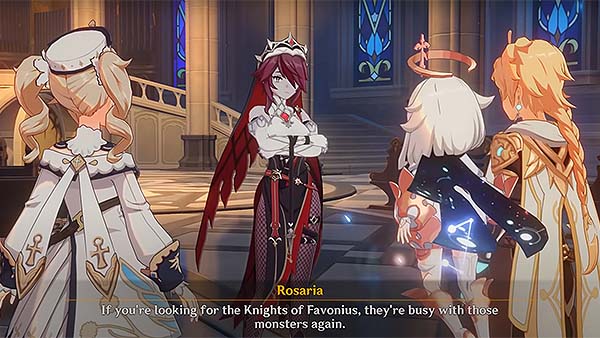
In the middle of a conversation, Rosaria shows up. She says that the Knights of Favonius are busy handling the Abyss Order at Wolvendom. She says that Jean already headed off to Wolvendom, and that she must begin to make a move herself. After your conversation with them, go outside and report back to Dainsleif.
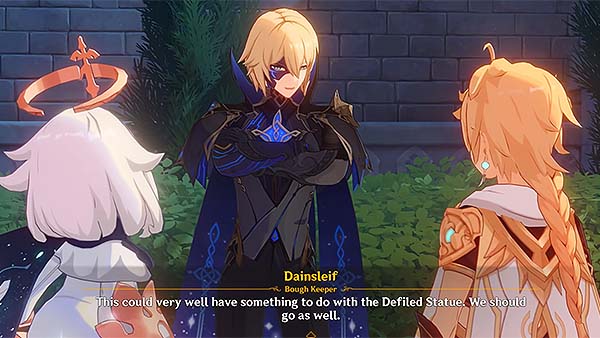
You then tell Dainsleif what you learned from Barbara and Rosaria, he says that this could very well have something to do with the Defiled Statue you found at the ruins back then. He also says that the Abyss Herald may be targeting the spirit of Andrius in an attempt to garner some information from one of the Anemo Archon's old companions.
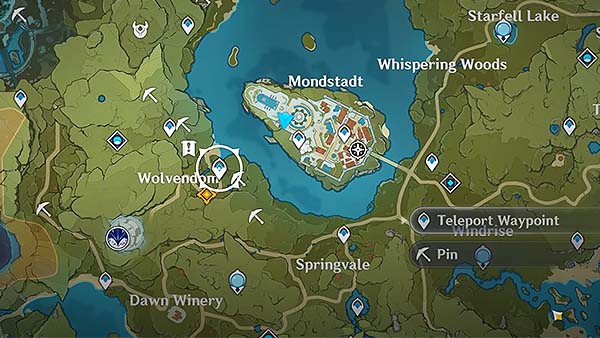
Now you should head over to Wolvendom, it's just outside the city of Mondstadt. Open your map and select the teleport waypoint near Wolvendom to fast travel. Once you reach the waypoint, continue following the yellow icon. When you reach the yellow icon, defeat all the enemies in the area.
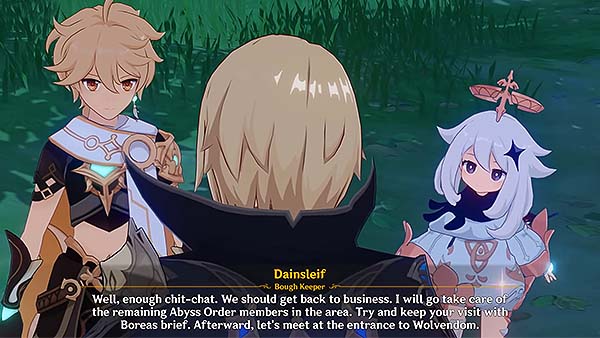
After defeating them, Paimon says that there are a lot of enemies around here. Dainsleif added that the closer we get to the target, the more enemies there are. He then says that he won't be coming with you this time, he will be taking care of the remaining Abyss Order members in the area, and tells you to keep your visit with the Boreas brief and meet him back at the entrance of Wolvendom once it's done.
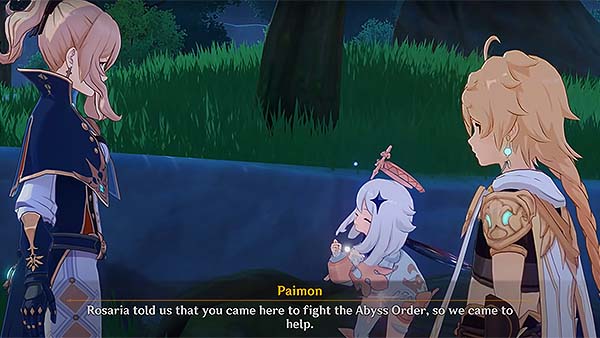
Once Dainsleif leaves, Jean comes in and asks what you're doing here. Paimon explains what Rosaria told you. Jean says that the Abyss Order's sudden offensive is very strange and they've already surrounded Wolvendom. She says she's preparing to send out some knights to fight back. She then tasks you to check if Lupus Boreas is in any danger.
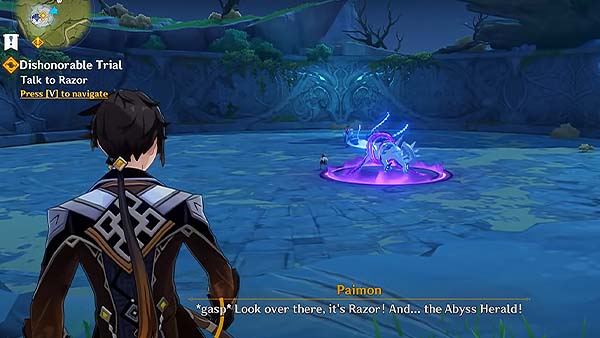
Follow the yellow icon shown in your map. When you reach the area, you'll see Razor, Boreas, and the Abyss Herald, go towards them.
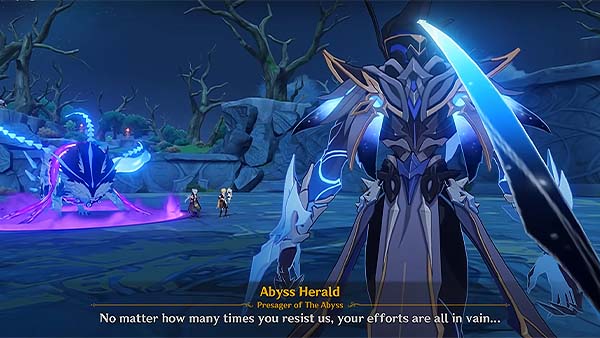
The Abyss Herald offers that they can restore Boreas divine powers if he serves the Abyss Order. After the dialogue, you will now have to defeat the Abyss Herald, along with a couple of Hilichulrs around the area. Defeat the Abyss Herald and the rest of the enemies in the area to continue.
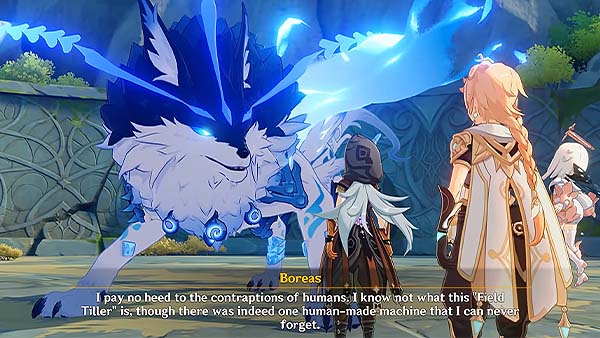
Once you've defeated all of them, the Abyss Herald will leave the scene. Razor thanks you for coming just in time. You then ask Boreas if he knows something about the first Field Tiller. Boreas says that he does not know what this Field Tiller is, but there was one human-made machine that he can never forget. He then tells you the story of how he mistook the machine for a challenger, and how strong it was even though it wasn't a god.
After your conversation with Razor and Boreas, your next objective A Soul Set Apart will begin shortly after.
A Soul Set Apart
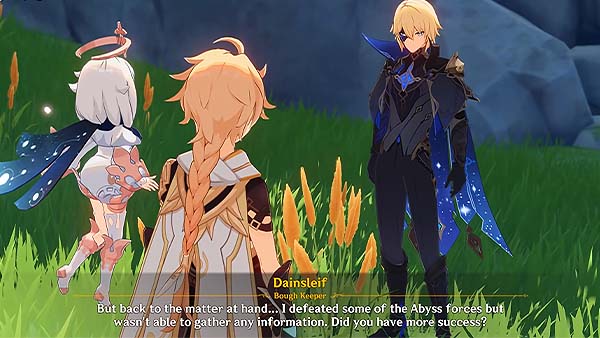
To start this next objective, you would need to talk to Dainsleif, go back to Wolvendom. Open your map and select the teleport waypoint near Wolvendom to fast travel. Once you reach the waypoint, approach Dainsleif. he says that he was able to defeat some of the Abyss forces but wasn't able to gather any information. You then tell him what you learned from the spirit of Lupus Boreas.
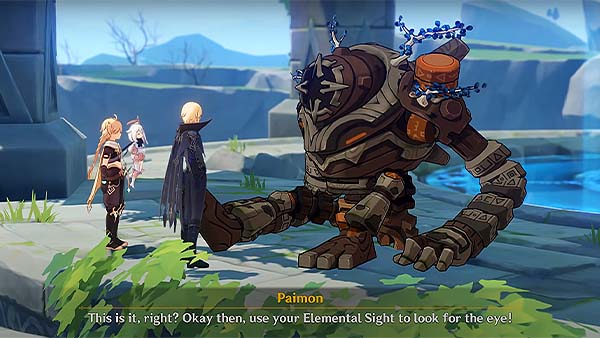
After your conversation, you should now visit the Stormterror's Lair. Open your map and select the Statue of the Seven located at Stormterror's Lair to fast travel. Once you reach the Lair, go to the second floor, where the Ruin Guard is located. It seems that the Ruin Guard is missing an eye, luckily, Dainsleif was able to locate it. This is what the Abyss Herald has been seeking all along, the eye of the first Field Tiller. He says that he will guard the eye himself, and also added that the defiled statue in the ruins be destroyed.
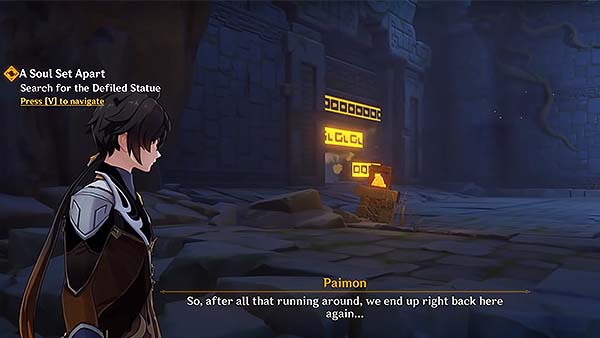
Now you must enter the ruins again, open your map and select a waypoint nearest to the objective to fast travel. When you reach the waypoint, follow the yellow icon that'll lead you to the ruins. When you enter the ruins, go up the stairs, this time, the door on the left will open automatically.
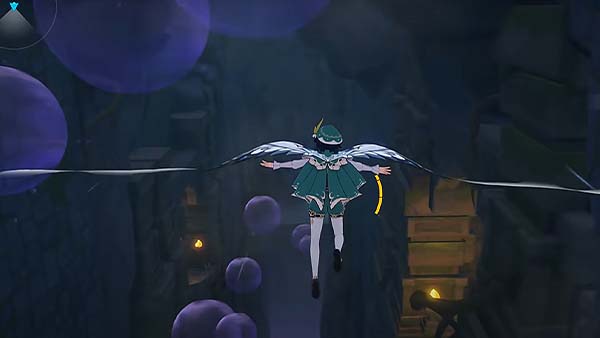
Go through the door and head downstairs. You will see bubbles floating around, and to reach the next area, you will have to glide across the edge while also avoiding the bubbles. You might not make it in just one flight, you can stop over at either sides of the wall where you can see gaps to recover stamin, and then start gliding again.
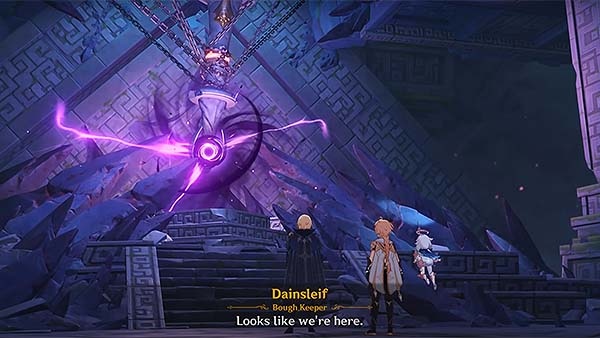
Once you're able to glide across safely, a dialogue will occur. You will find the same defiled statue you found before. Dainsleif was also able to sense the Abyss Herald. After exchanging words with the Abyss Herald, you must now defeat him.
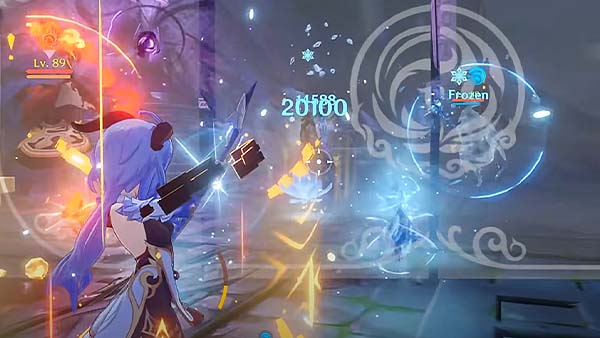
Defeat the Abyss Herald, as well as the Abyss Mages accompanying him to advance.

After defeating the Abyss Herald, a cutscene will occur. After overpowering the Abyss Herald, he will try to escape, but Dainsleif was ready and stopped the Abyss Herald from fleeing the scene. Your twin sibling will then show up to attack Dainsleif.
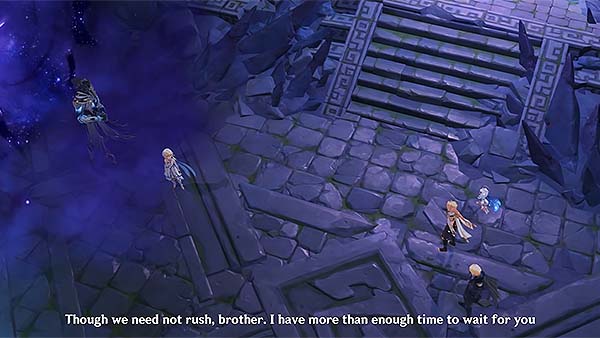
You've finally found your twin, but everything is just as confusing. Your twin says not to trust Dainsleif, and to not try and stop the Abyss Order. Your twin also explains that Dainsleif was one of the royal guards of the final dynasty of Khaenri'ah, known as the "Twilight Sword", and that he failed to prevent the destruction of Khaenri'ah 500 years ago. A curse of immortaility was laid upon Dainsleif, to forever wander the wilderness. Paimon also discovers that the Abyss Order is not only related to Khaenri'ah but is actually the people of Khaenri'ah themselves. The Abyss Herald creates a portal, leaving the scene with your twin. Dainsleif also managed to enter the portal, but you were left in the ruins.
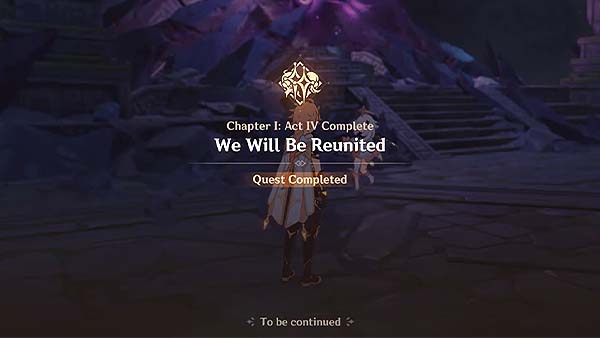
You and Paimon try to recall as many details as you can from what you've witnessed, as well as from the information you've gathered so far. After the discussion with Paimon, the game will prompt that you've officially completed the quest We Will Be Reunited.
The next main quest after this will start with Chapter 2: Prologue: Autumn Winds, Scarlet Leaves. You will need to reach AR 30 first before you can start with the first quest on the next chapter.
Trivia & Notes:
Trivia and notes go here
